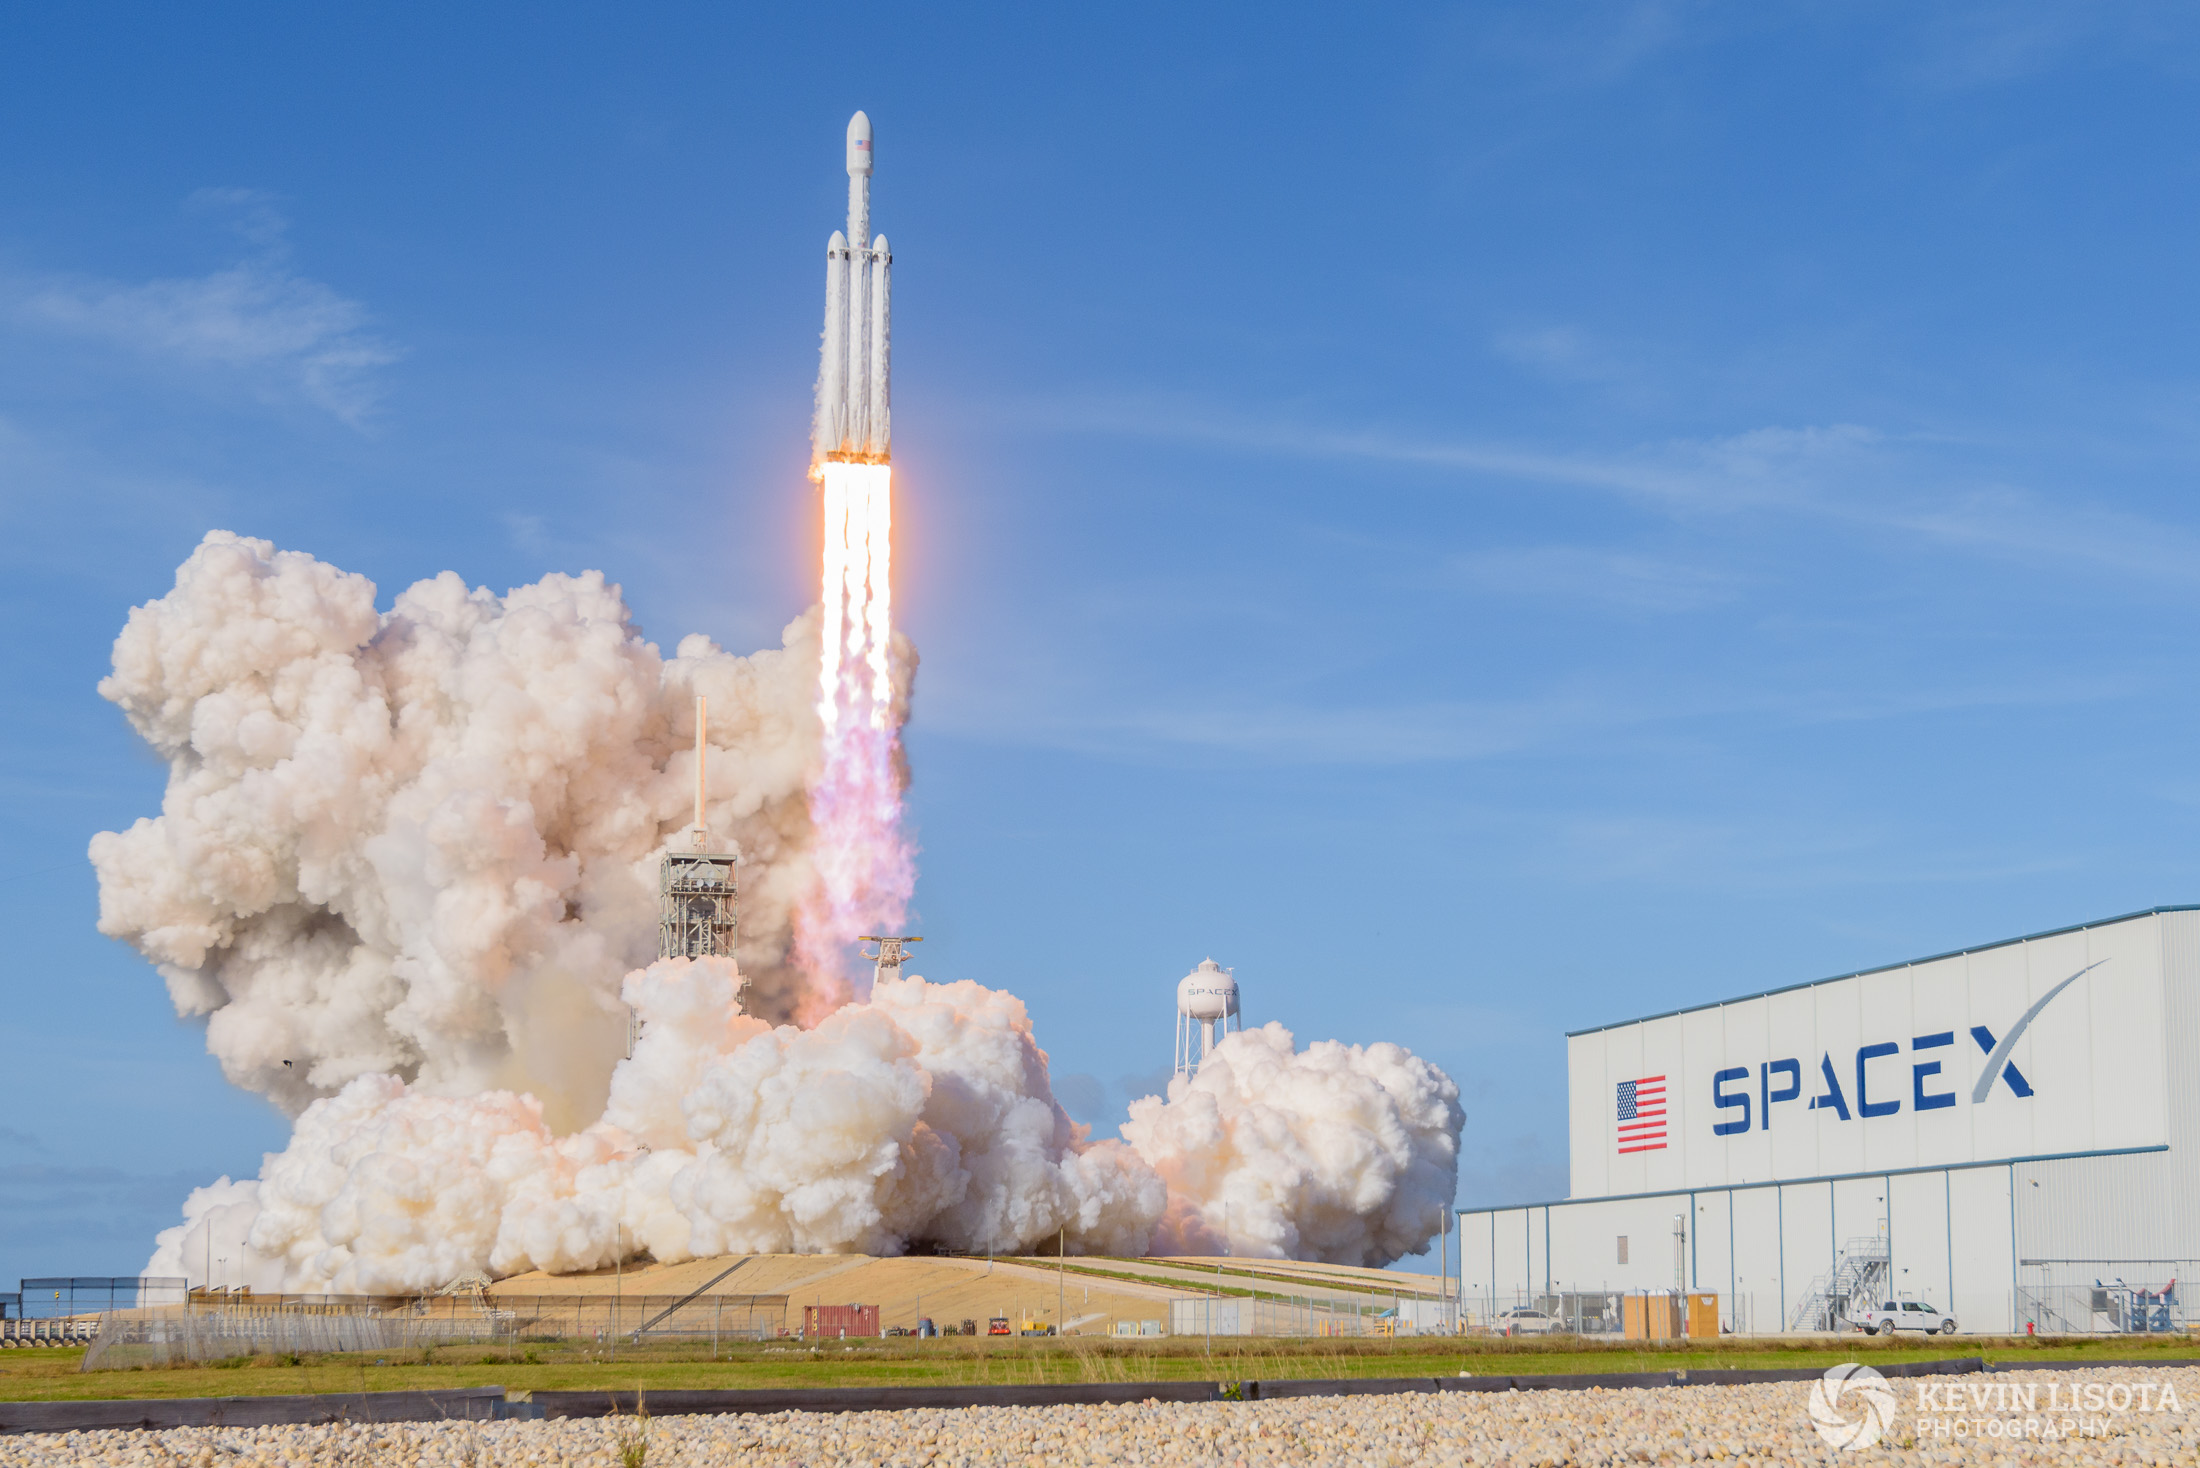
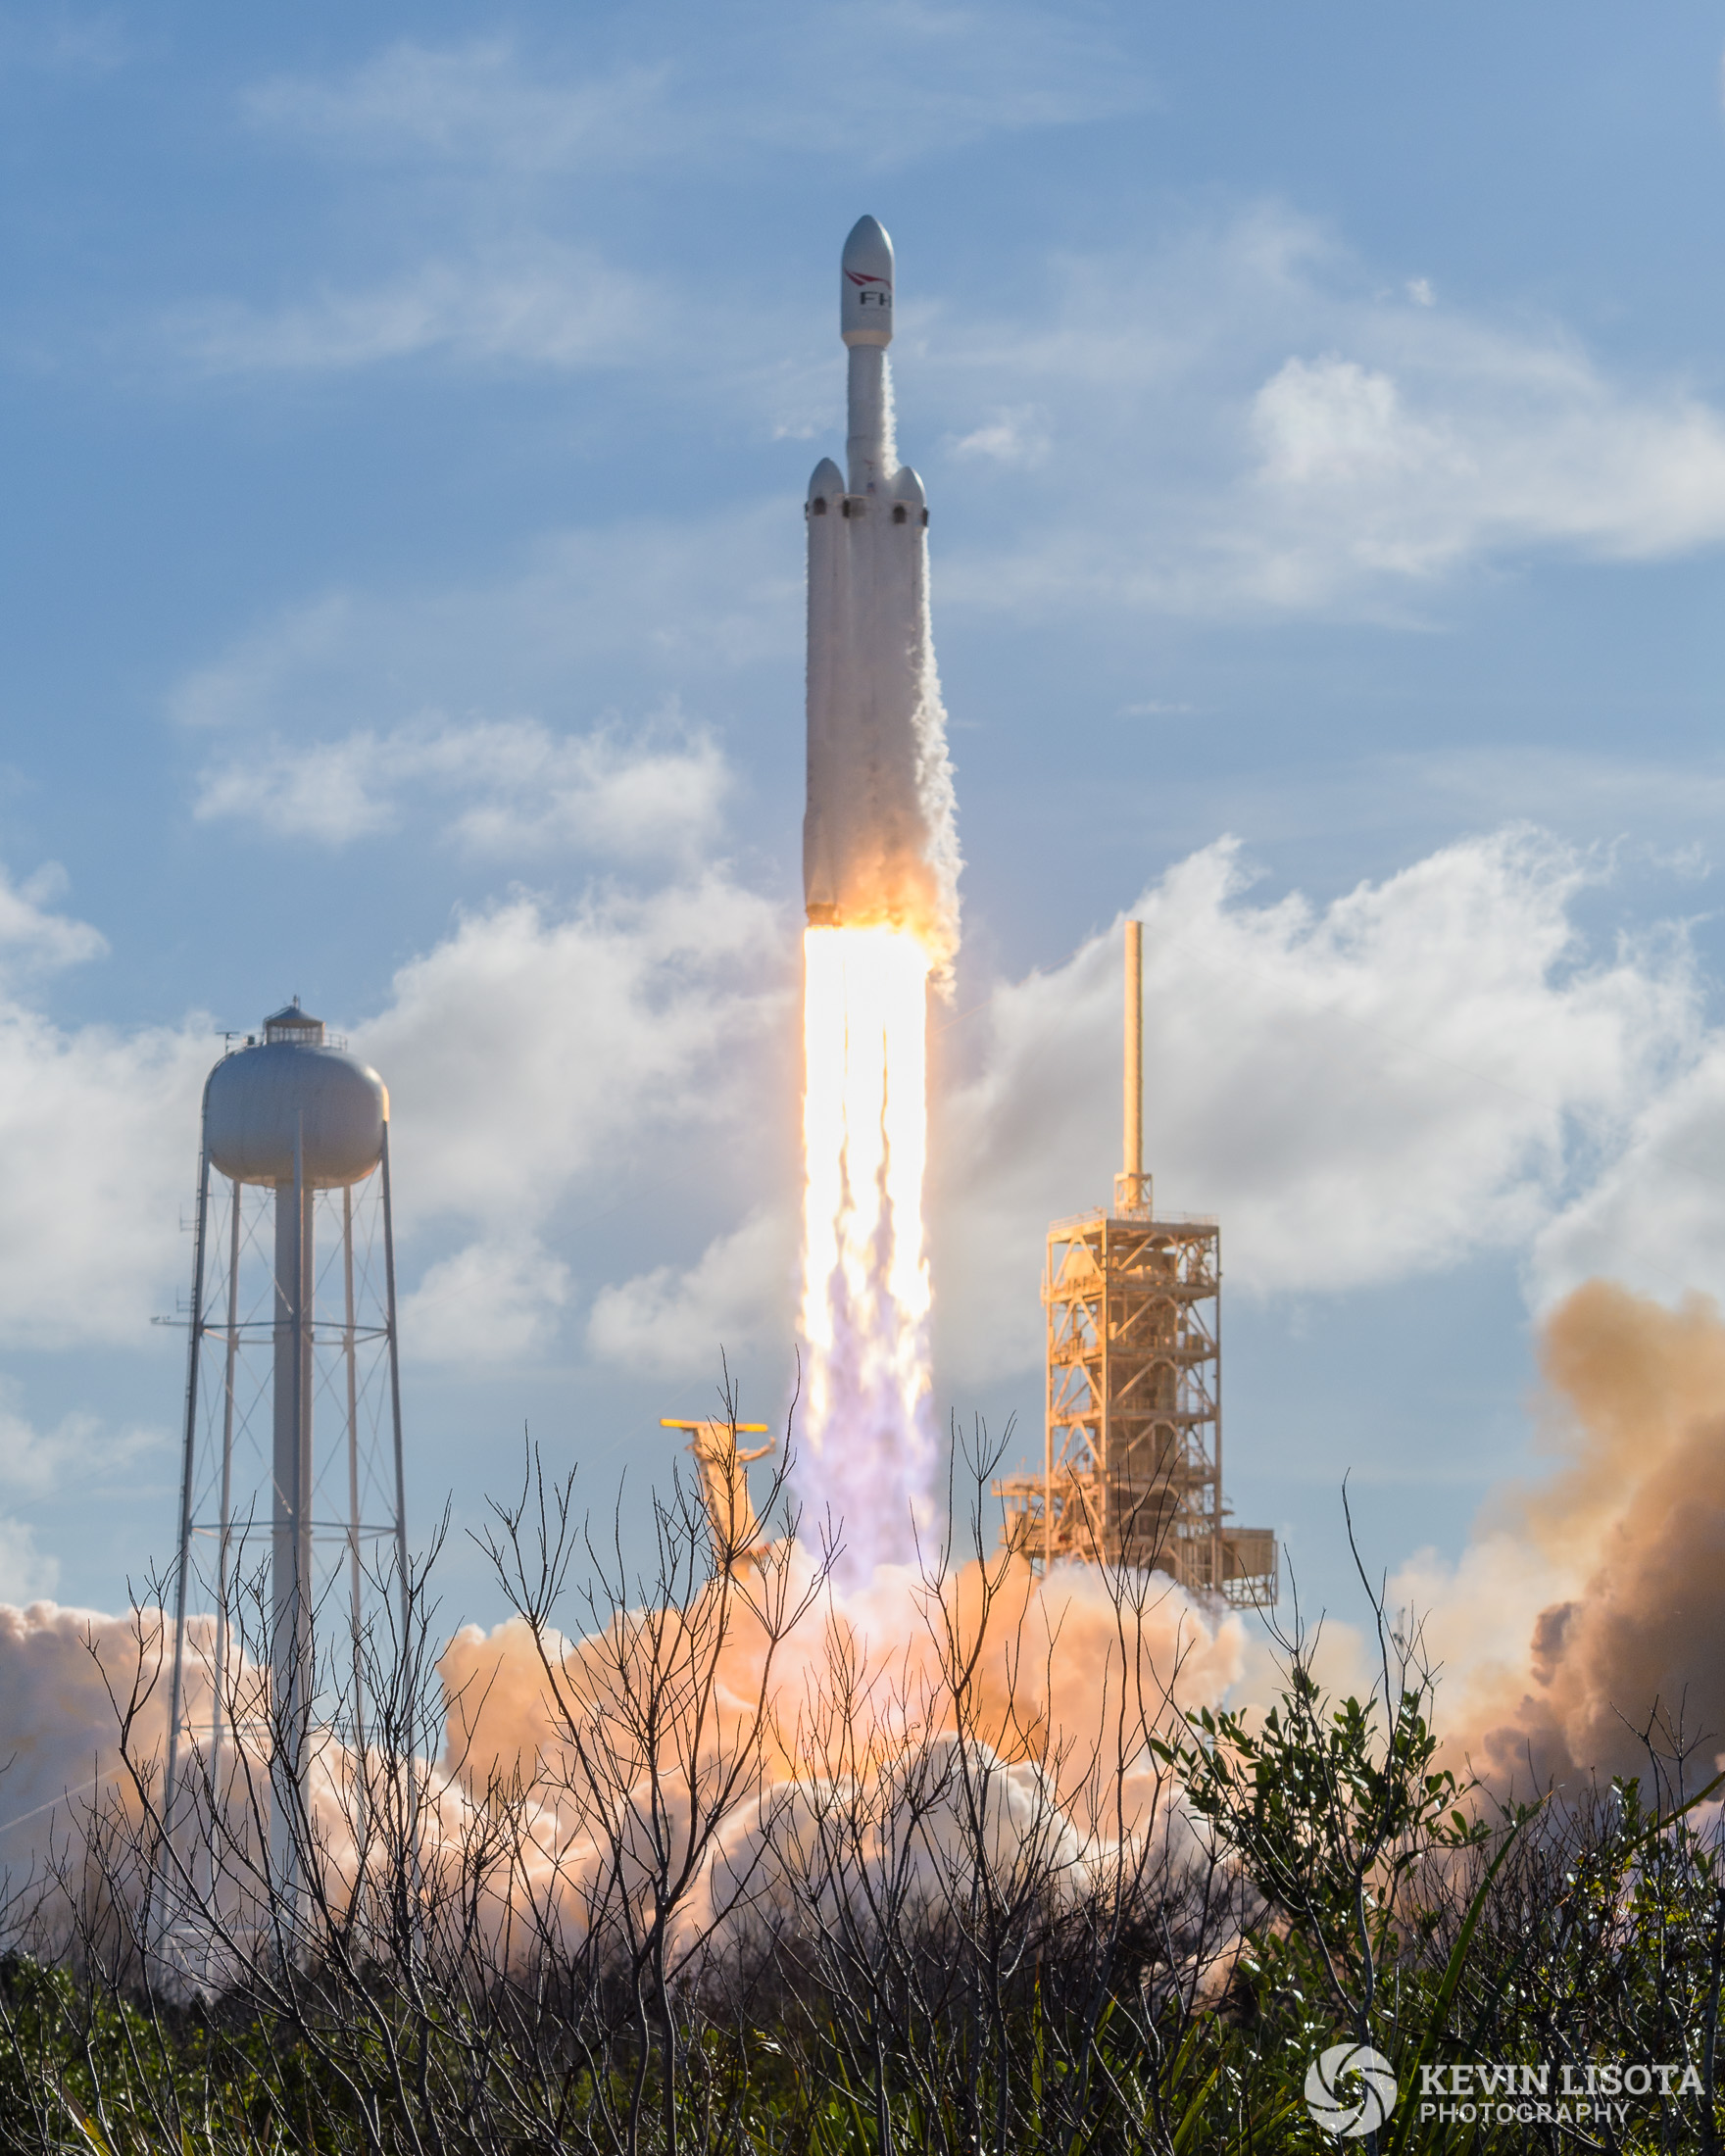
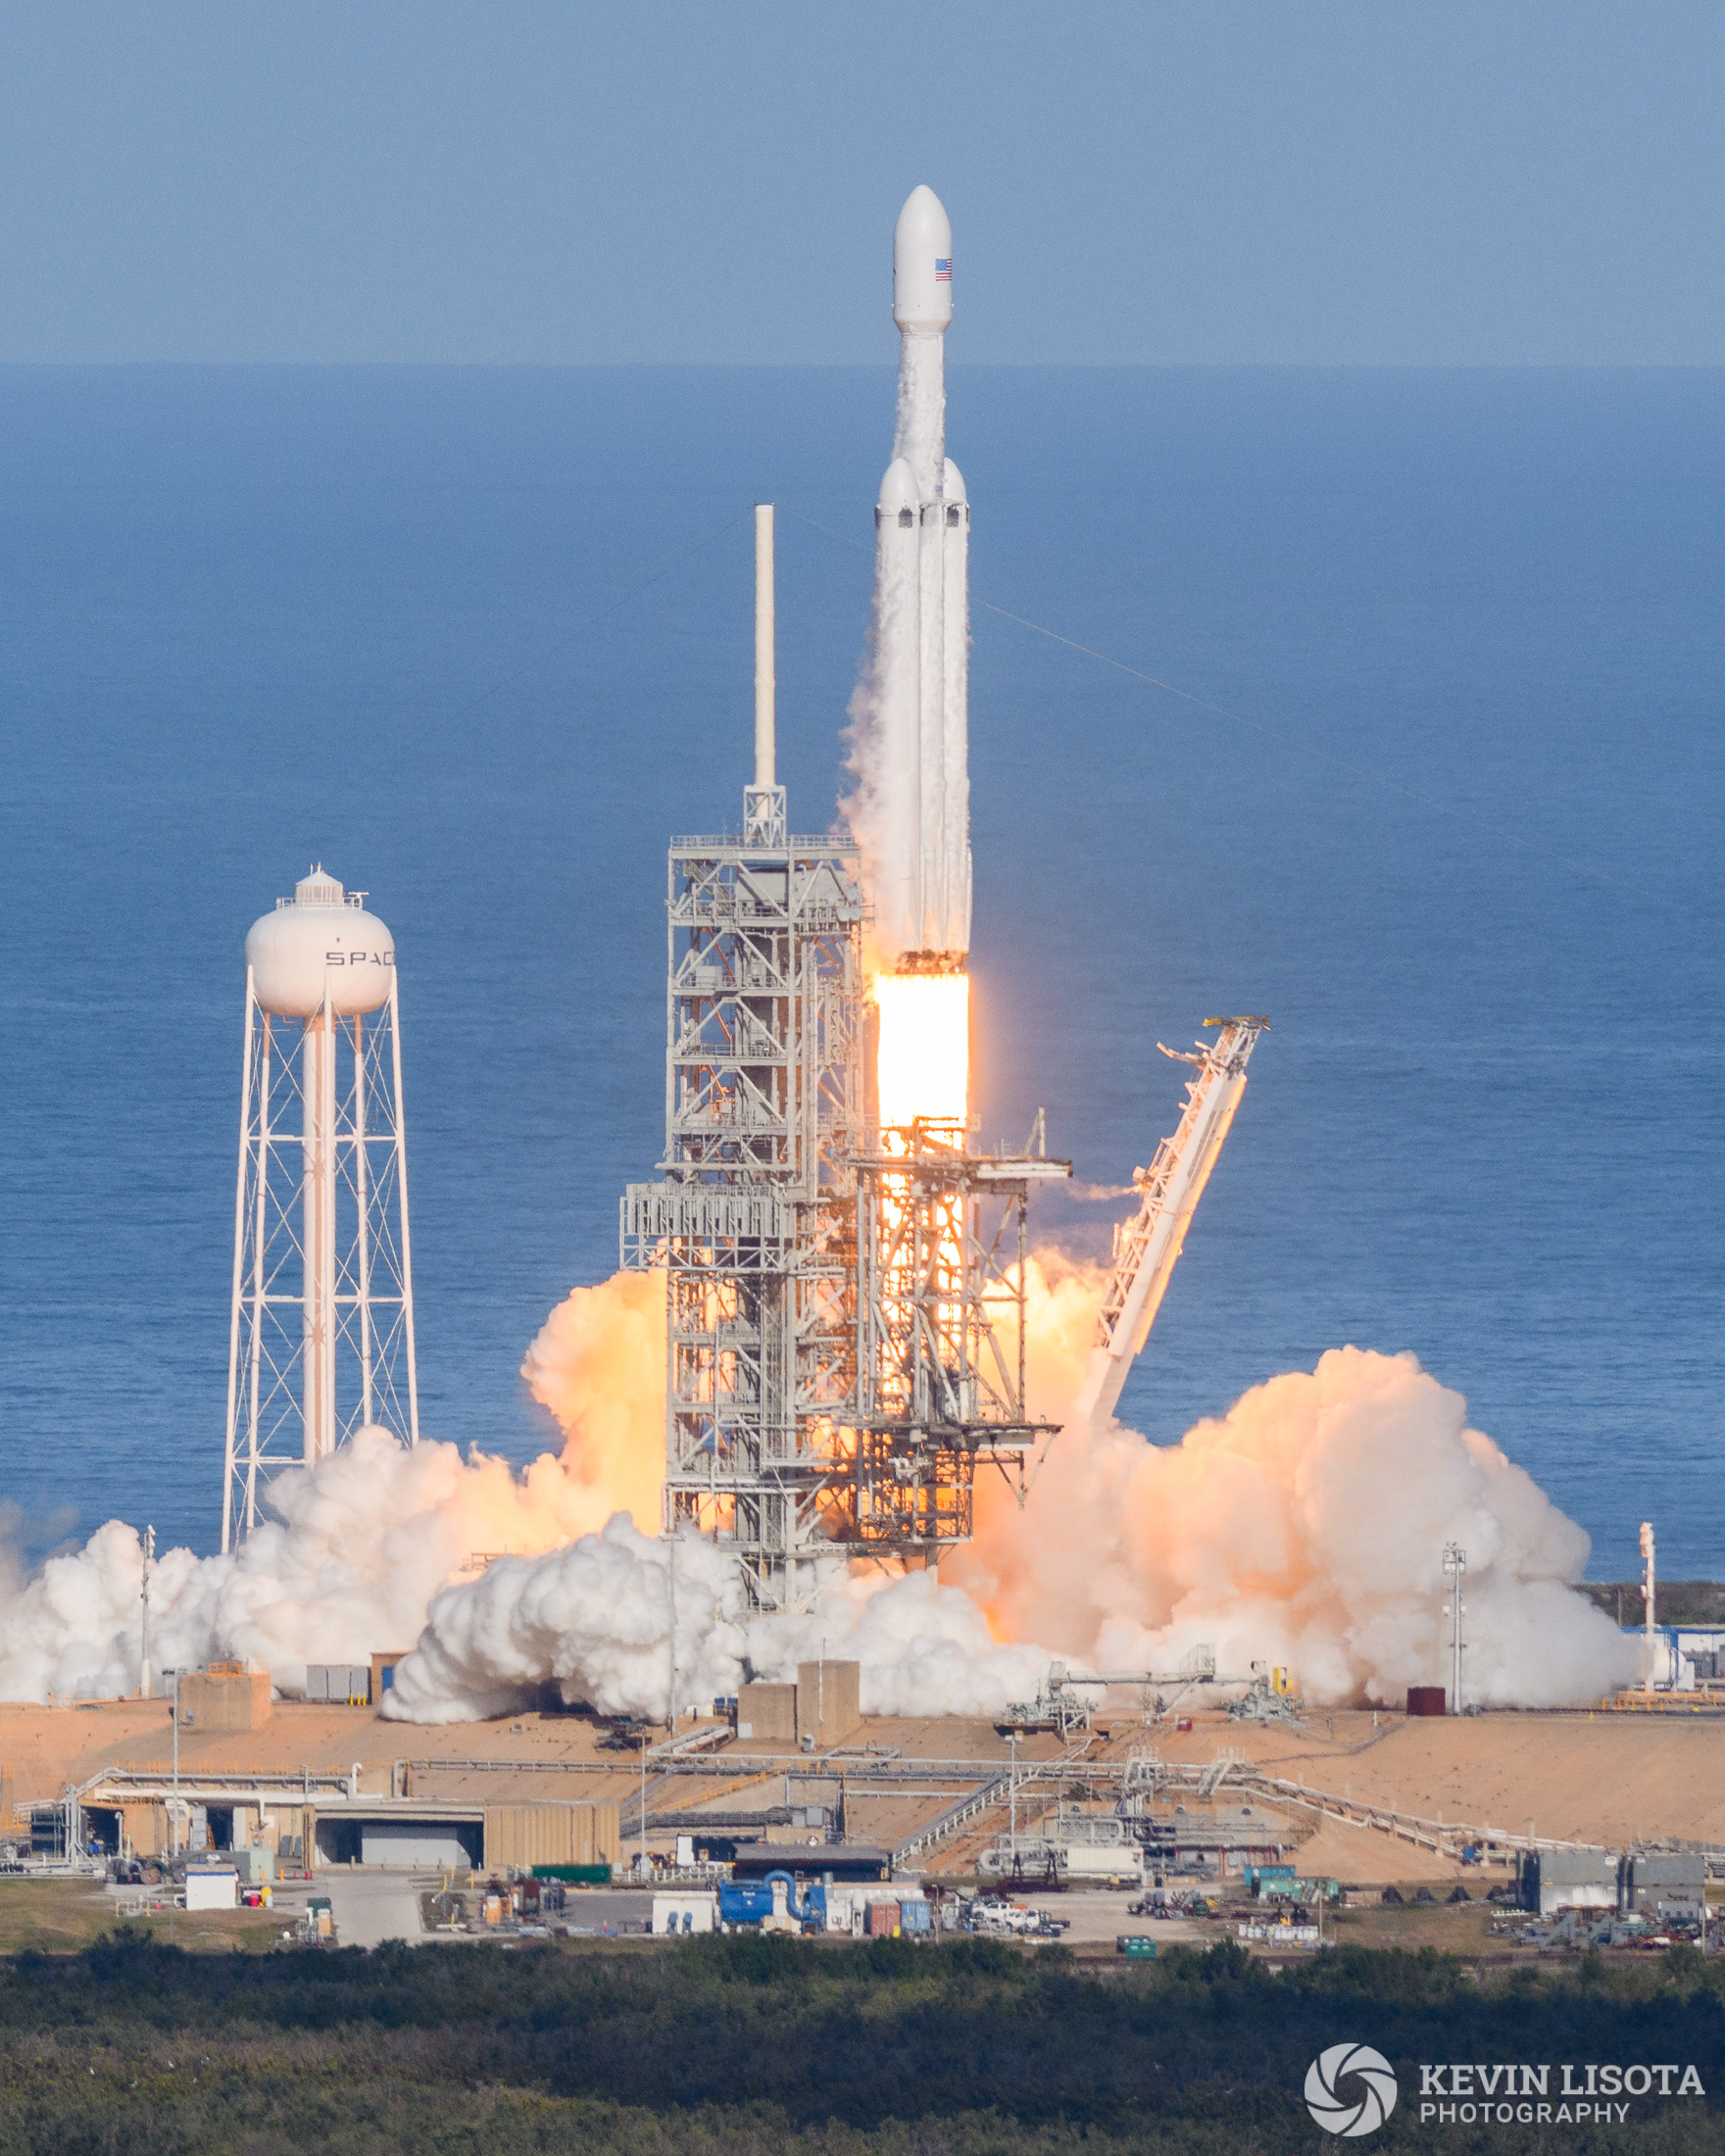
CAPE CANAVERAL, Fla. — SpaceX launched its Falcon Heavy rocket from Kennedy Space Center for the first time Tuesday. I had the unique opportunity to accompany GeekWire’s Aerospace & Science Editor Alan Boyle to photograph the historic launch with remote cameras placed at and around the launch pad.
I’ve photographed many things, but a rocket launch was new territory with many challenges, some fairly large risks and a bunch of new gear. If you want to skip to the finished photos, check out the gallery here. If you want to learn more about the process of photographing rockets, keep reading.
Remote camera setup
To place remote cameras at the launch complex, you’ll need media access, so start shooting rocket launches and make friends with one of the many space-related publications to show them your work. Given the amount of gear you have to lug around and uncertainty of launch timing, it certainly helps if you are within driving distance of a launch facility.
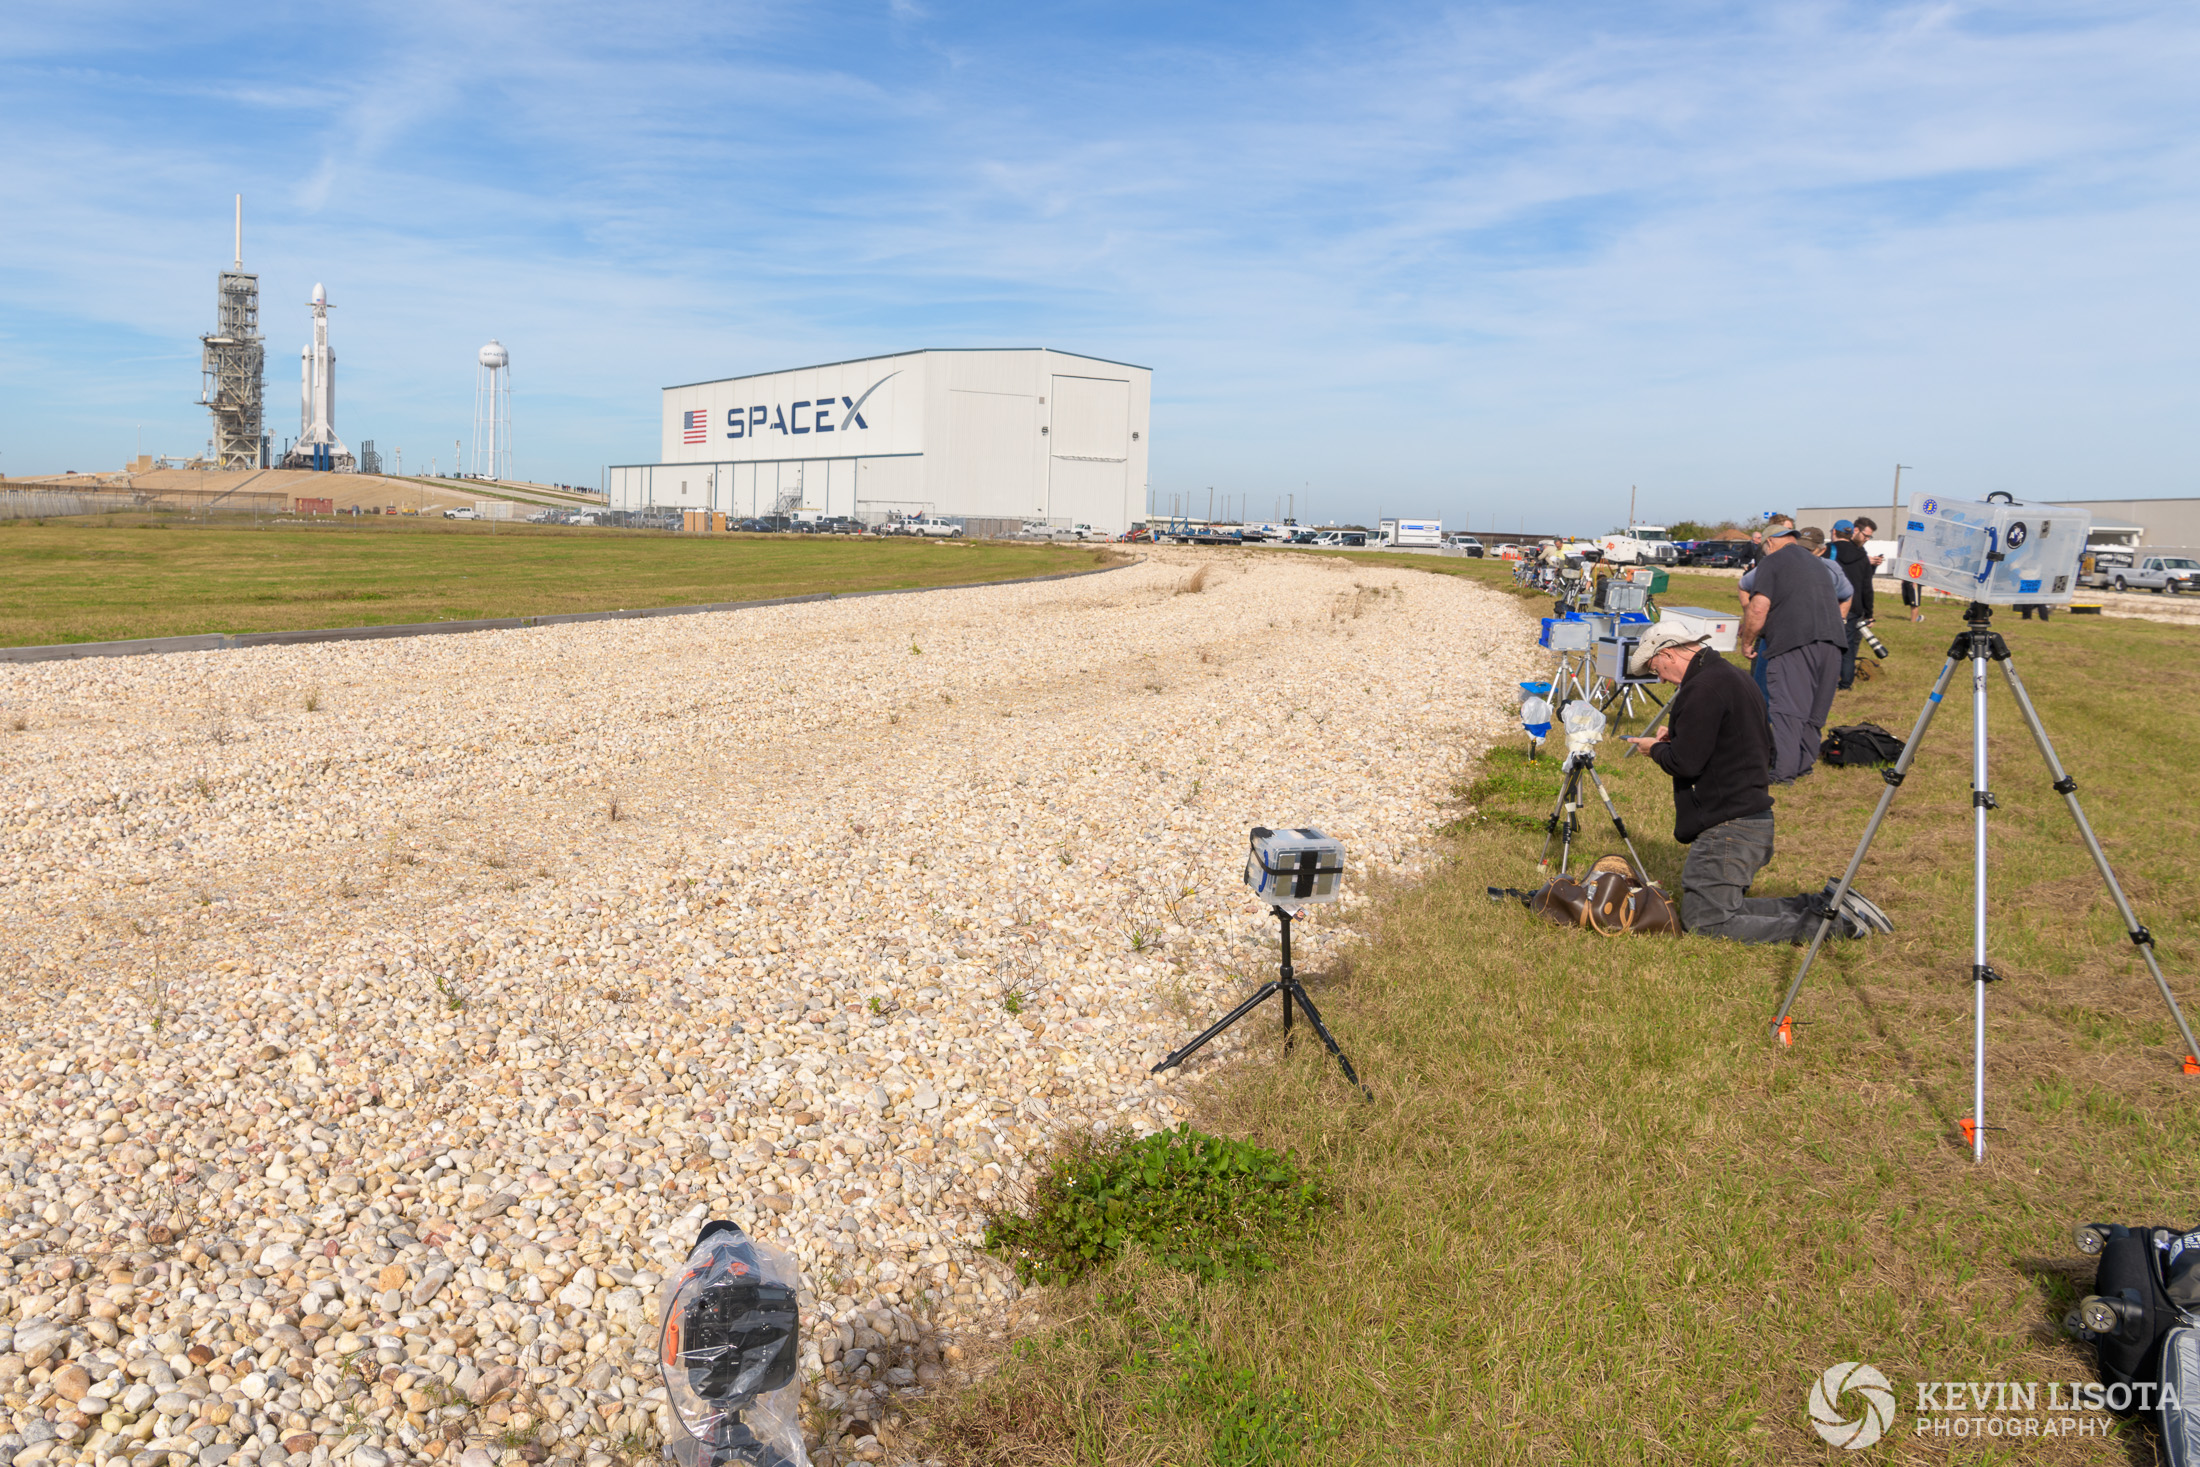
Remote cameras get set up the day before a scheduled launch. There was heavy media interest in the Falcon Heavy launch, so there were 3 busloads of photographers who setup remote cameras.
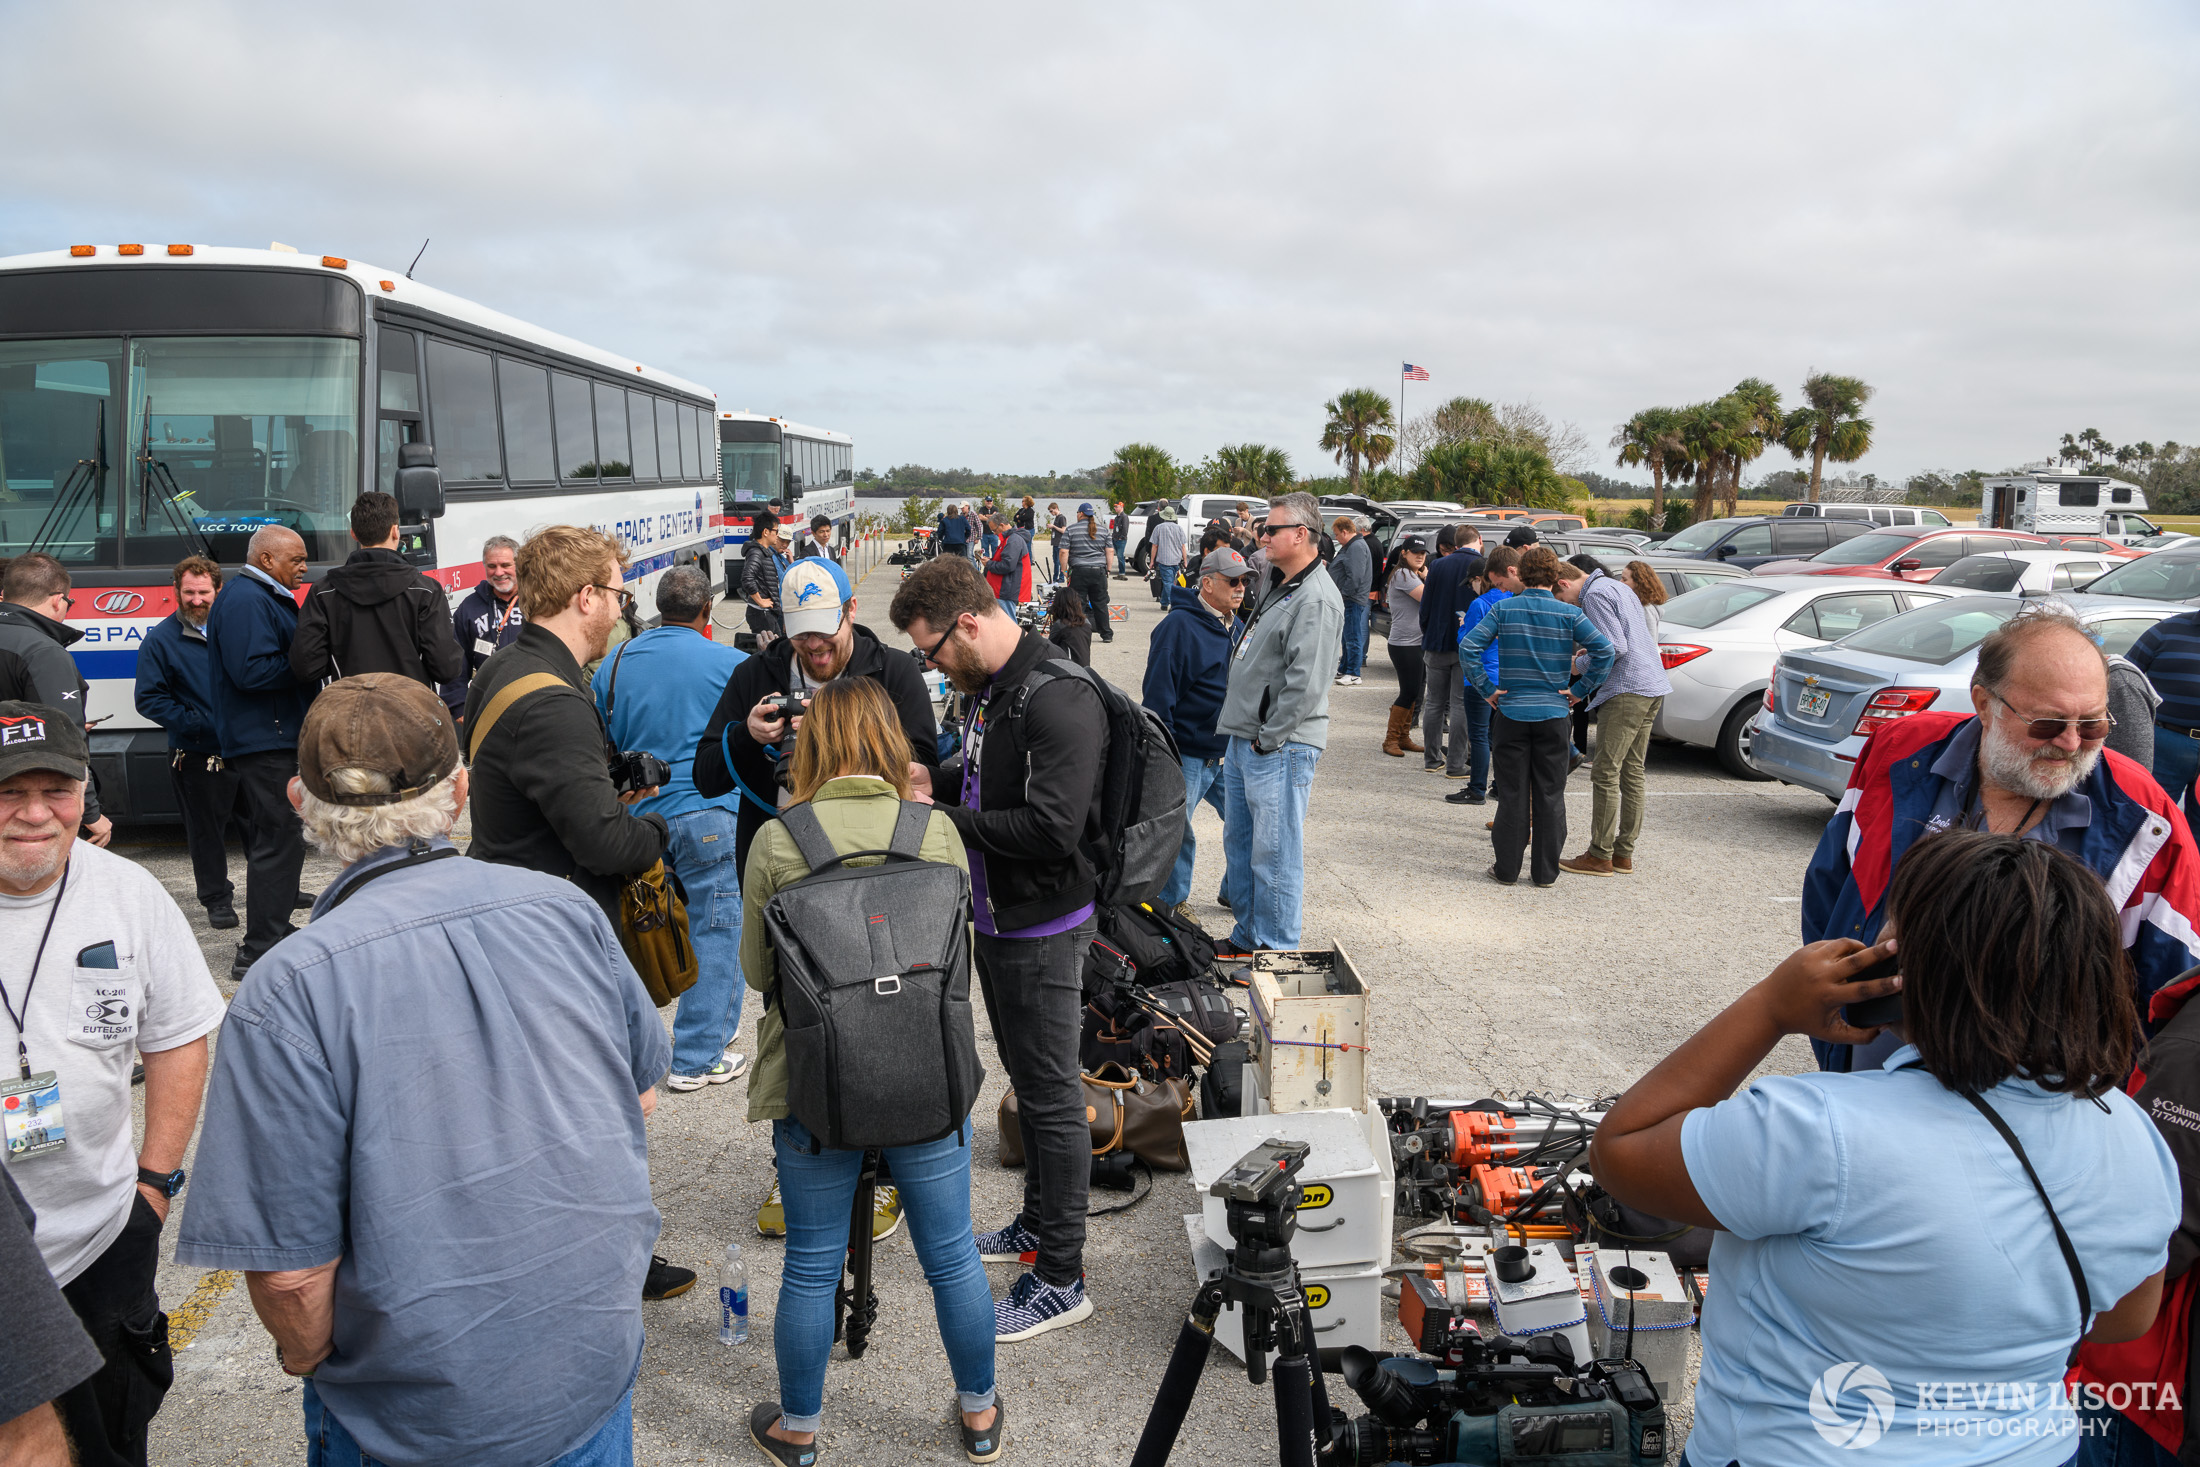
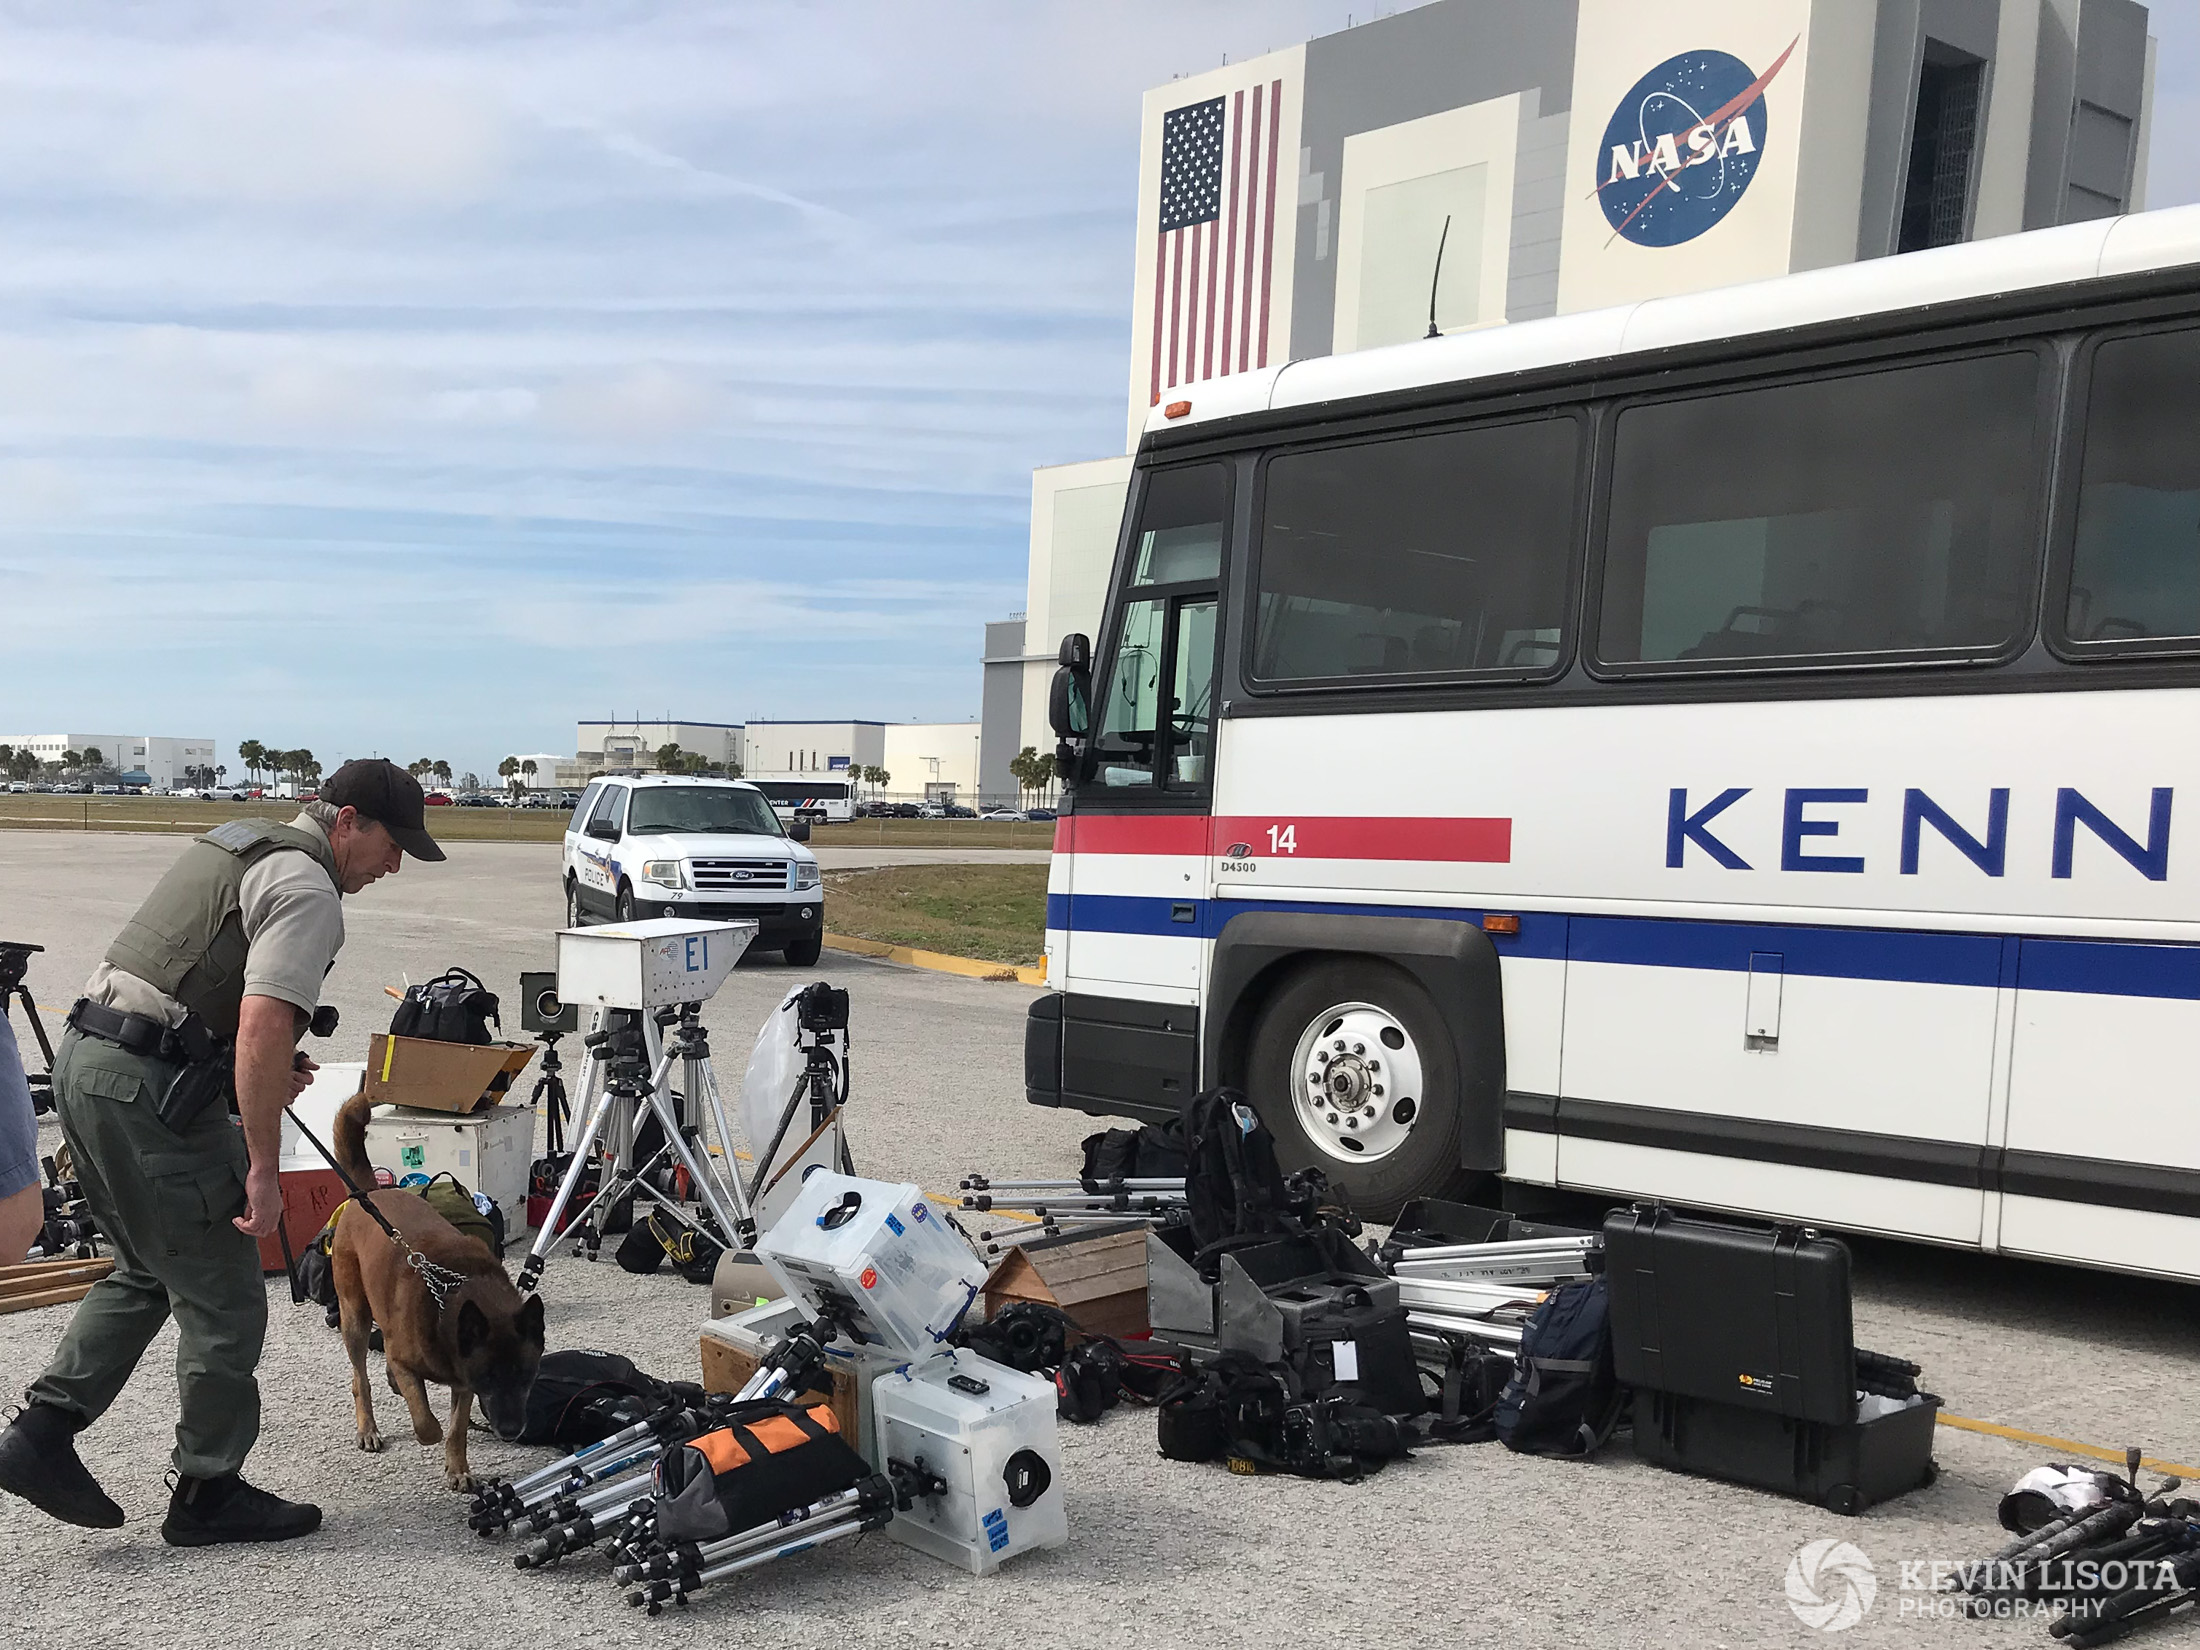
We were asked to line up all of our equipment and step away from it while a security dog sniffed everything before loading the buses. As you can see, the quantity of gear was a bit extreme.
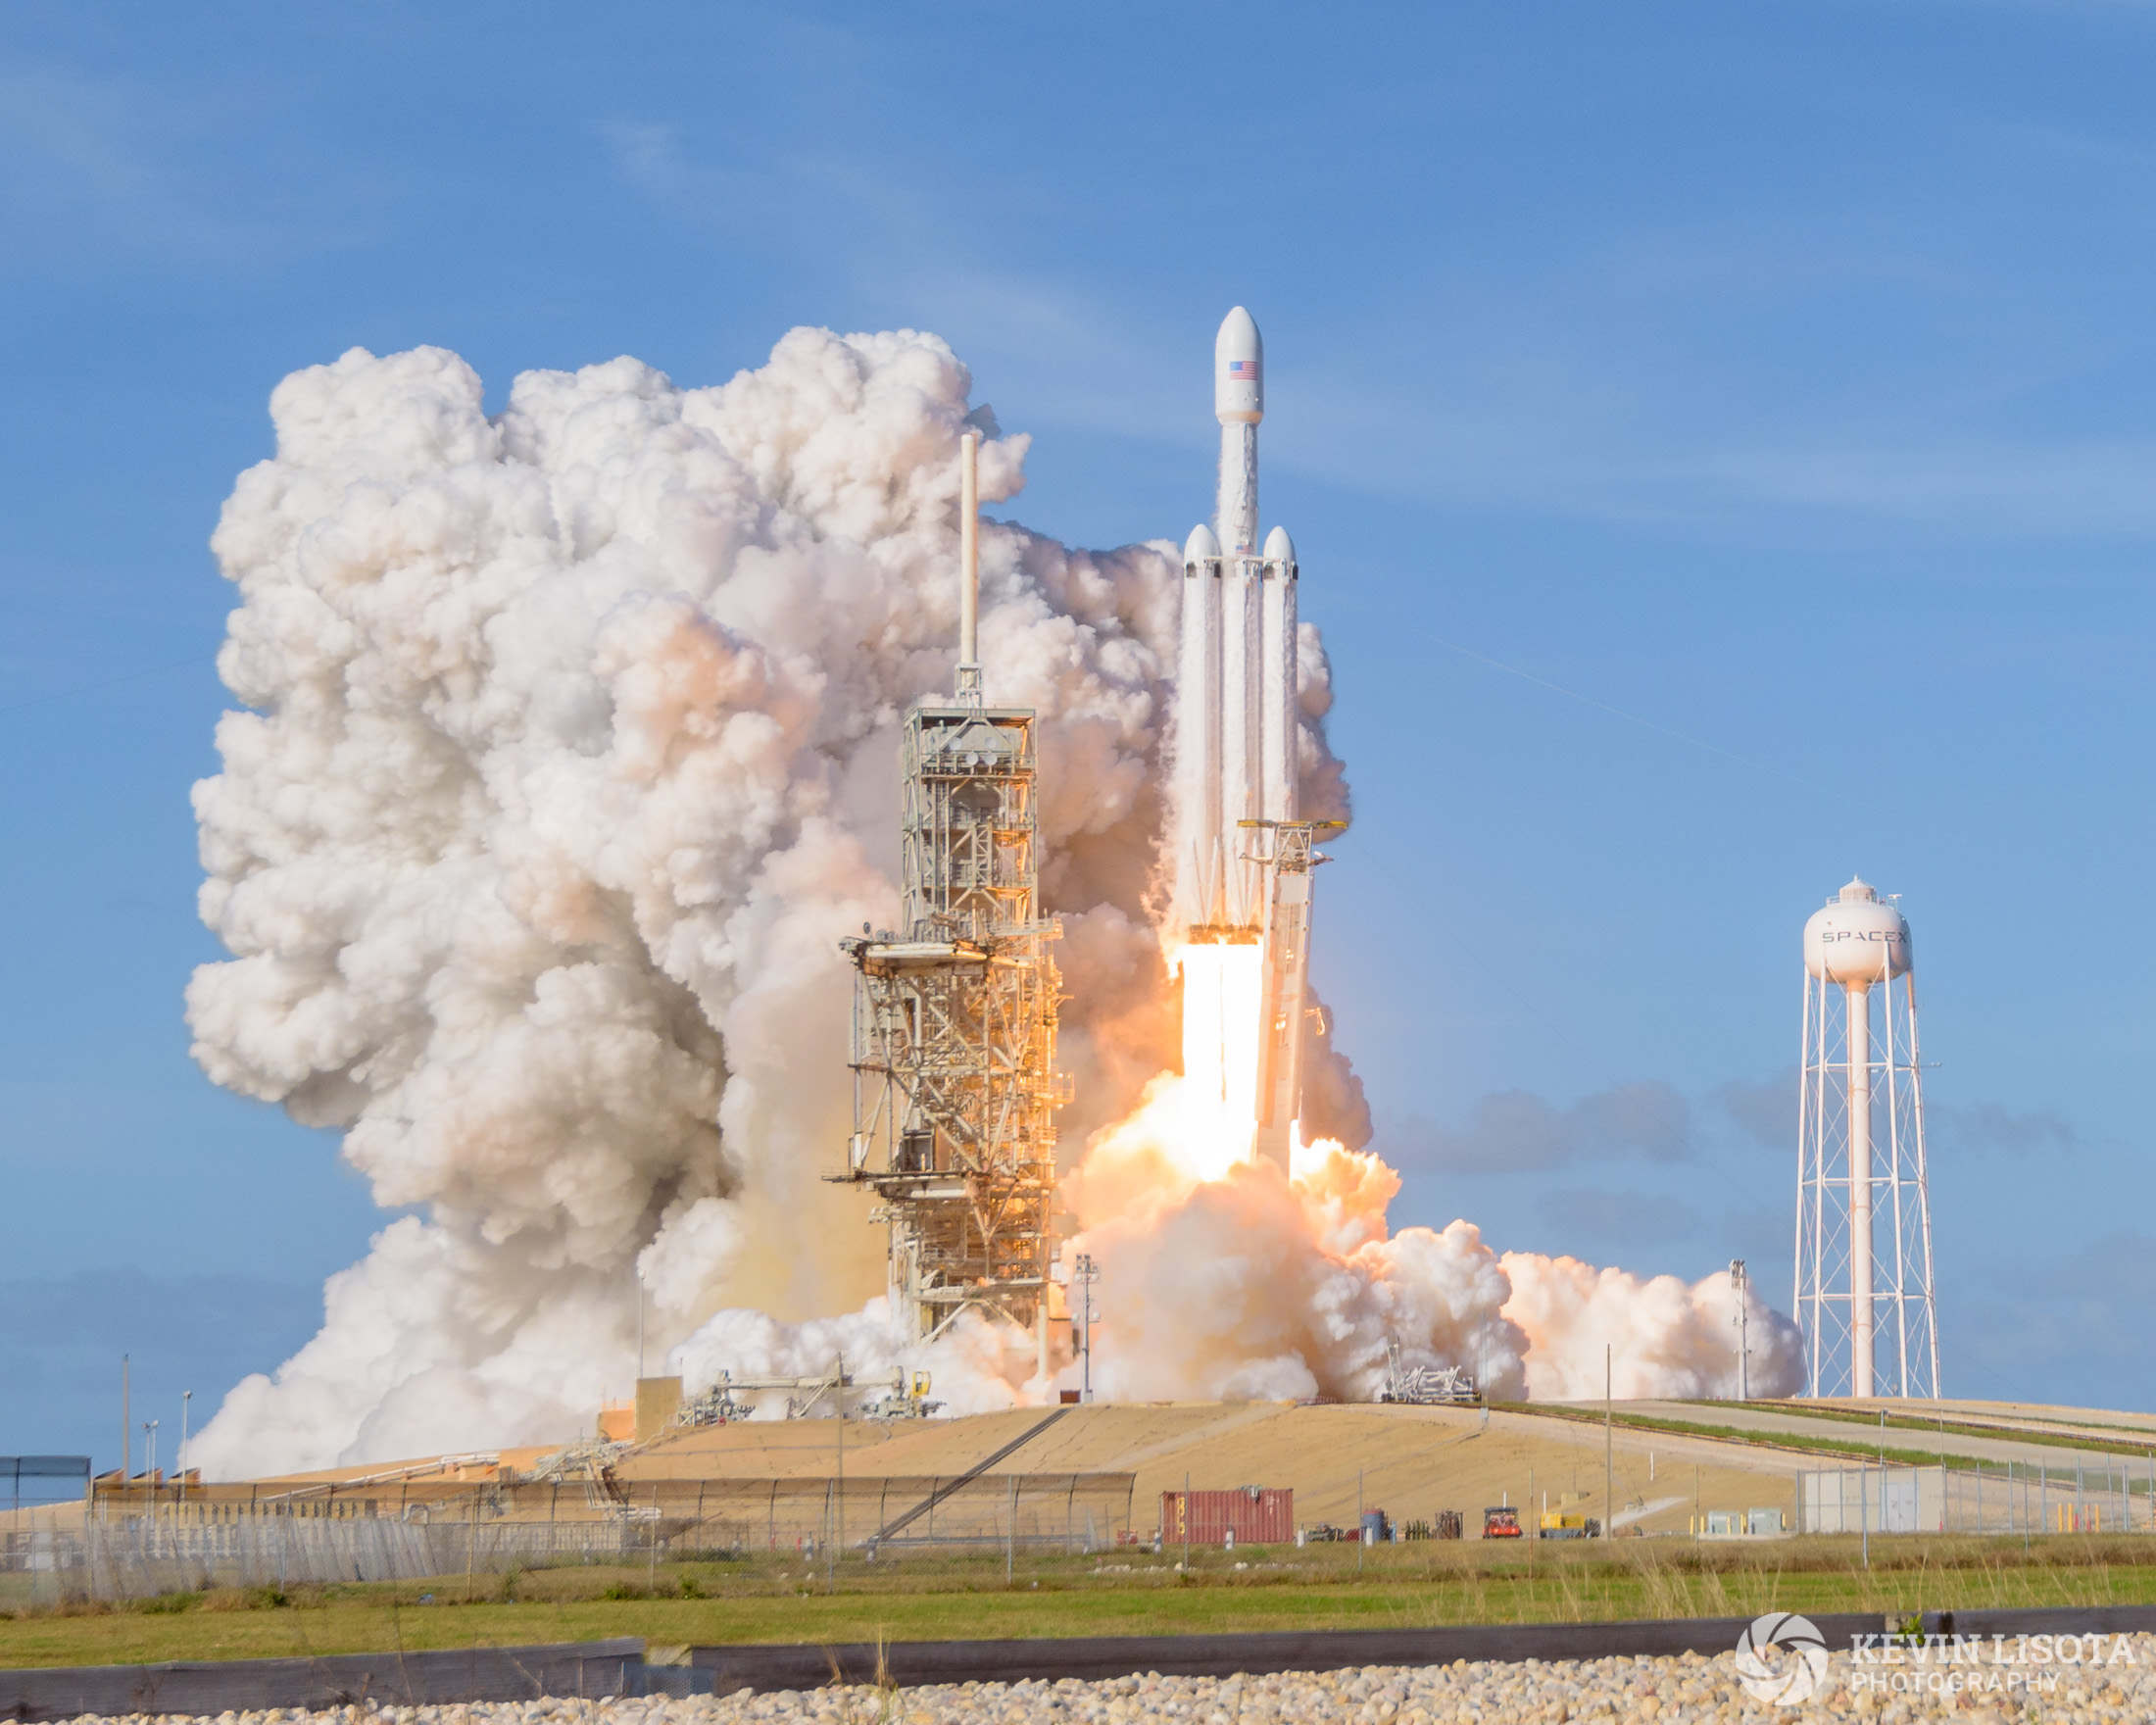
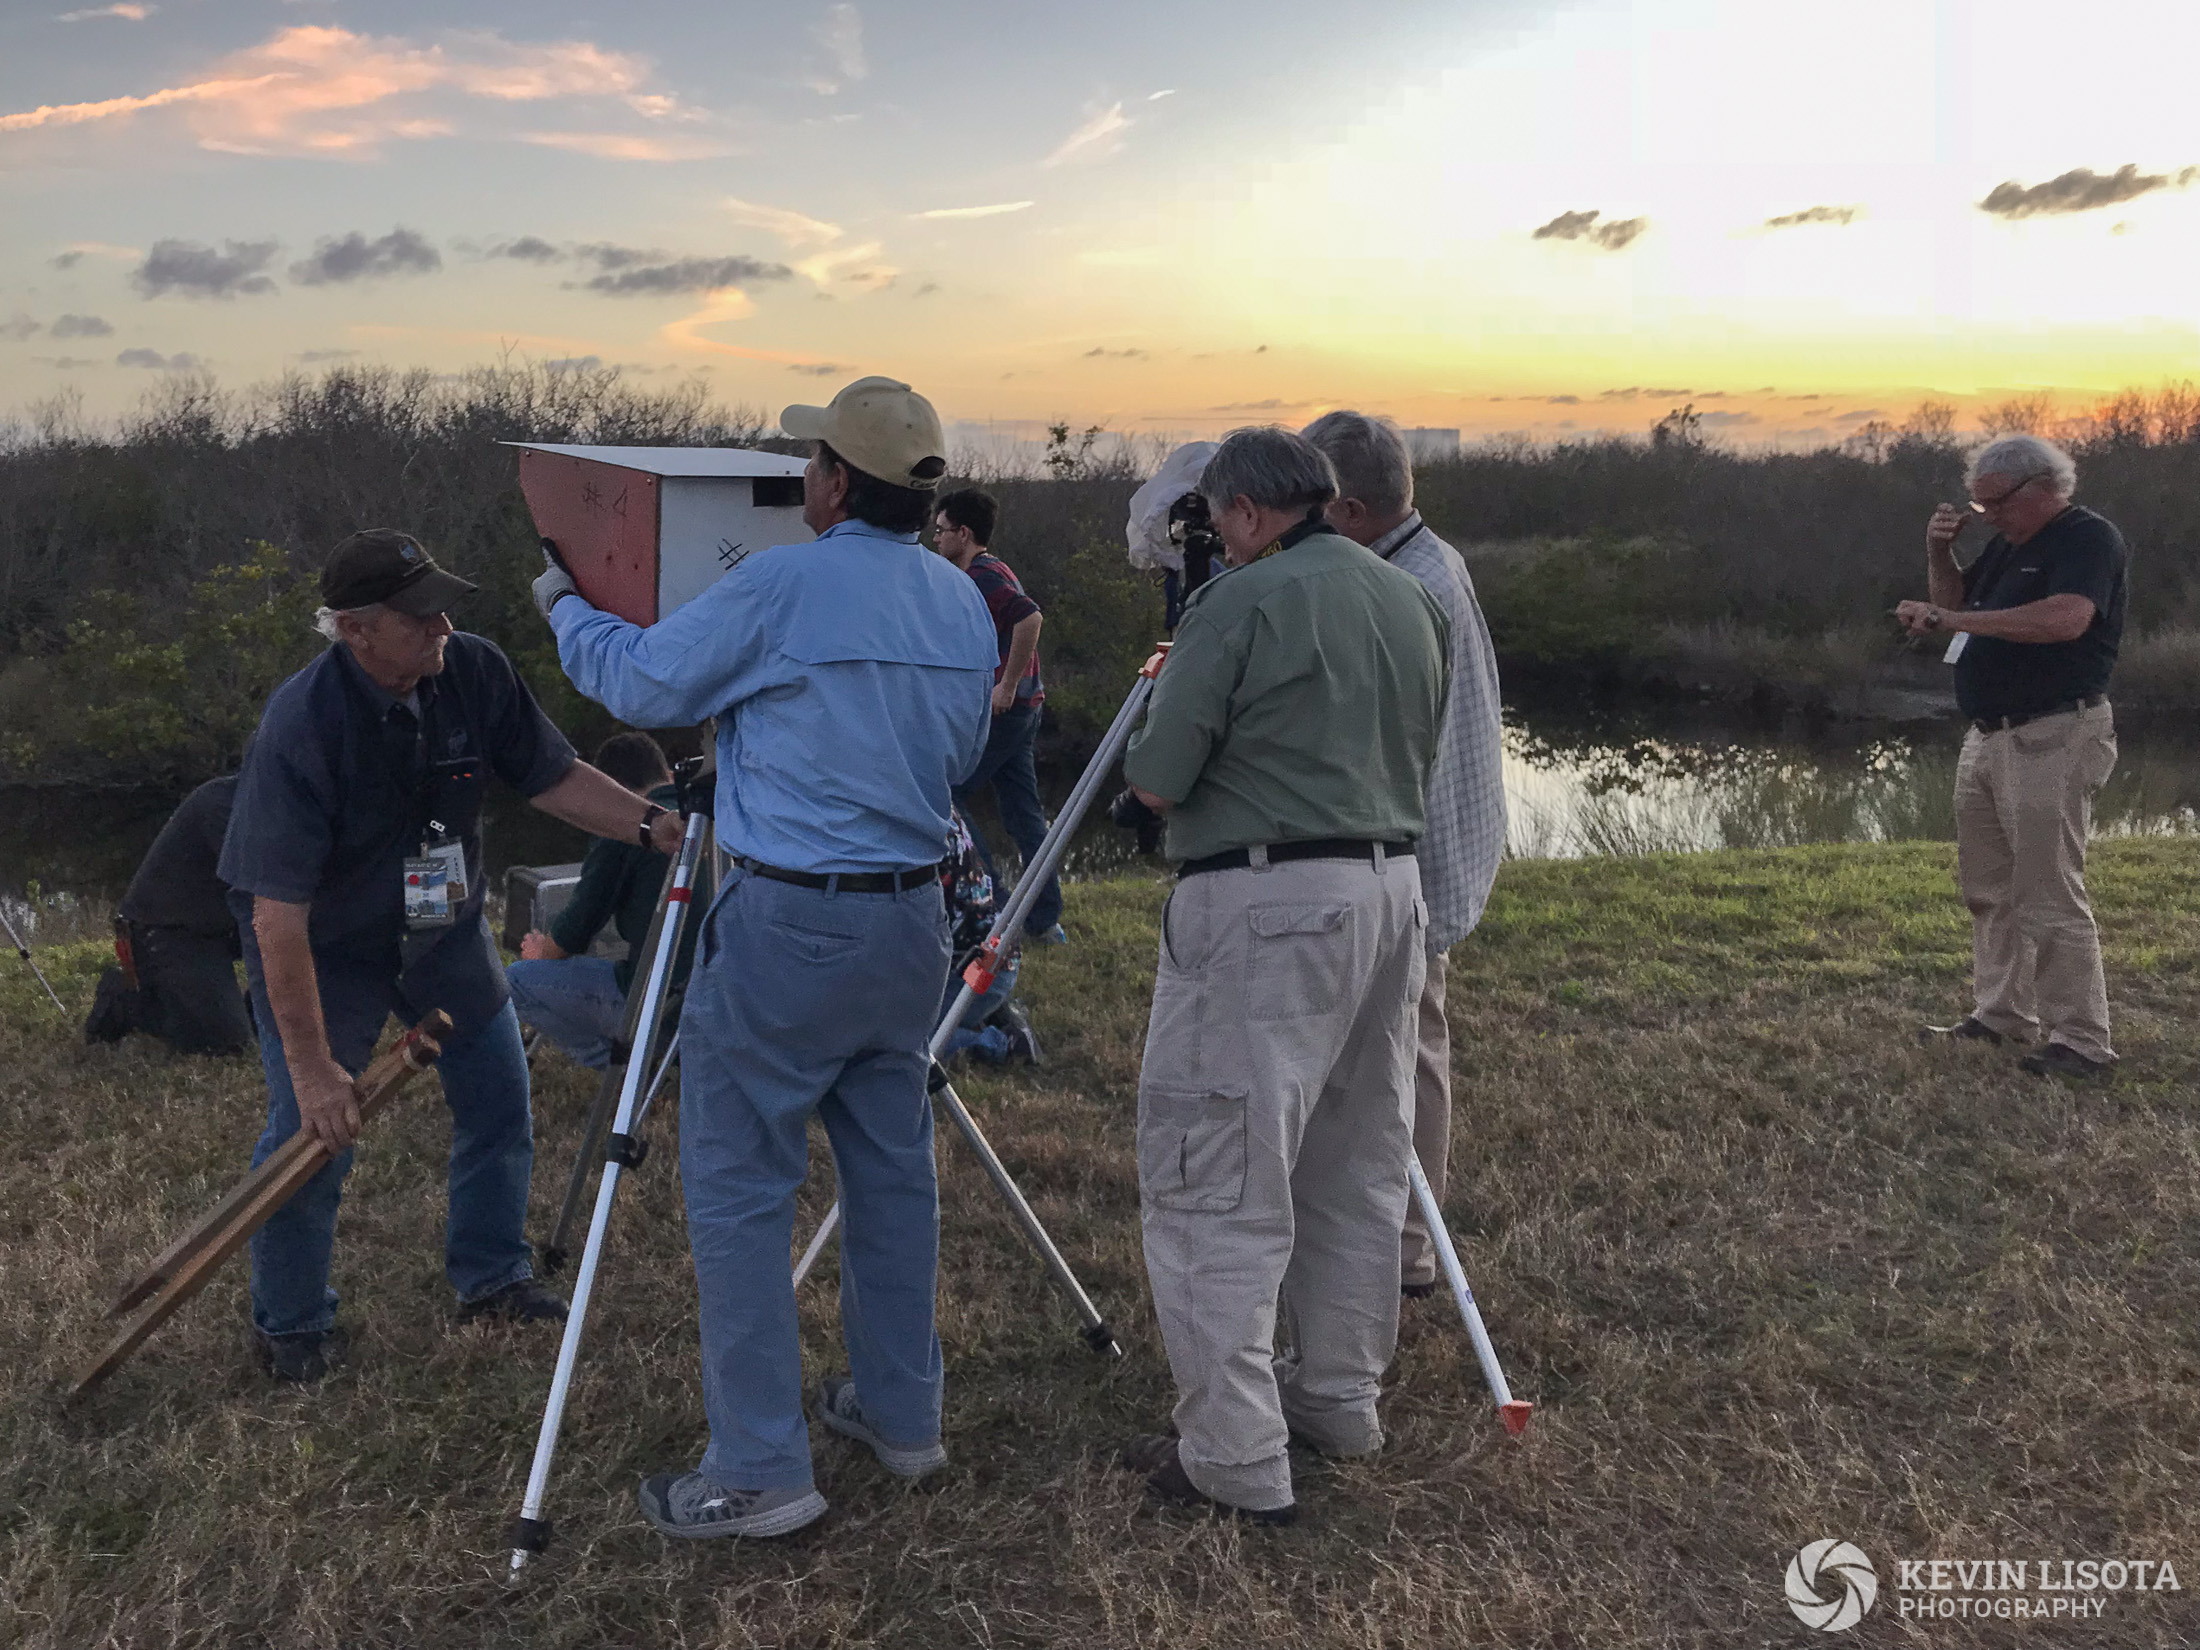
From there, we traveled to five different shooting locations. Three of the locations were outside of the launch pad fence. The two closet locations were actually inside the launch pad fence. I placed two cameras outside the fence, and one inside. In hindsight, I wish had even more cameras for different types of shots.
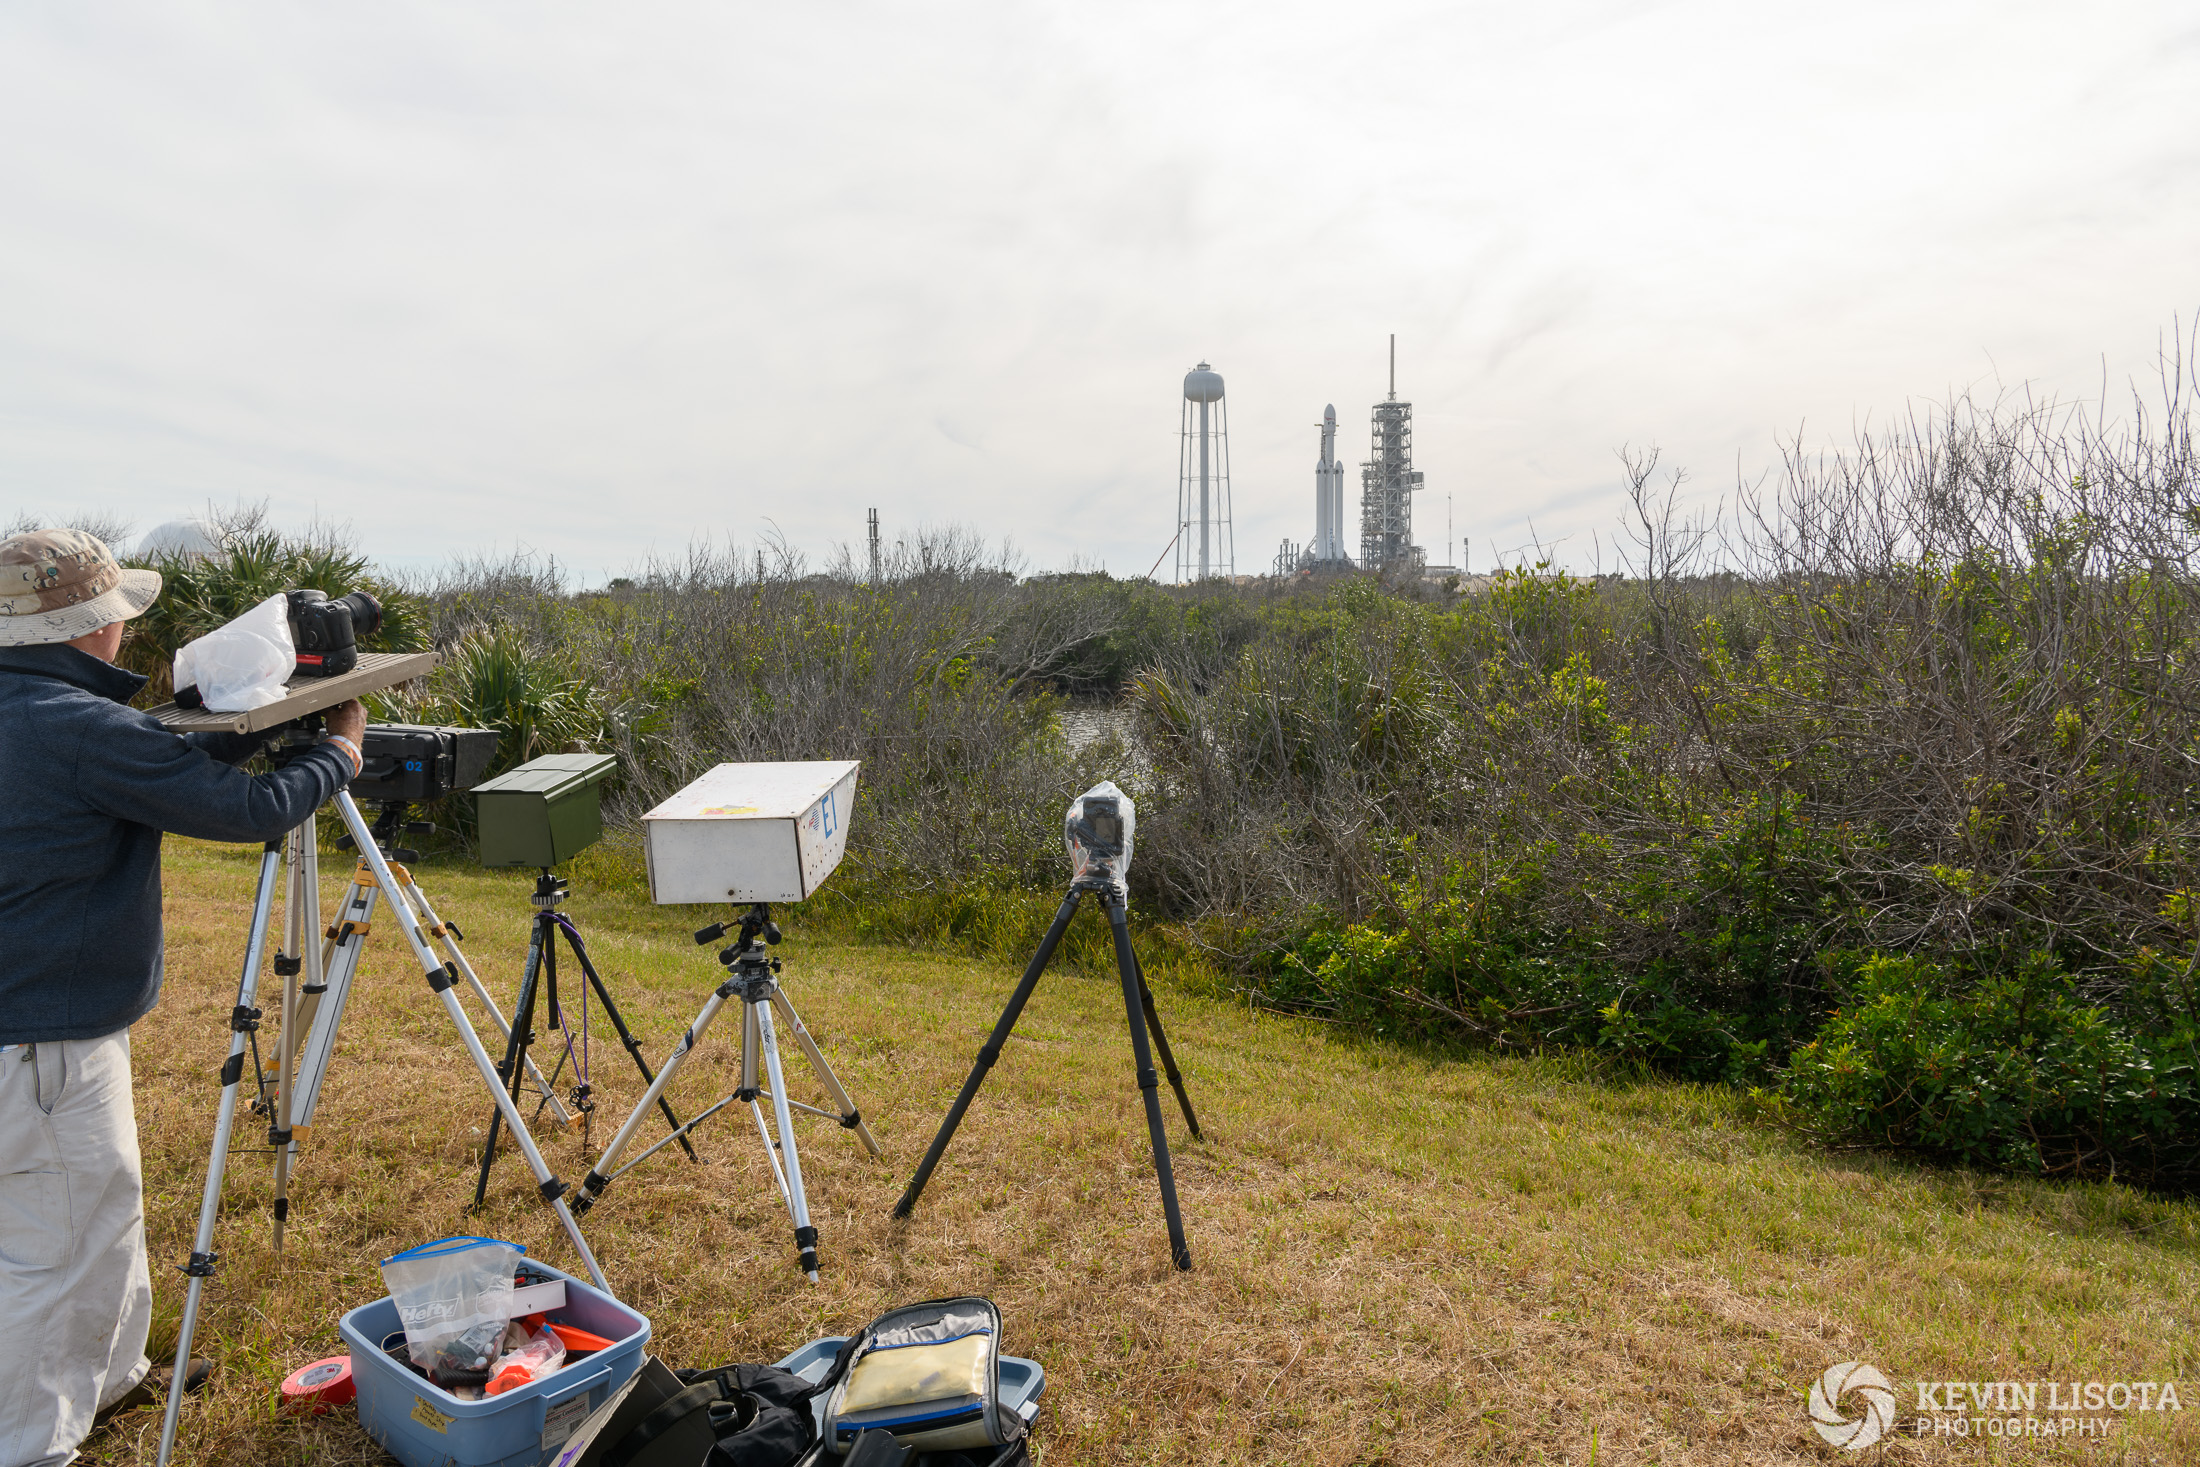
We only had 15-20 minutes at each location, so the process was frenzied. Placing my tripod, framing the shot and making sure all of the camera and trigger settings were correct took every second. It didn’t help that I had little context for the types of shot I might get during launch at each location, and I second-guessed my setup for the entire next day.
Protect the gear
Since the cameras would be left overnight for at least one night, and in one case two nights, my camera gear needed protection from the weather, along with being secured during the launch.
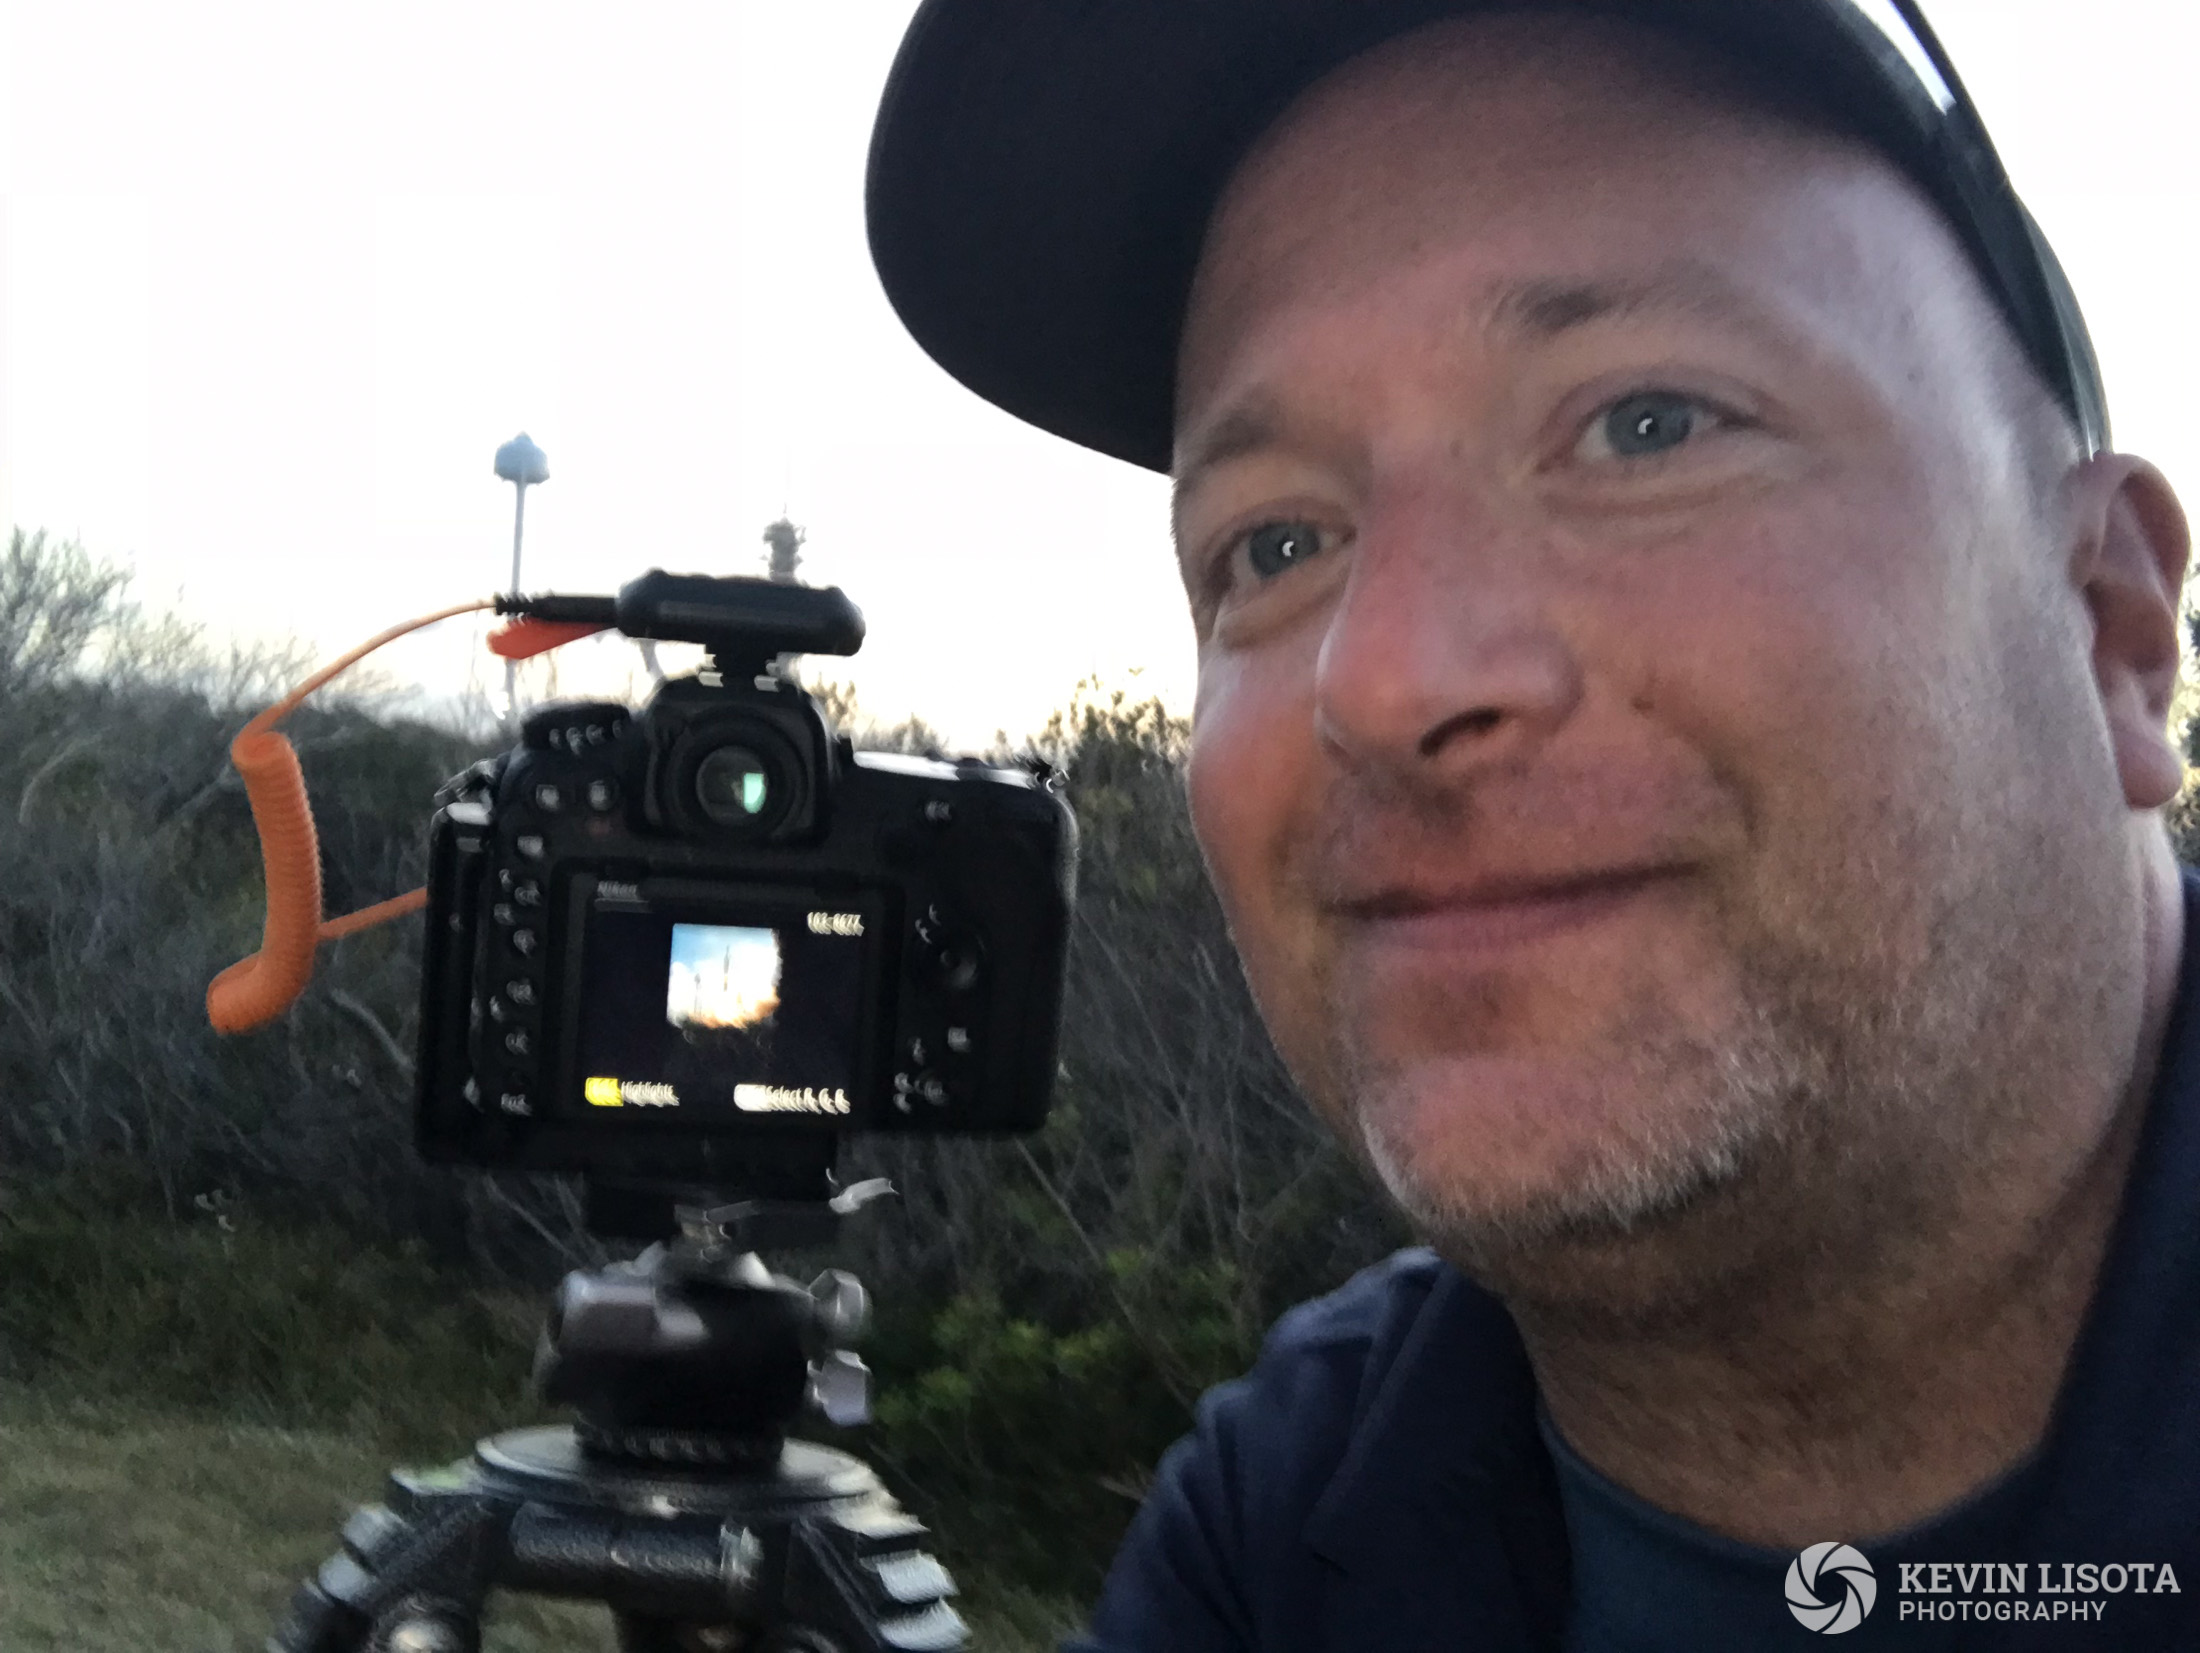
Even with great weather in Florida, you are guaranteed to have a dew-soaked camera in the morning. If the launch is near sunrise or twilight, some sort of dew heater or hand warmers wrapped around the lens is critical to avoid ruined photos. In this case, the launch window was slated from 1:30 PM – 4:00 PM, so dew would burn off in plenty of time.
It could also rain, and I had no opportunity to retrieve the cameras, so I wrapped everything except the front of the lens in plastic.
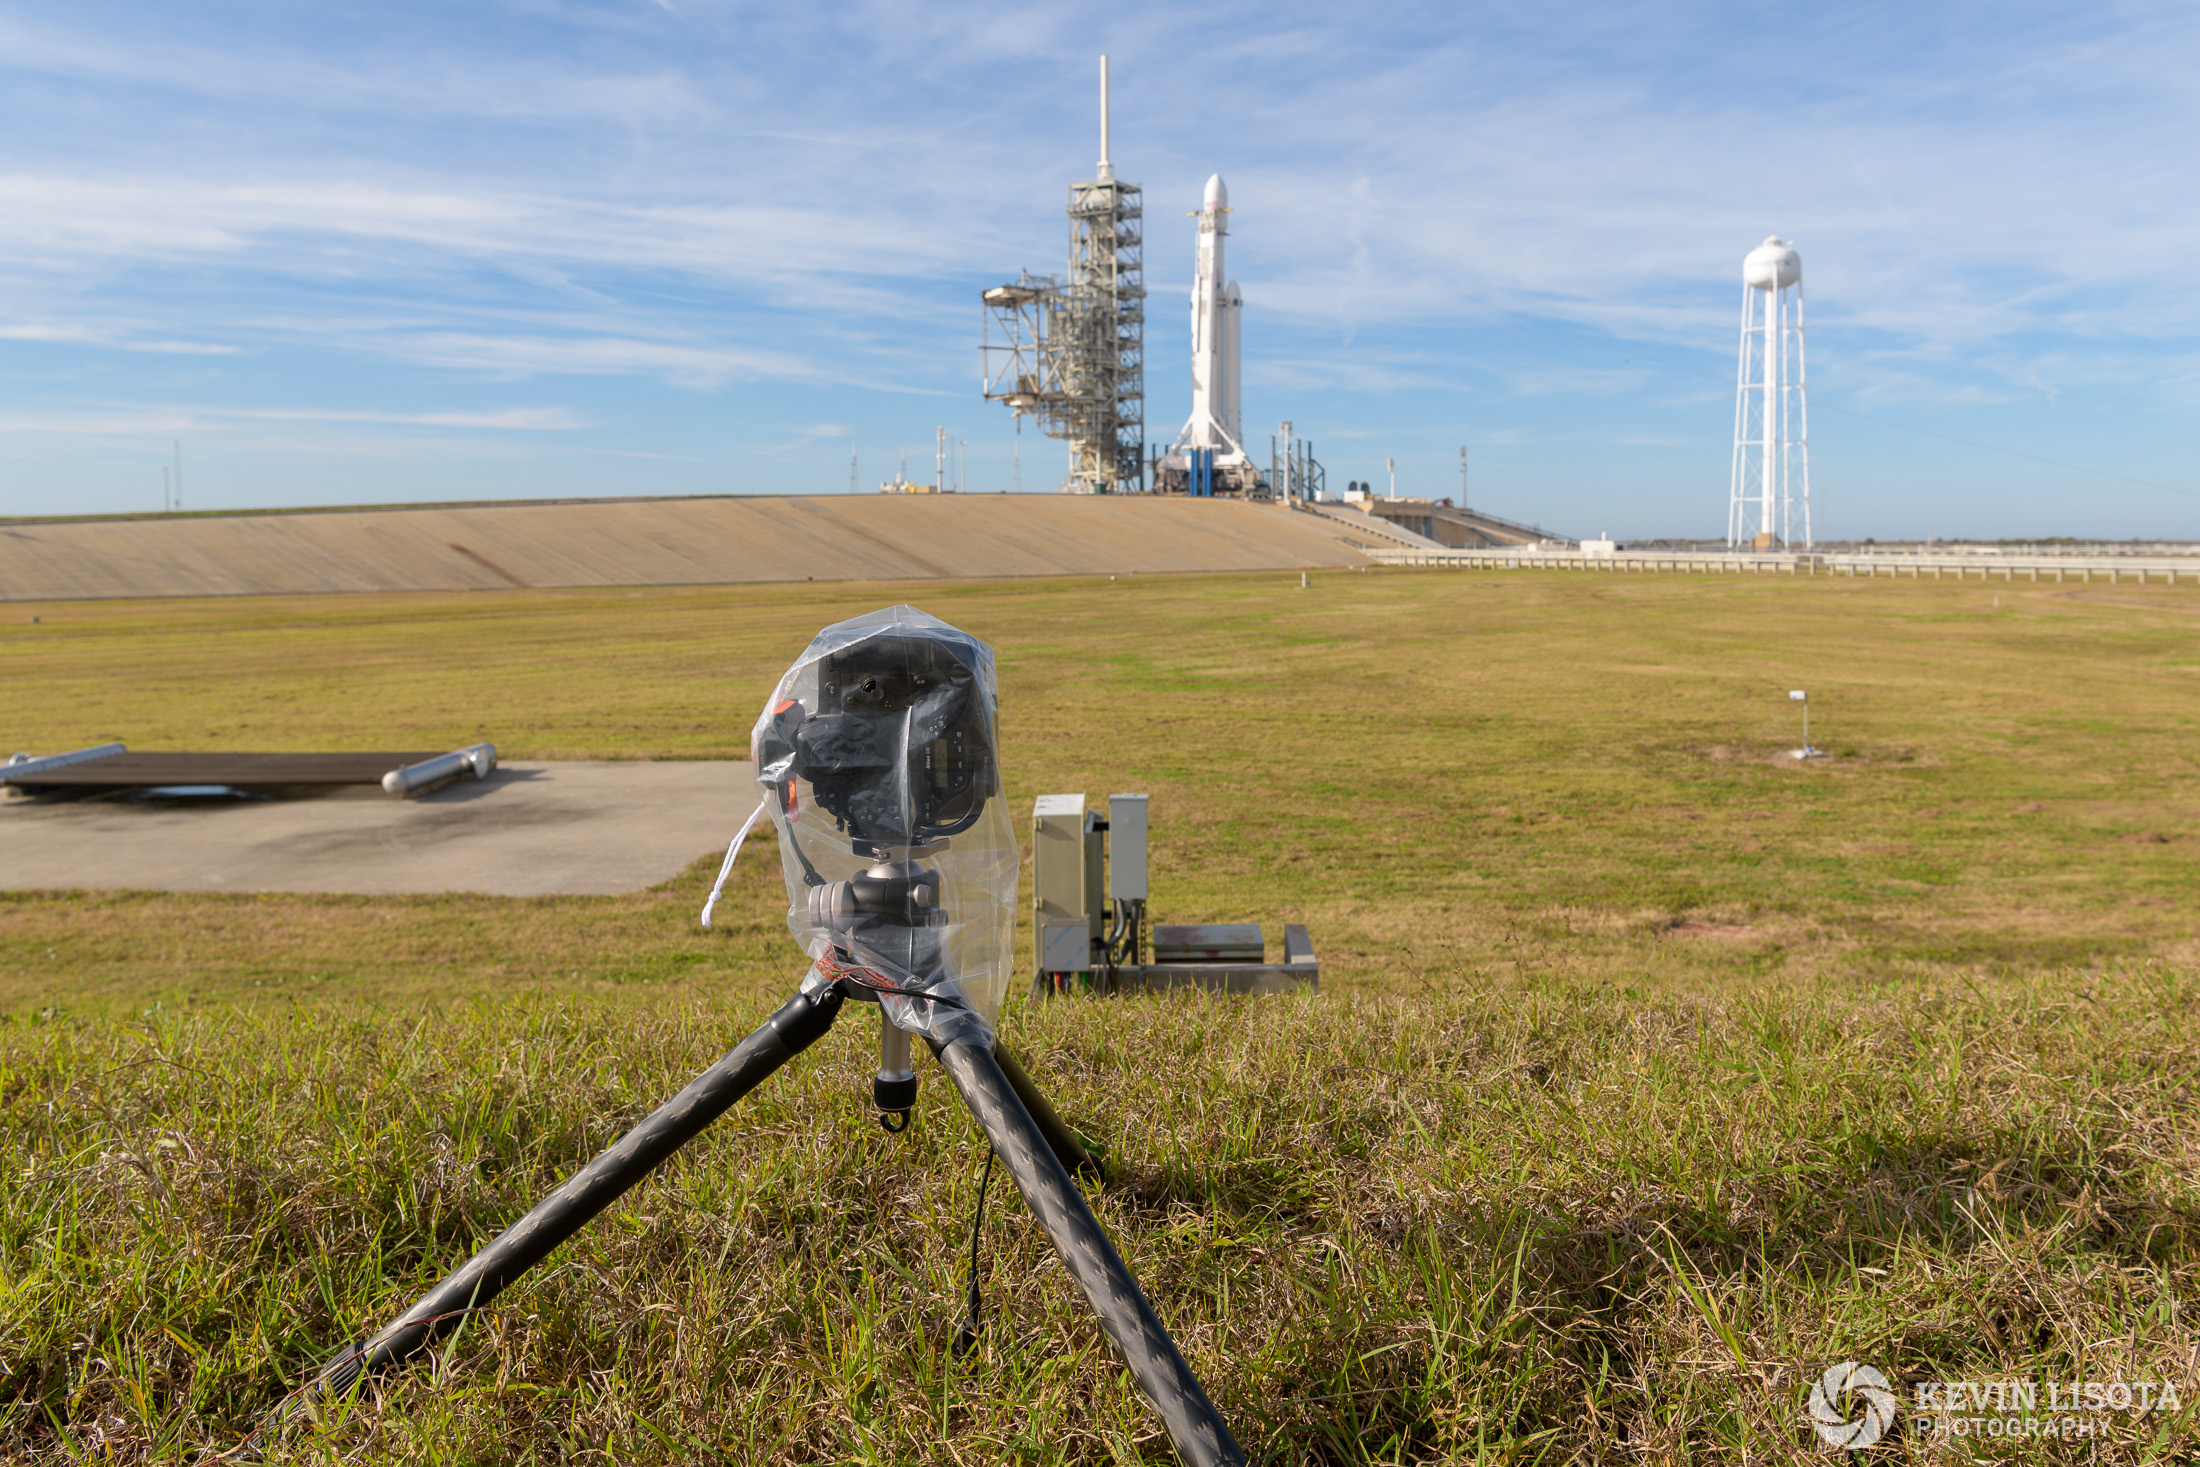
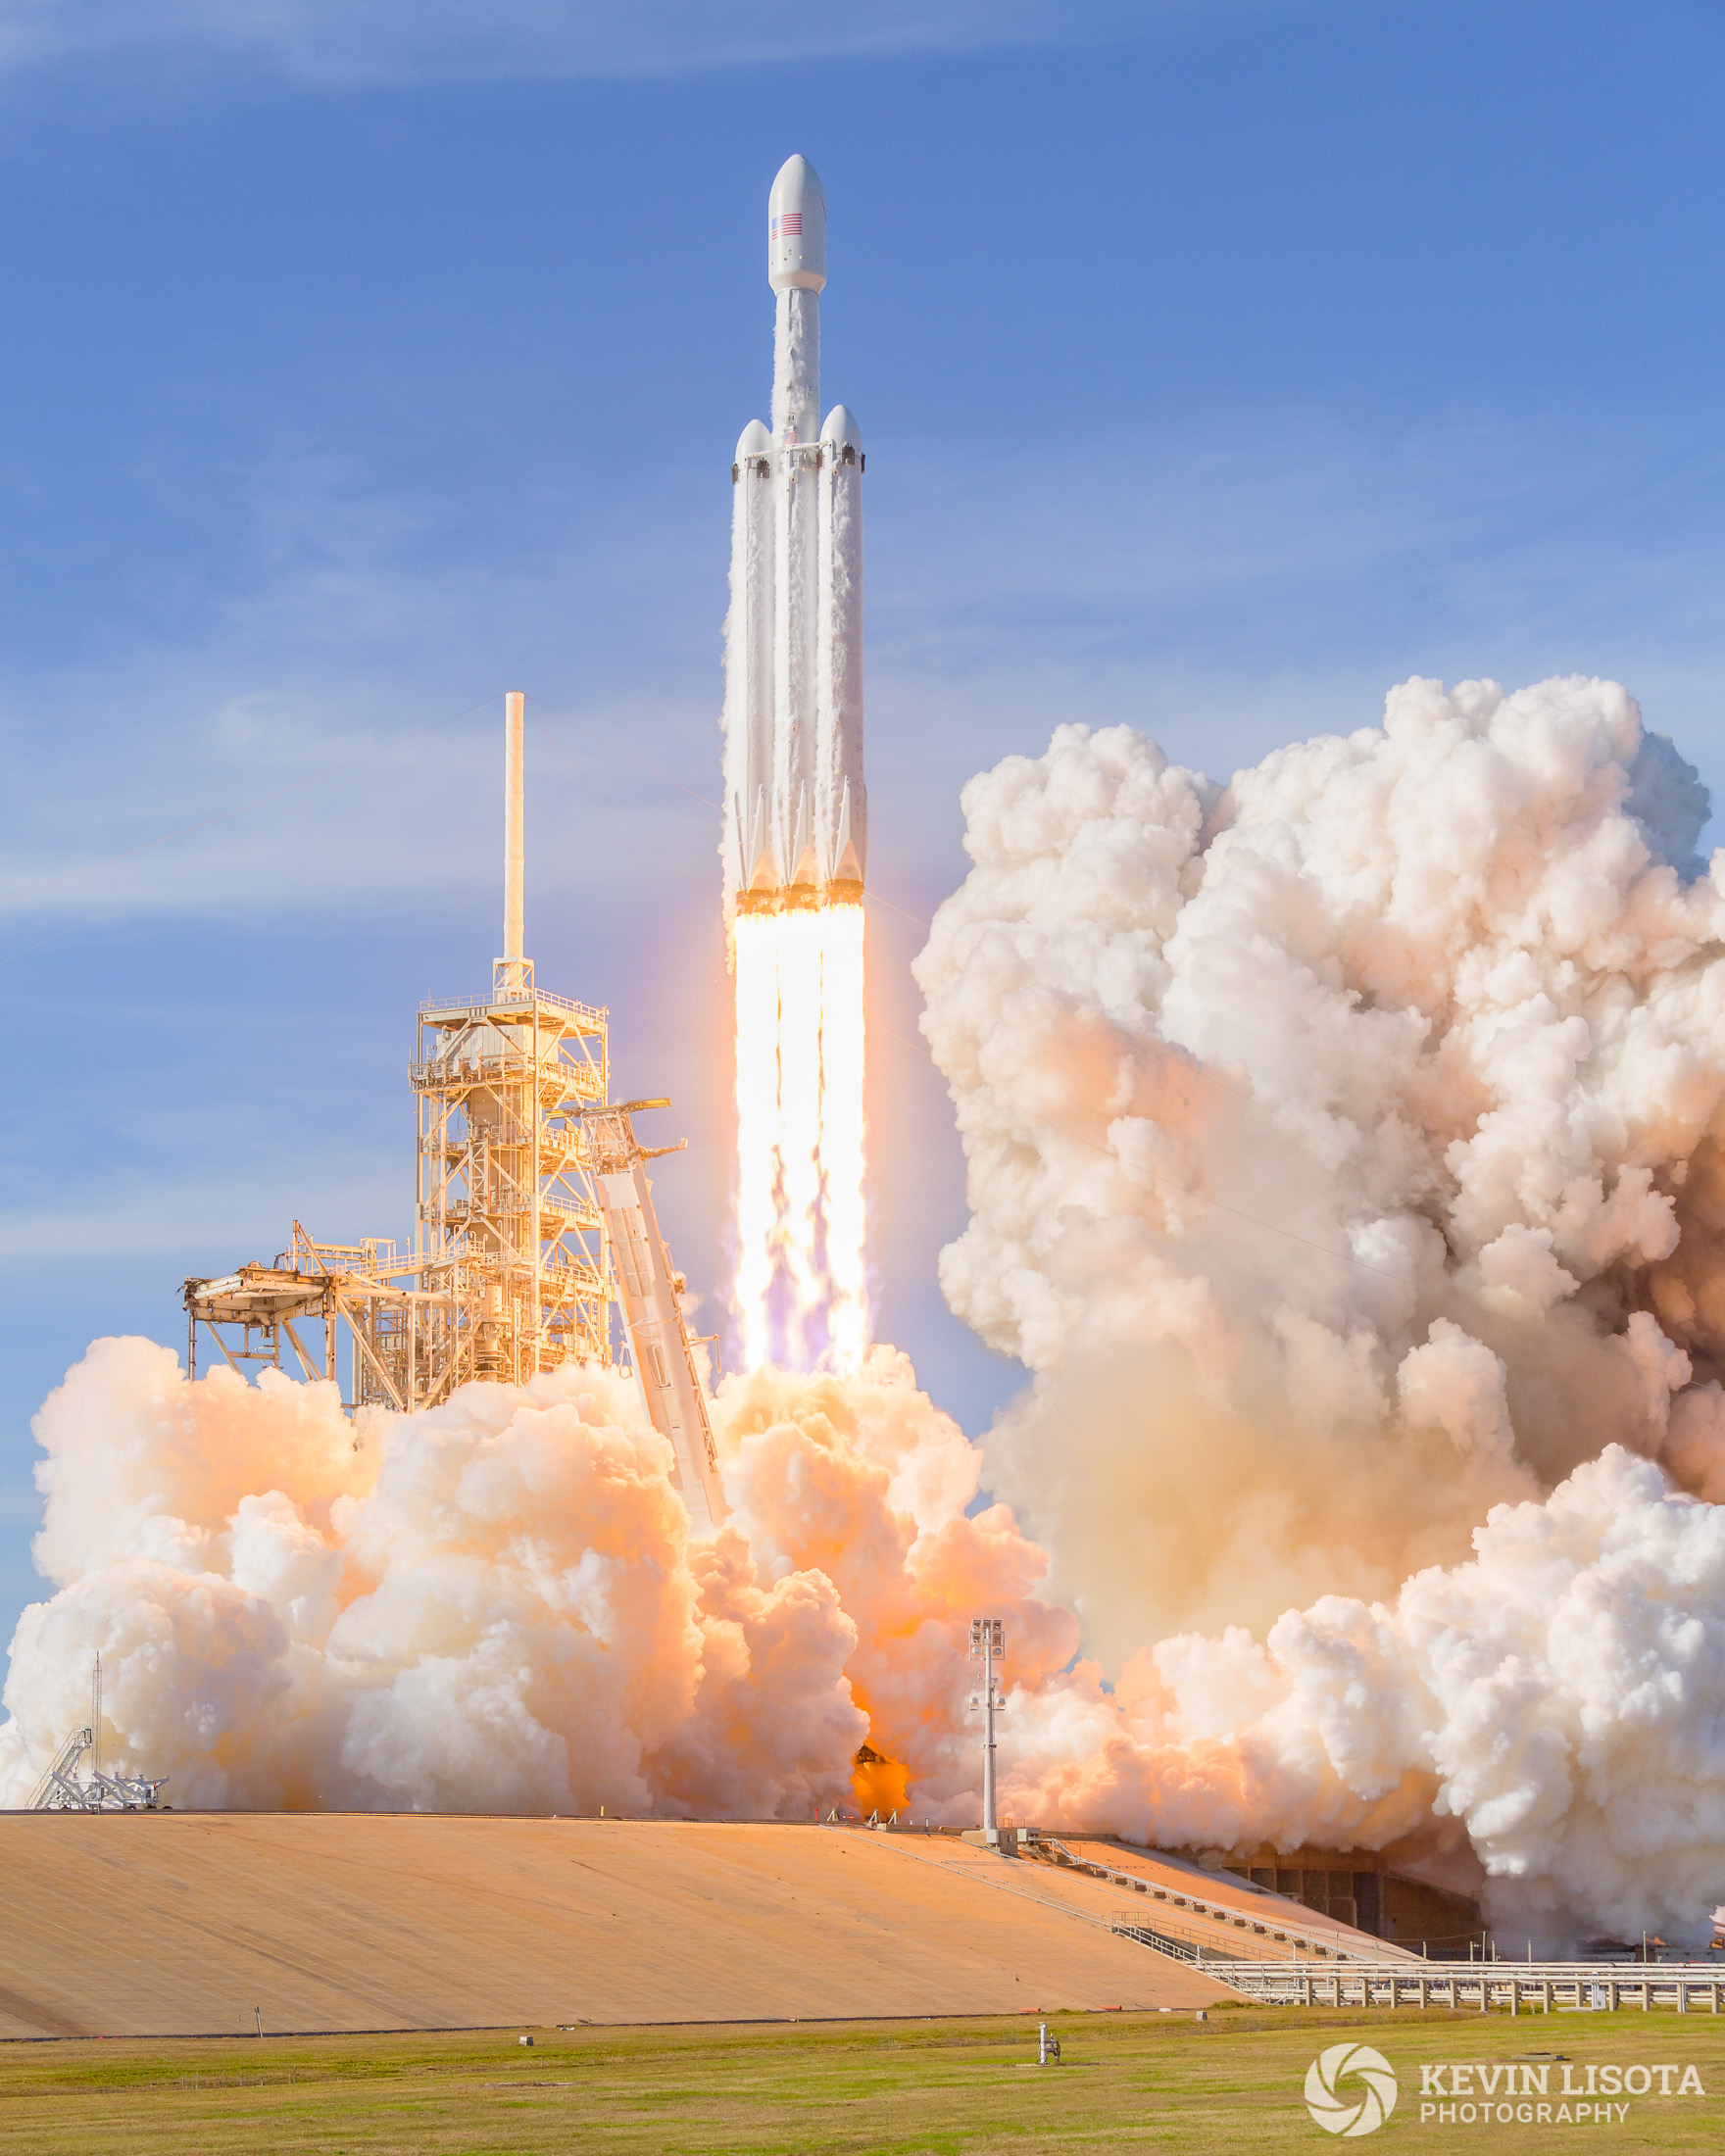
It is also important to protect the camera from the rocket itself. With more than 5 millions pounds of thrust at launch, the Falcon Heavy is capable of throwing cameras hundreds of feet or destroying them from quite a distance away.
Many photographers will want to place a UV filter in front of the lens, but every launch photographer I spoke with said to skip it. It adds more surfaces for dew to collect, and can add nasty flares from the bright rocket. Yes, you have to put the front element of the lens at risk.
Thankfully the launch went smoothly and no one’s cameras were lost or damaged. However, a launch pad explosion or a rocket trajectory that points the thrust at the cameras can have dire consequences.
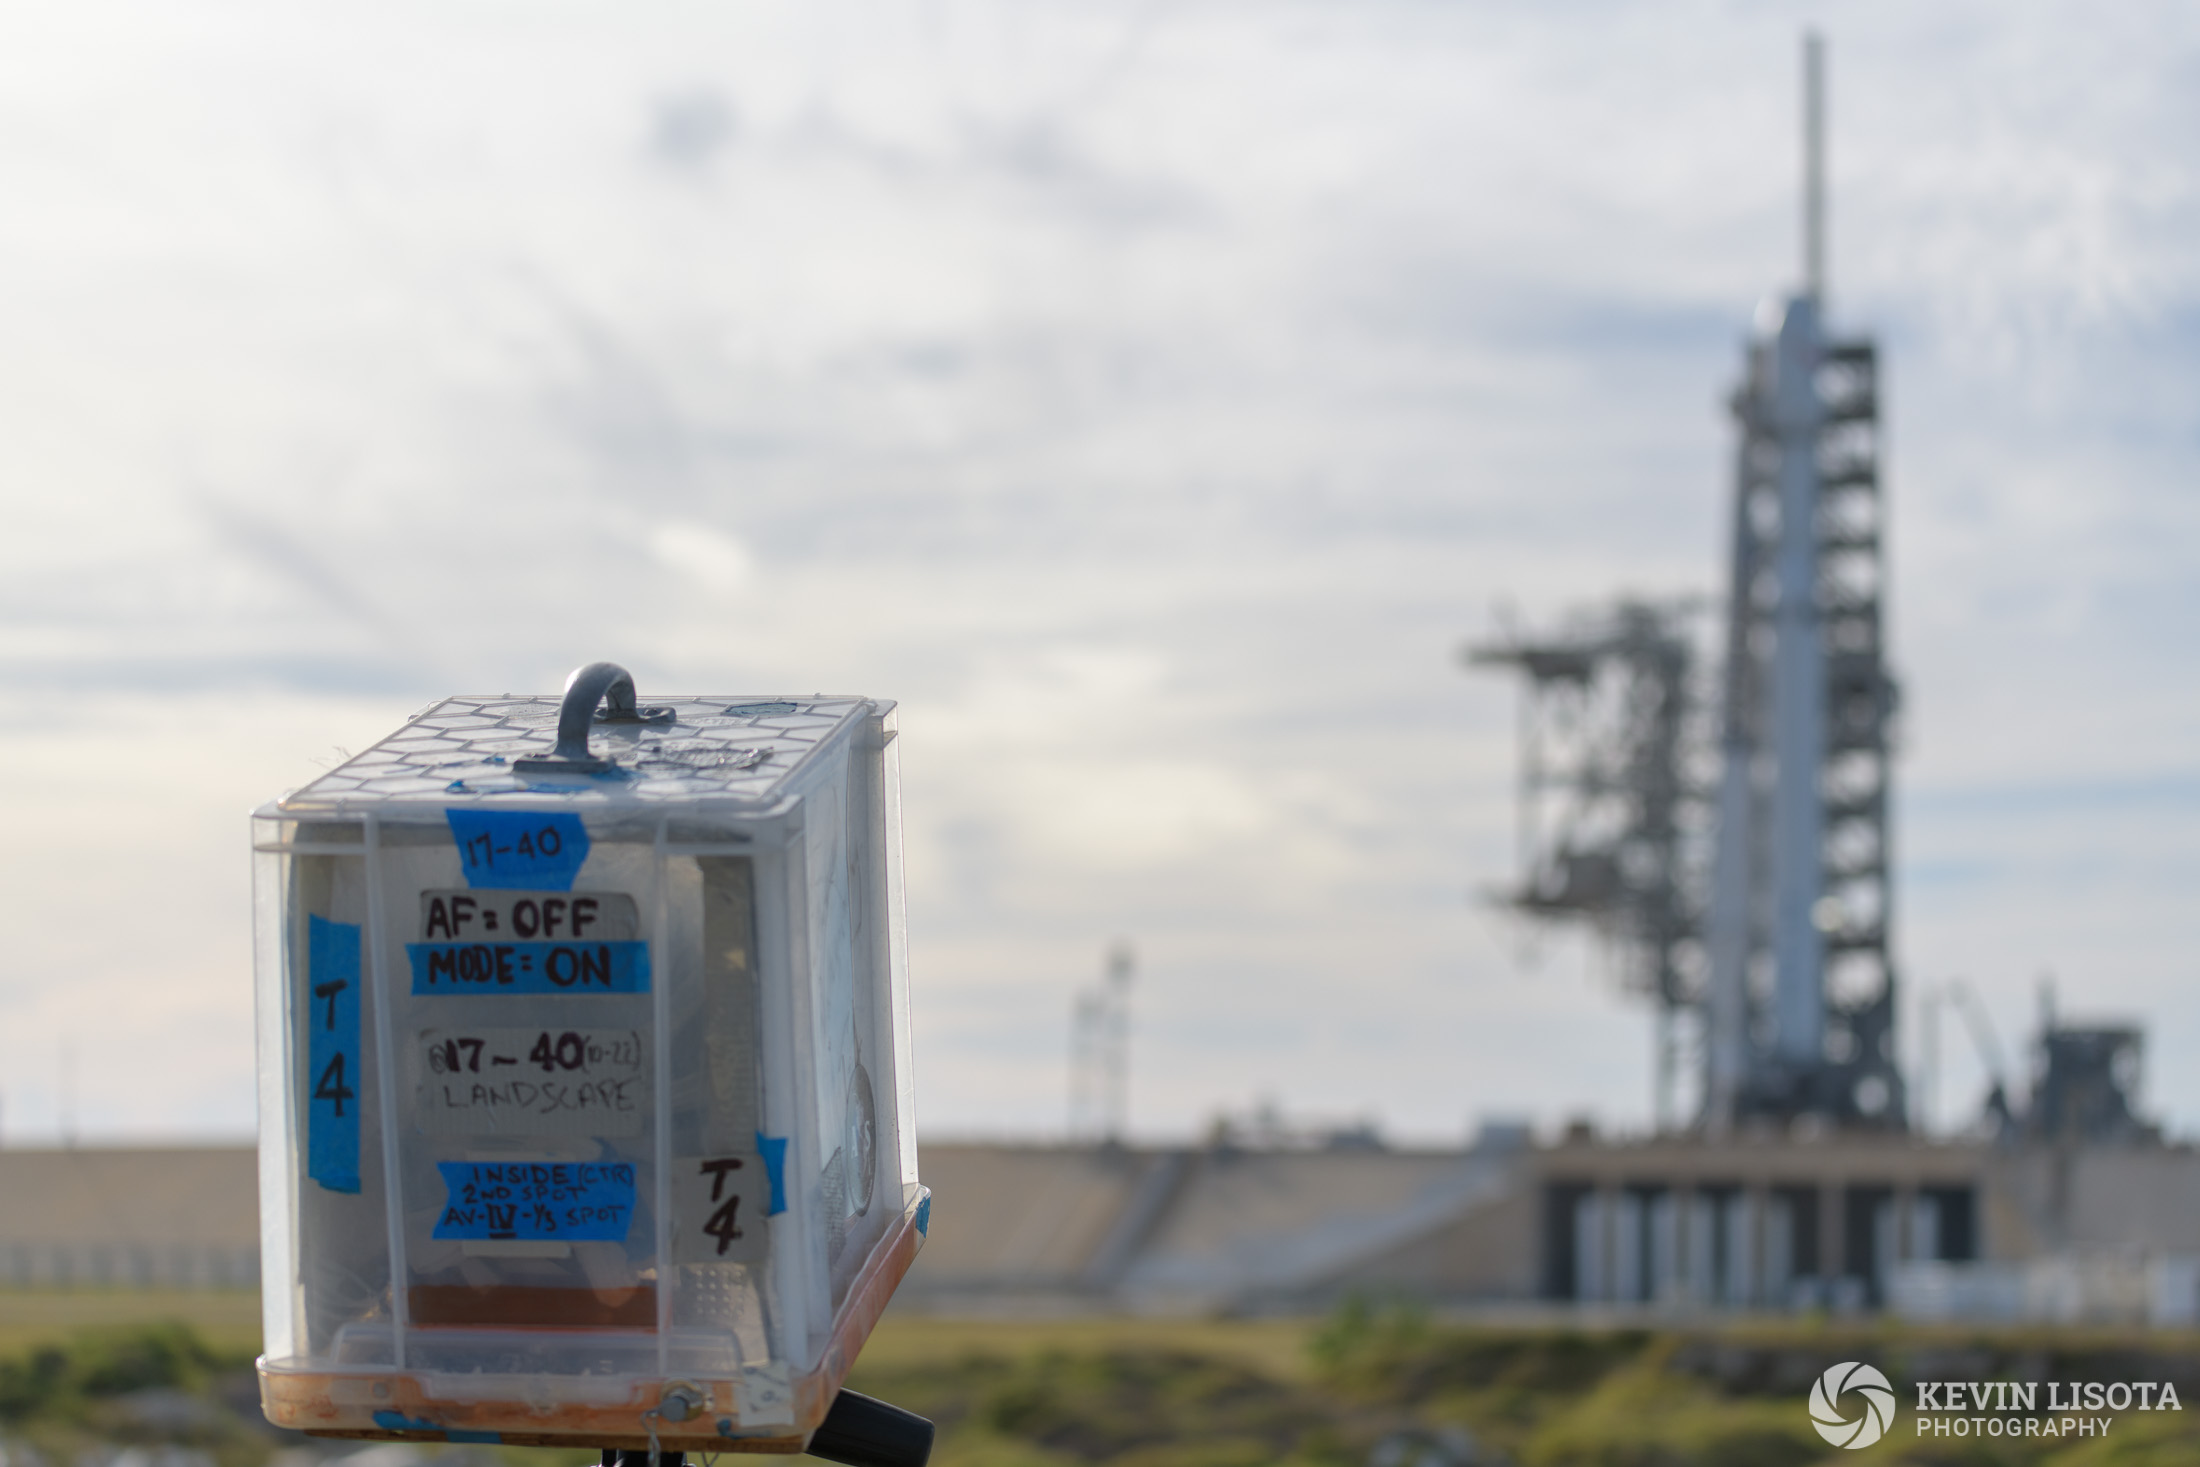
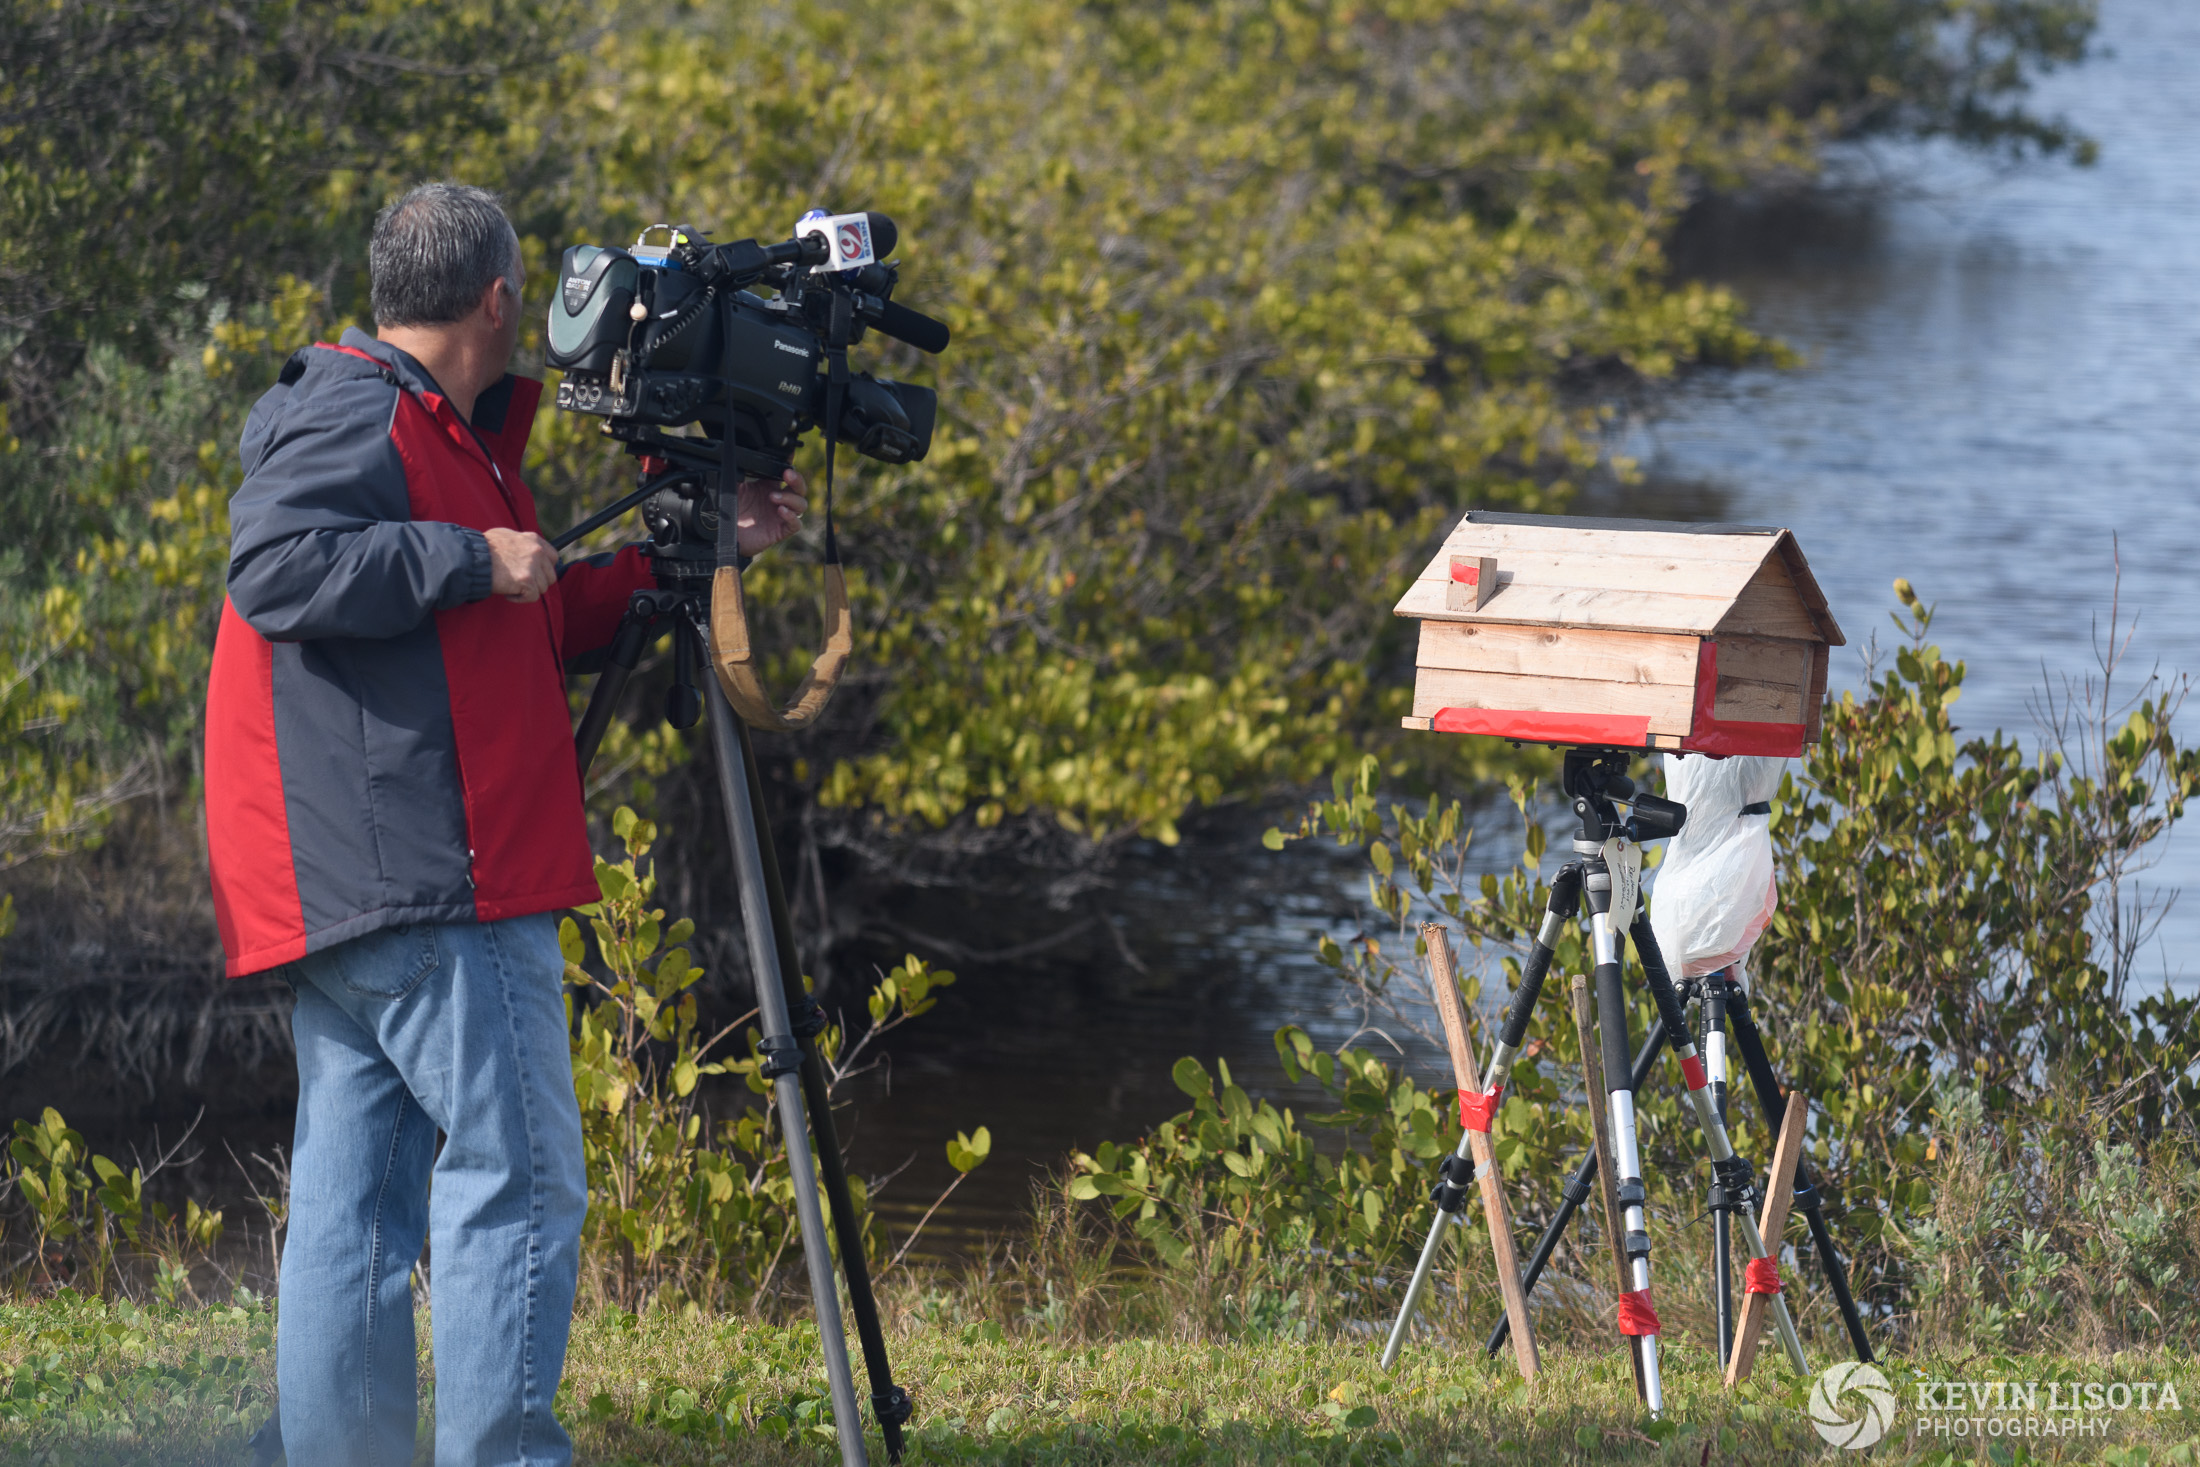
Many experienced launch photographers have all sorts of DIY-built enclosures to protect their cameras, ranging from a garbage bag to plastic containers or even a couple of mailboxes! Many also use tent stakes and zip ties to secure the feet of their tripod. I had tent stakes, but forgot a mallet, so simply opted for a very low center of gravity on each tripod.
What if there is a launch scrub?
The timing of a rocket launch can be fickle. Weather or technical delays are common, sometimes scrubbing the launch until the next day, so your camera needs to have enough battery power to wait it out. I actually forgot battery power for myself, going without lunch while we waited nearly three hours on the bus to get to our launch viewing location!
This launch was only delayed by a couple of hours, but in the event of a launch scrub, we may have had to ride the buses back out to replace batteries or wipe down lenses.
Trigger the cameras
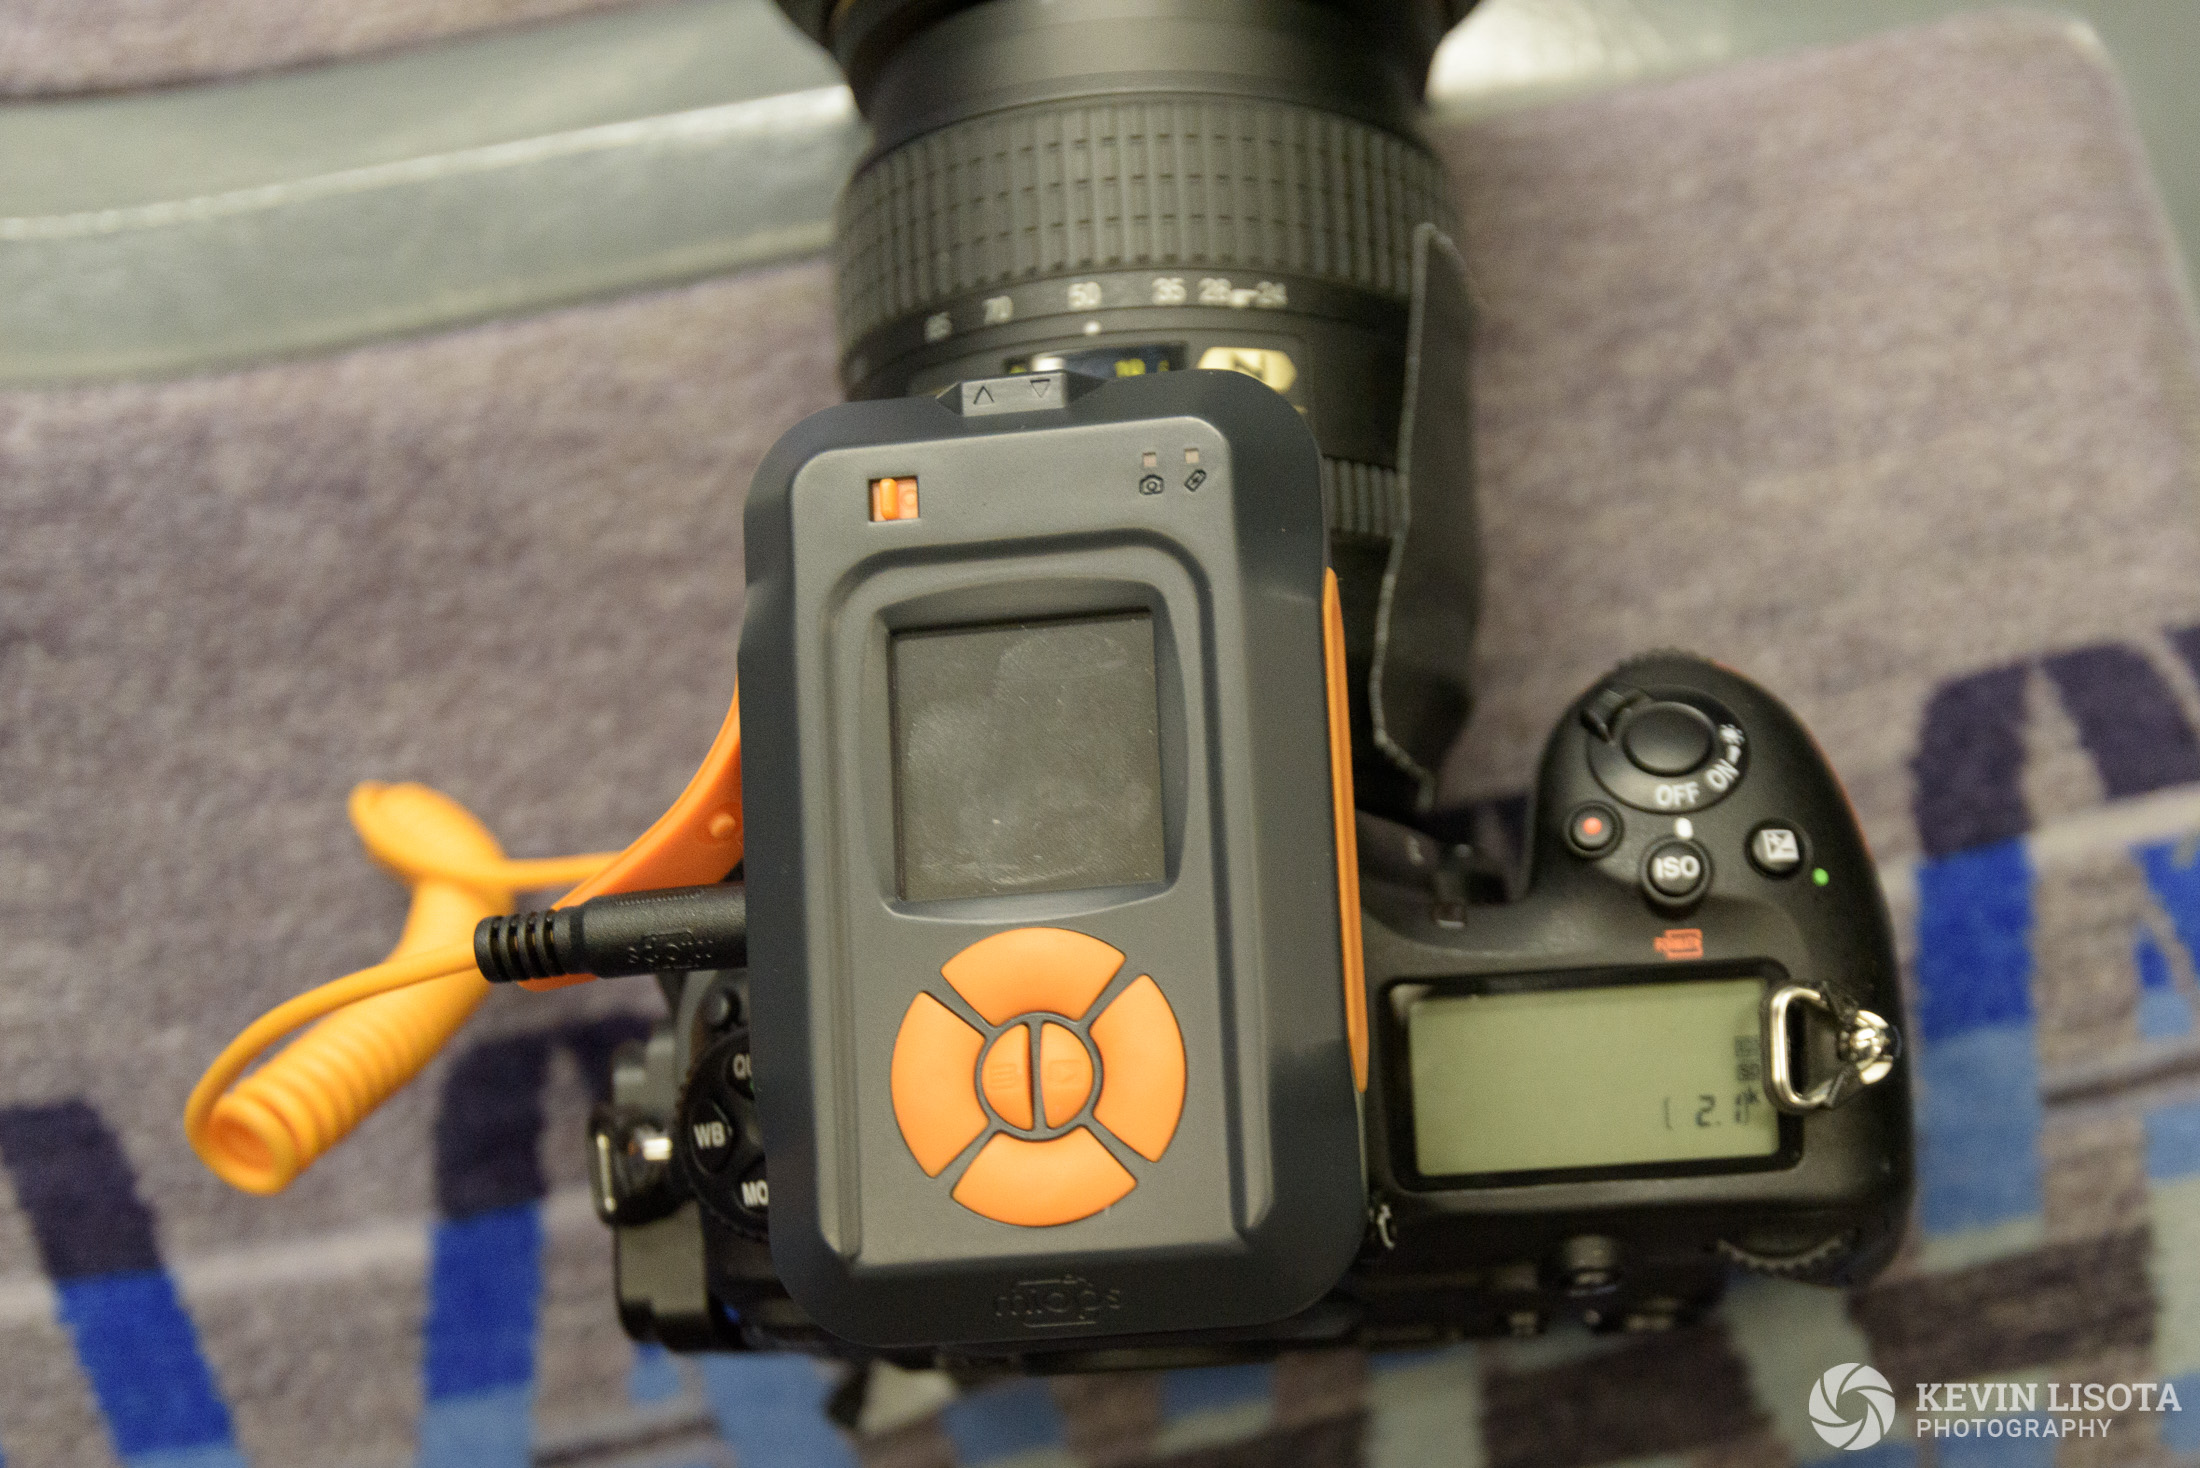
My remote cameras were three miles away from our launch viewing area, and well out of range of wifi, so there were only two options to trigger the shutter. Since the rocket is extremely loud, a sound trigger can be used to fire the shutter. A second alternative is to use a timer to begin shooting, but this introduces lots of uncertainty as launch delays often occur.
I used MIOPS Smart triggers which can fire off the camera shutter when sound exceeds a certain threshold. I used a sensitivity of 20 for these triggers and made sure that both the trigger and camera were set for continuous burst mode. The MIOPS trigger is known for pretty lengthy battery life, but I added small external USB battery packs to each one, just to be sure.
My closest camera triggered immediately at rocket ignition, but my other two started firing as the rocket began to liftoff. I got 70~140 shots each before the sound died down and stopped triggering the shutter.
Camera settings
My biggest question was how to properly expose the shots that include the extremely bright rocket exhaust. The important thing to remember is that rockets output an enormous amount of light, which is largely consistent between daytime and nighttime launches, so the key is to set your exposure so that the rocket engines are not blown out.
I found helpful exposure settings online from experienced launch photographers. I also recommend trolling sites like Flickr, SmugMug, or others where you can view exposure settings for various types of launch photos.
I used manual mode with fixed exposure settings since we had a midday launch. For sunrise or twilight launches, many photographers may use aperture-priority mode to let the camera adjust the shutter speed as the light changes.
I was intentionally cautious, underexposing a bit from the settings I found other photographers using. For my next launch, I would also love to try some dramatically underexposed shots which turn the sky dark, but bring out all sorts of detail in the flames of the rocket engines.
Given the large dynamic range of rocket launch shots, expect to do some post processing to bring up the exposure of the surrounding scene and reduce the highlights in the rocket flames.
Focus is also critical. I used auto focus to set the focus on each camera but then switched to manual focus and also applied gaffer tape to both the focus ring and zoom ring so that I didn’t bump anything while covering the camera.
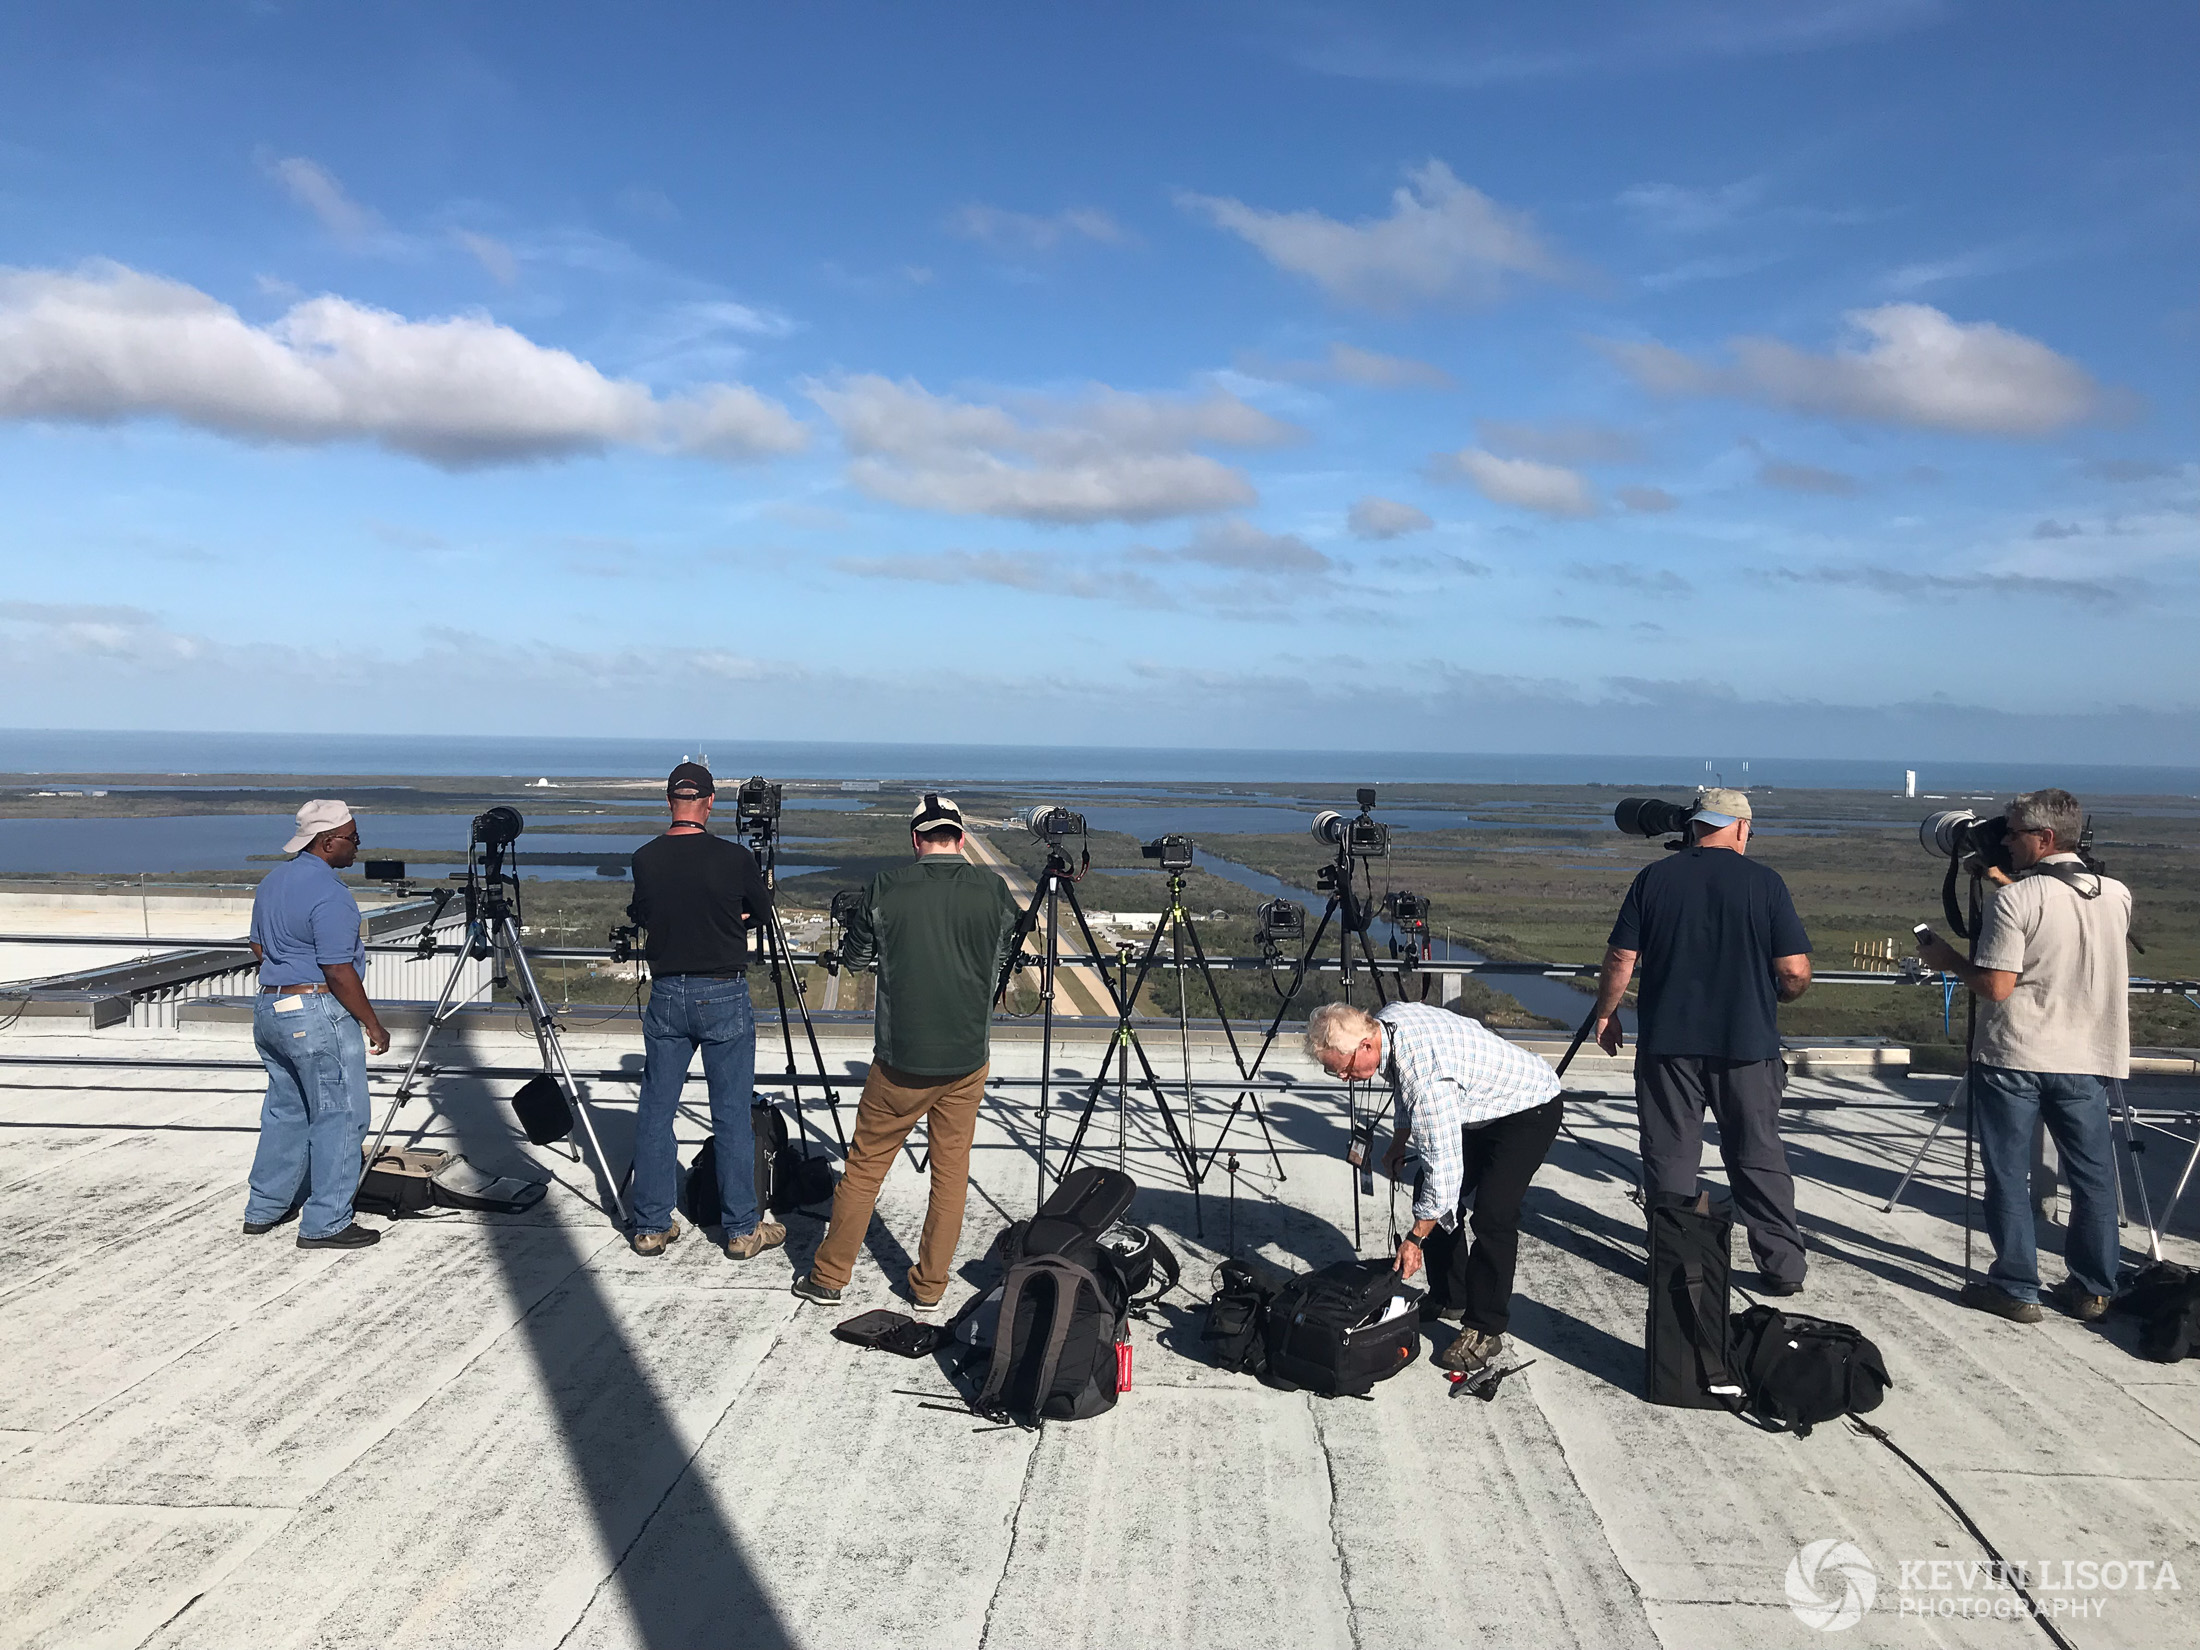
Photos during launch
While my remote cameras sat patiently a few miles away waiting for their audio cue, I also had a couple of cameras to capture the launch from my viewing location, the rooftop of the gargantuan NASA Vehicle Assembly Building (VAB).
Having a long lens, in my case a 200-500 mm, setup on a tripod with a cable release enabled me to get zoomed-in shots of the launch from distance.
Tracking the flight of a rocket with a super telephoto lens is difficult, so I also had a 70-200mm lens that I hand-held. That allowed me to capture initial in-flight photos.

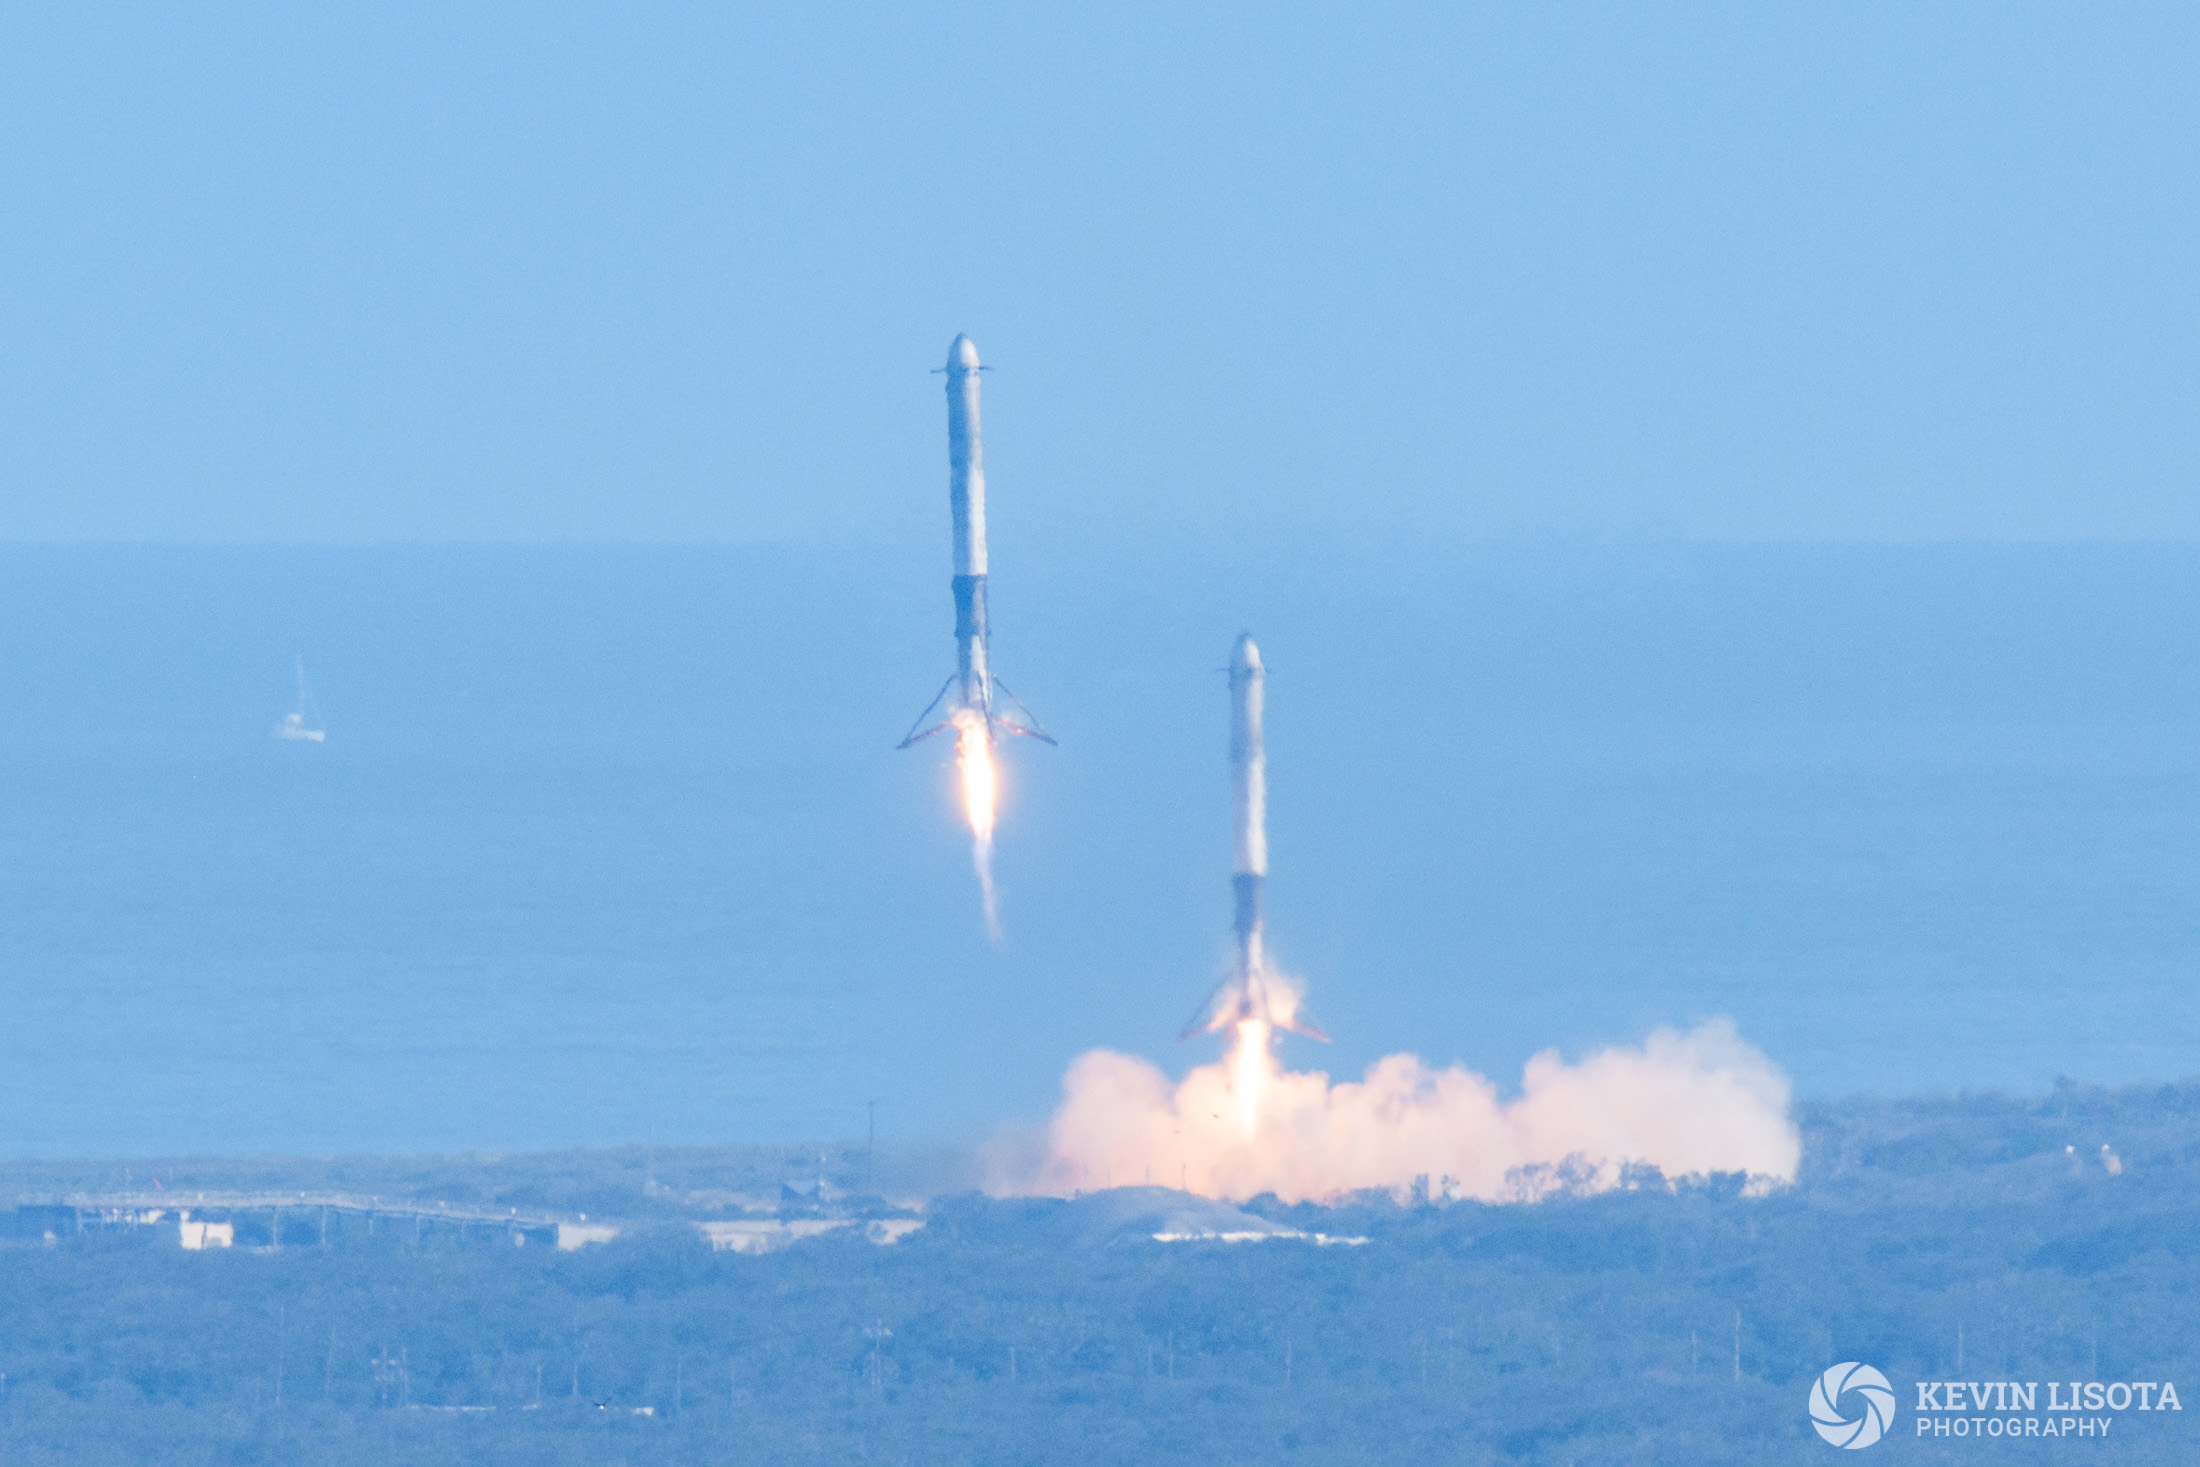
After stage separation, the two side boosters landed very far away, so I grabbed the 200-500mm from the tripod and tracked those by hand.
Rocket launches are loud, and the sheer size of the Falcon Heavy made it even louder. The VAB was vibrating as the sound reached us. I shot a video, but didn’t have enough hands to track the rocket with the video camera. It is worth watching for the soundtrack alone, and notice how the VAB building begins to shake when the sound reaches us.
For an even more immersive version of the audio, check out the recording that Trevor Mahlmann made while we were in the VAB. I make a couple of cameos in the video. You can see me in the elevator, and I believe I’m the one who exclaims “Holy crap!” as we step on to the catwalk more than 400 ft in the air.
Retrieve the cameras
The launch itself was super exciting, but the anticipation of what I captured on my remote cameras was almost too much to bear. Were the cameras intact? Did the triggers fire? Was my exposure correct? It was like having to wait until Christmas morning to open presents!
A couple hours after the launch, we boarded the buses and went to retrieve the cameras placed outside of the launch pad fence. Everyone was quick to pull off their camera enclosures and scroll through to see what, if anything, they captured. Then it was a race to upload photos to social media faster than everyone else there.
For the camera inside the fence at the launch pad, the wait was even more excruciating. After another overnight wait, we had to come back at 10 AM and board the buses one more time.
Luckily, I had success with all 3 cameras and am mostly thrilled with my first-time results. You can view a high-resolution gallery of Falcon Heavy launch photos as well.
Lessons learned
One of the biggest things that I learned in this process is that there is lots of knowledge stored in the brains of experienced launch photographers and they are happy to share.
Folks who regularly shoot rocket launches know the launch pad locations, can visualize what a launch might look like at each one and pick a lens focal length and exposure that might work best for the shot they are looking to achieve.
I want to give a shout out to some of the gracious and knowledgeable launch photographers who helped me along the way. Thanks to Ben Cooper, Craig Vander Galien, Trevor Mahlmann, and Ken Kremer for their help.