Geocoding photographs with location data is a useful and fun way to keep track of photo locations and visualize trips that you have taken.
I personally like seeing a map view of my favorite photos and also like to have a record of exactly where a particular photograph was taken, particularly when I am in remote areas.
Most DSLR and mirrorless cameras do not have built-in GPS receivers. Some allow you to plug in an external GPS receiver, while others connect to a smartphone via Bluetooth to retrieve GPS data from the phone each time a photo is taken.
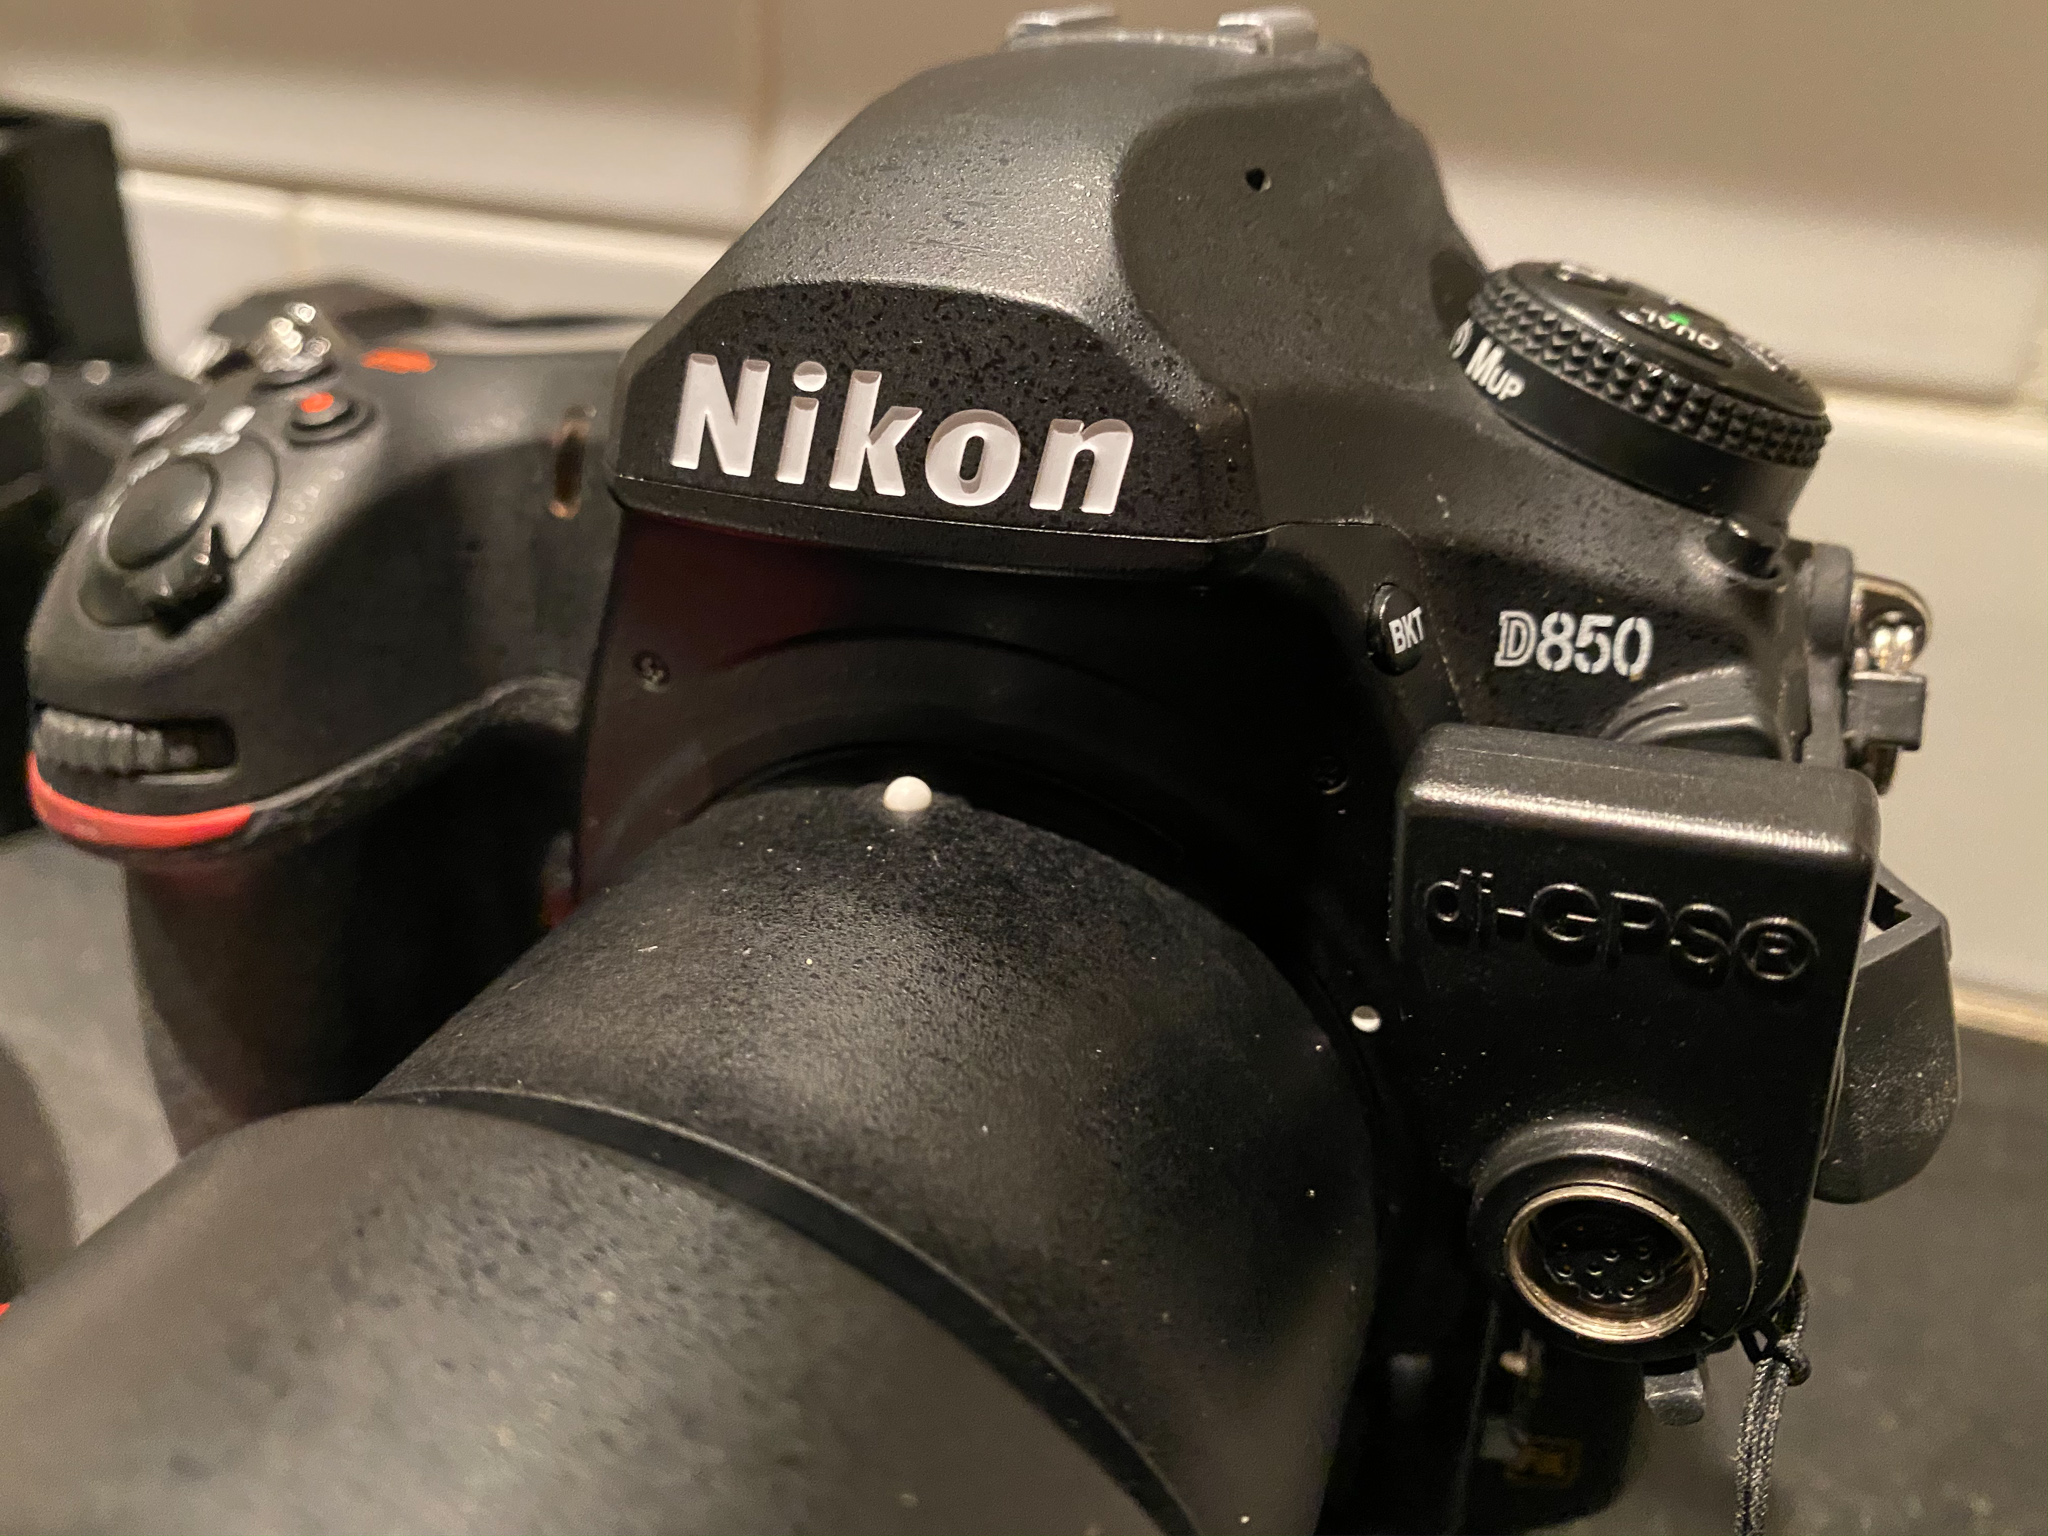
There are a couple of disadvantages to these solutions. Attaching a GPS receiver directly to a camera consumes a lot of power. It can be an effective solution, but it requires an additional piece of hardware, and you will need to carry extra batteries due to dramatically reduced battery life.
Using a smartphone’s GPS capabilities via Bluetooth can be a convenient solution for modern cameras that support it. However, phone-based GPS can be somewhat inaccurate compared to dedicated GPS devices. It also drains power more quickly on your smartphone.
Adobe’s Lightroom Classic has a Map module that is able to display map data for a given set of photos. It also has the ability to auto-tag location data on photos using a GPS Exchange Format (GPX) file generated by a GPS device.
For longer excursions to remote areas, I prefer to track my GPS location using a dedicated GPS device. Currently, I use either my Garmin eTrex Touch 35t or Garmin inReach Mini satellite communicator. However, there are many different GPS devices and even watches that can generate GPX data.
Ensure time and date are set correctly on camera
Auto-tagging location data on photos using Lightroom matches the time a picture is taken with the corresponding time and location in the GPX file from a GPS device.
For location auto-tagging to work, the date and time must be set correctly on the camera body, preferably with the correct time zone for your location.
To correct time zones in Lightroom, highlight the group of photos that need to be fixed in the Library module, then click the button next to Capture Time.
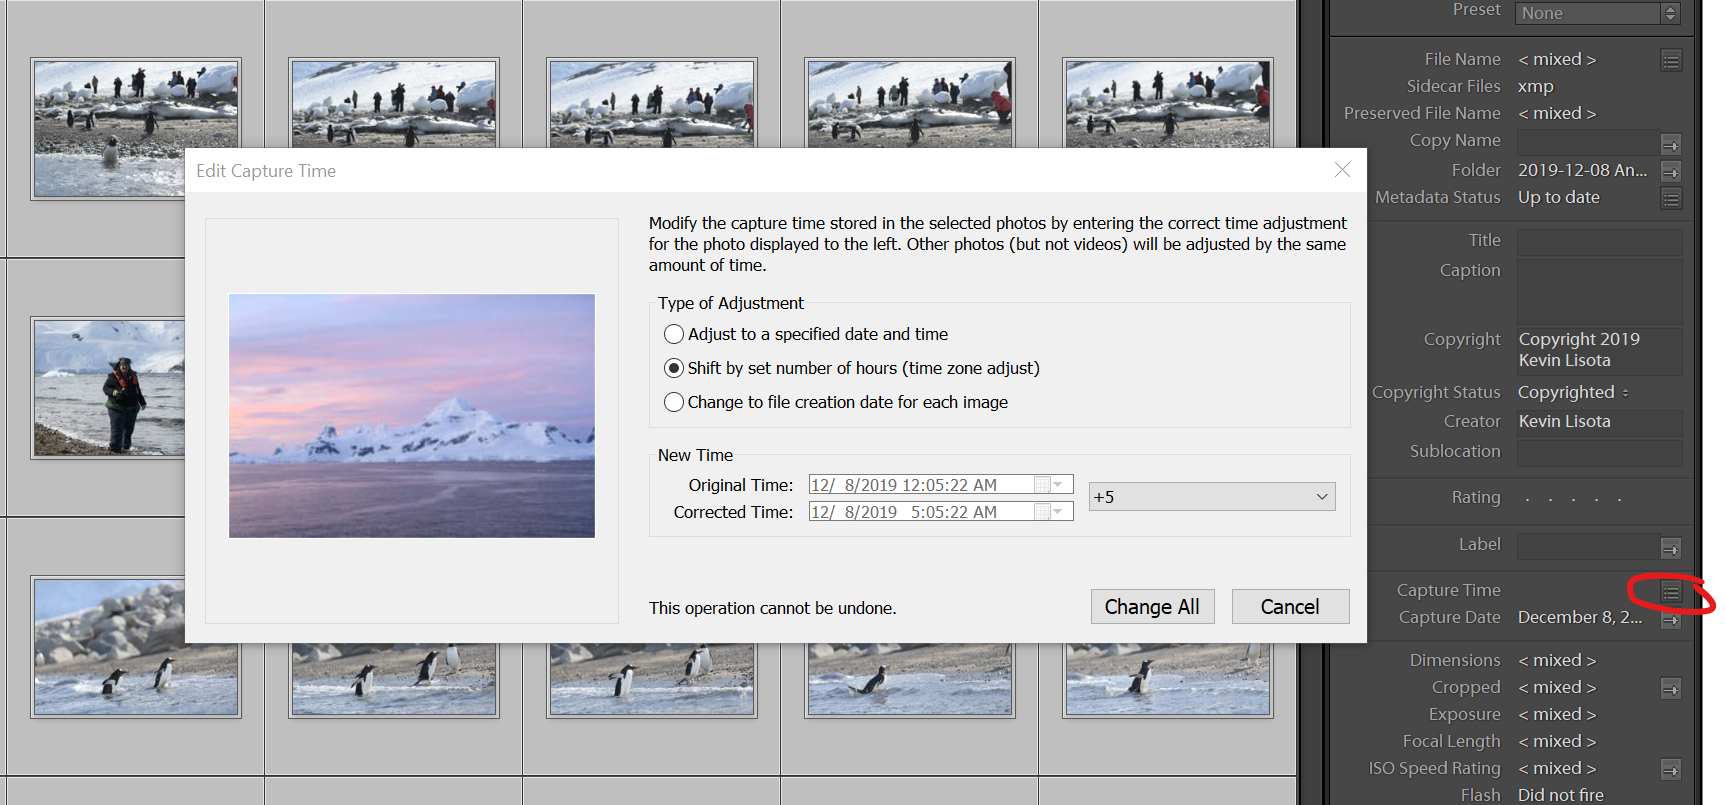
In the dialog box, choose “Shift by set number of hours (time zone adjust)” and then add or subtract the time zone offset. In my case, the photos were taken on the Antarctic Peninsula at Argentina Time (UTC -3) but recorded on my camera using Pacific Standard Time (UTC -8), so I had to add +5 hours to make the photo capture time correct.
Understanding GPS date and time formats
Lightroom uses GPX files from GPS devices to auto-tag location data. GPX files store a series of latitude, longitude and elevation points at sequential times.
The time in a GPX file is always stored in Coordinated Universal Time (UTC). UTC time is the time standard by which the world coordinates clocks and time, and is not adjusted for daylight savings time. It is sometimes referred to as Greenwich Mean Time.
The advantage of storing GPS data in UTC time is that it is consistent no matter what time zone you are in and is not affected by changes in daylight savings time.
Limitations of camera date and time in EXIF data
Digital cameras always store the date and time that a photo was created in the photo’s Exif data. Exif is a name for the Exchangeable image file format standard that defines how metadata is stored in image files.
The vast majority of cameras store Exif date and time without timezone information, making the date and time ambiguous when trying to match it with UTC timestamps in GPS data. This will lead to location tagging mistakes if it is not corrected.
The Exif standard recently added the ability for cameras to include timezone information in their photo timestamps, but few, if any, current cameras support it.
Auto-tag locations in Lightroom using GPX data
To auto-tag location data on photos in Lightroom, the first step is to select photos that need location data. Photos that were taken with a smartphone or on devices with GPS receivers may already have location data and can be excluded.
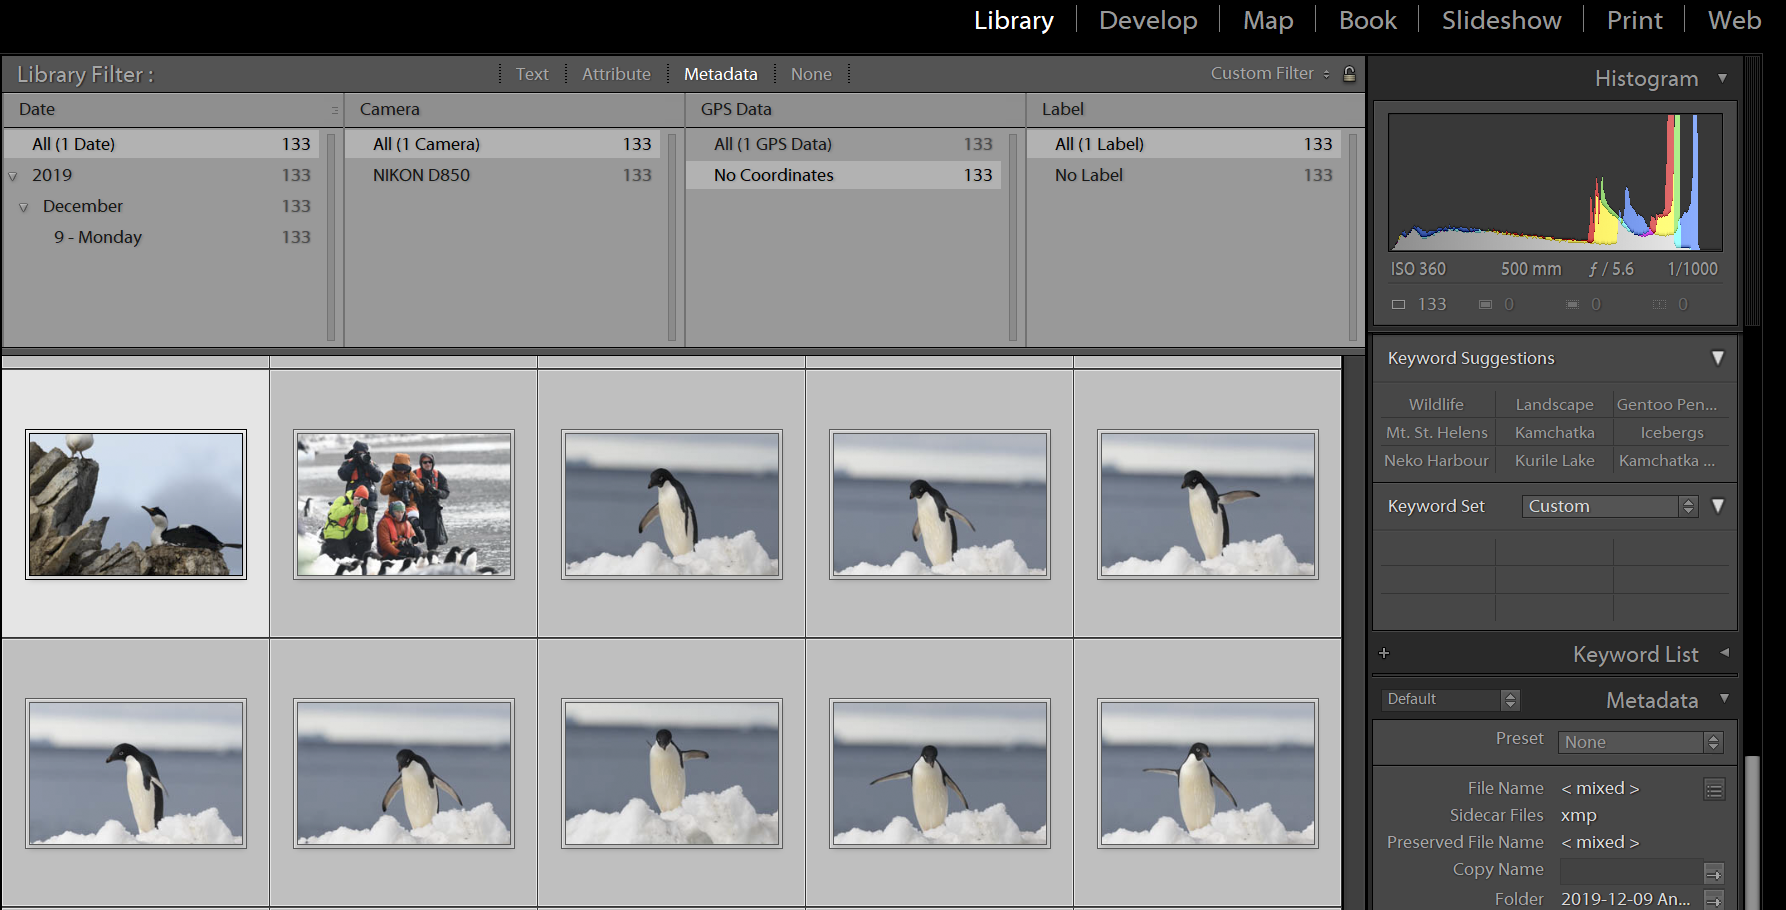
In Lightroom’s Library module, select a folder or collection of photos. Then using the Library Filter at the top, click “Metadata.” Change one of the four filters to show “GPS Data” then click on “No Coordinates.” Now choose Edit > Select All to select the batch of photos that need GPS location coordinates.
With the batch of photos selected, click on the Map module. Then in the menu select Map > Load Tracklog and select the GPX file from your GPS device. Note that many GPS devices will require that you export from either from an app or website to get the proper GPX format needed by Lightroom. The tracklog will display on a map.
Fix timezone offsets
Auto-tagging photos is available from the menu by choosing Map > Tracklog > Auto-Tag Photos. However, in most cases you first need to fix the time zone difference between your photos’ capture times and the UTC times listed in the GPS tracklog.
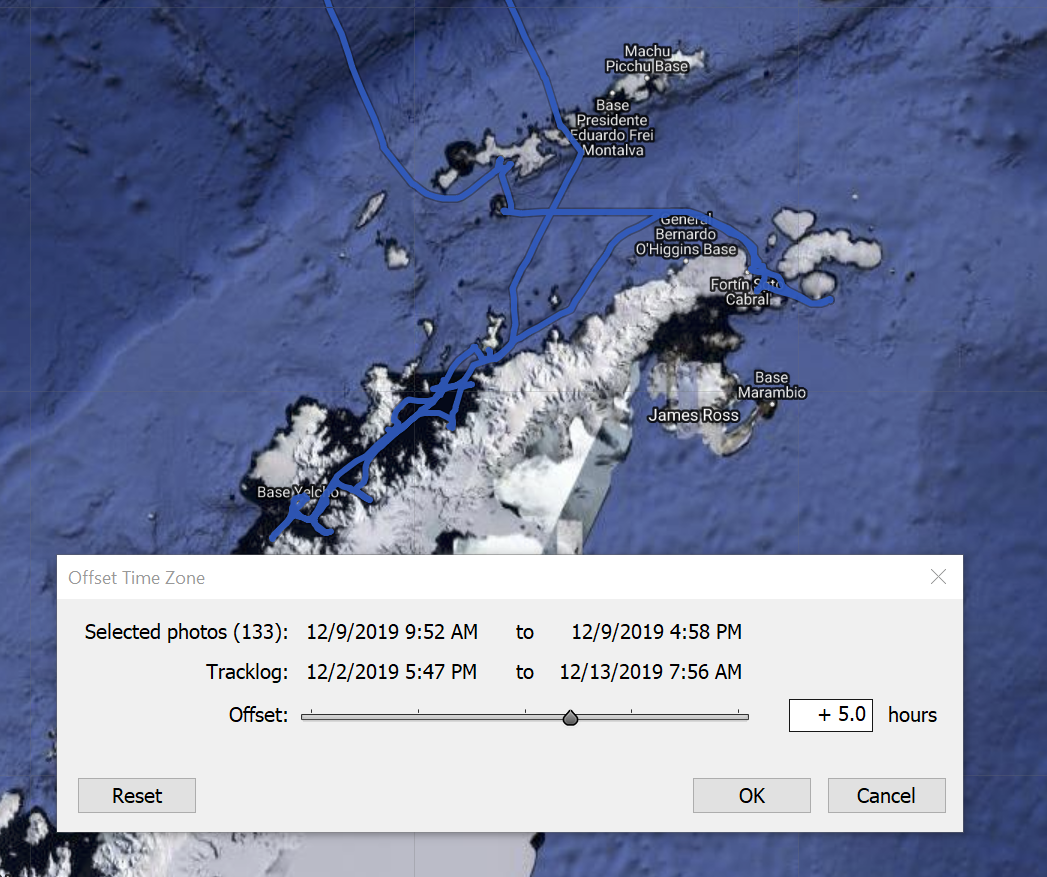
From the menu, choose Map > Tracklog > Set Time Zone Offset. This allows you to adjust the tracklog times to match your photo dates and times.
This is where it gets confusing in Lightroom. In my example, the photo capture times are based on Argentina Time (UTC -3).
My computer is currently on Pacific Standard Time (UTC -8). Lightroom assumes that the photo capture times are the same as the computer’s current time zone, which may or may not be correct.
If my photos were taken using Pacific Standard Time (UTC -8), the tracklog needs to be offset by +8 hours to match the UTC times with the photo capture times.
However, in my example, the photo capture times are actually Argentina Time (UTC -3), so the tracklog time zone offset needs to be +8 hours for Pacific Standard Time on my computer, then subtracting -3 hours to adjust for Argentina Time, so the final offset is +5 hours.
Auto-tag and confirm locations on the map
Once the tracklog time zone offset is set, it is time to auto-tag location data on the photos.
From the menu choose Map > Tracklog > Auto-Tag Photos. The images will appear on the map with tags.
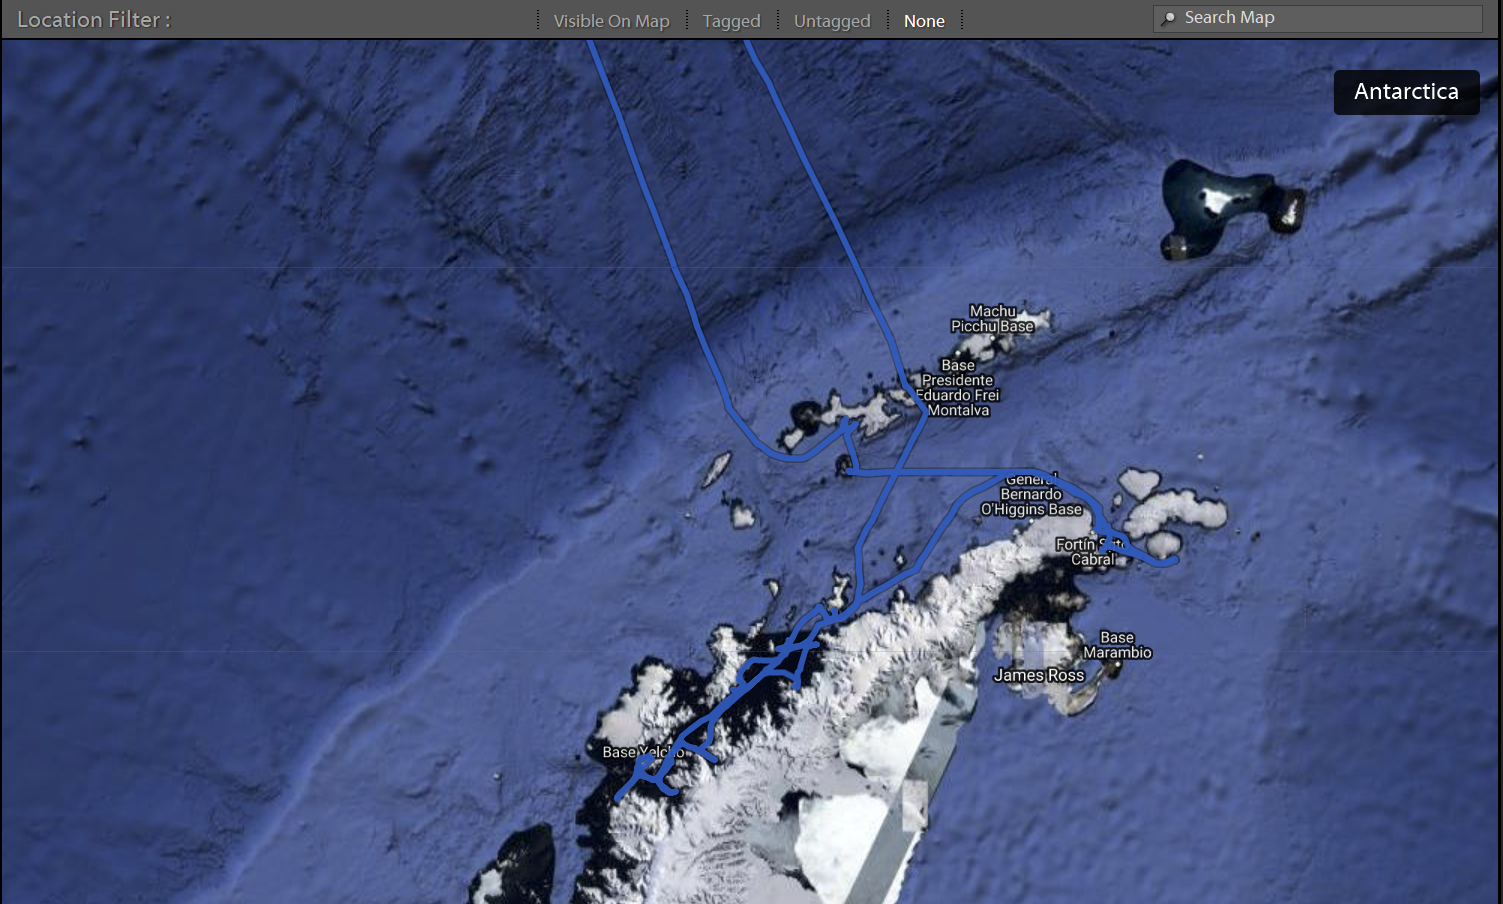
Before moving on in Lightroom, confirm that the locations make sense on the tracklog. If you have mixed up any of the time zone offsets, the images can appear at incorrect locations on the map.
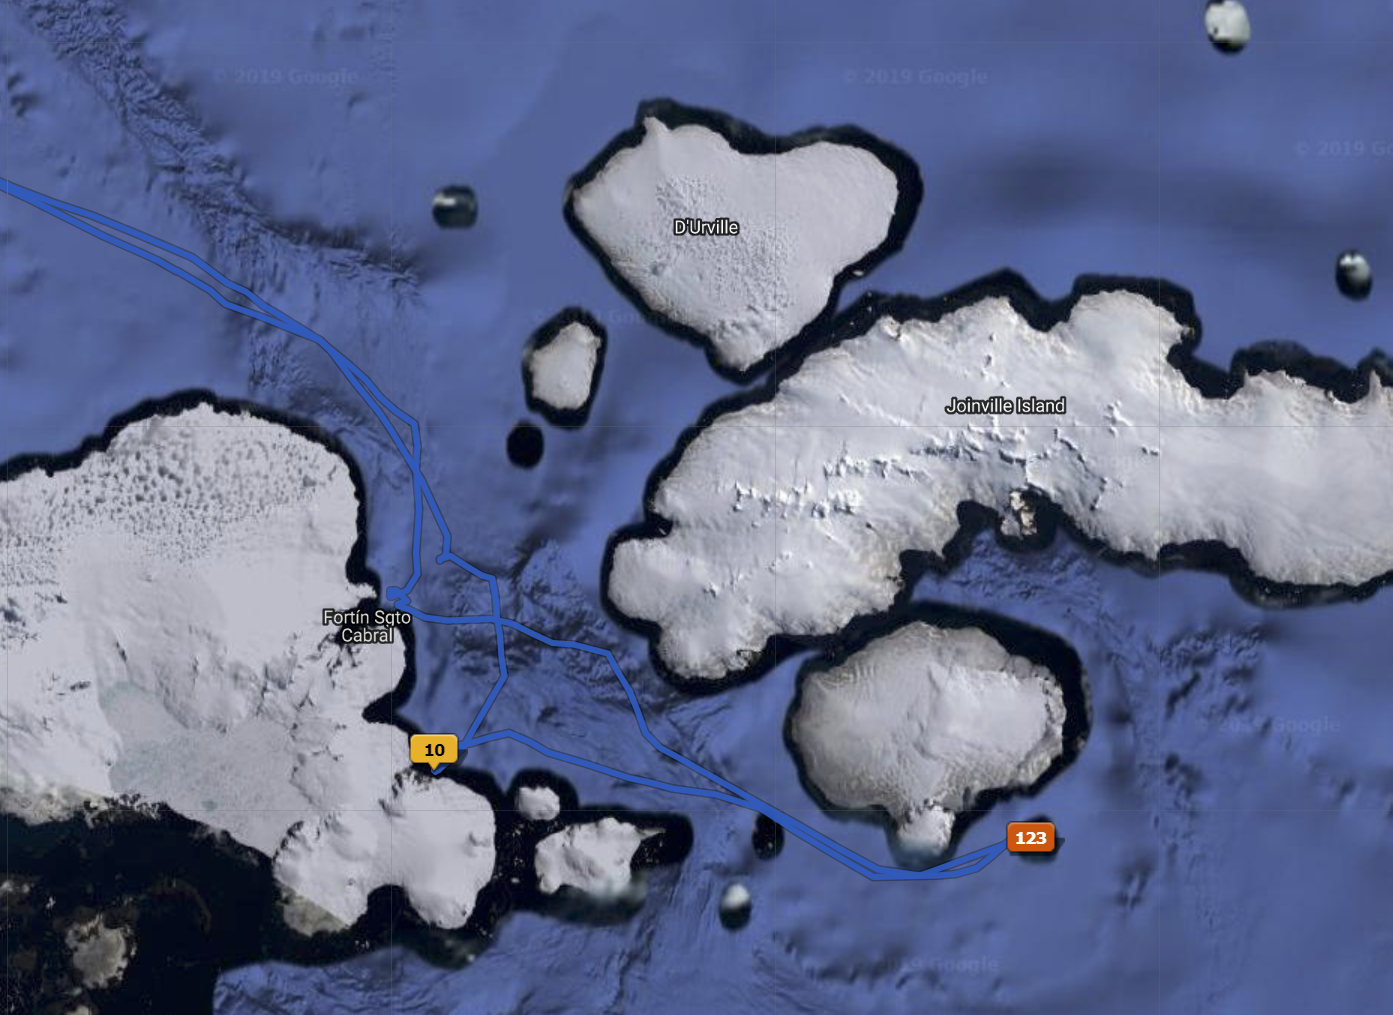
A GPS track usually has reference points in your journey that will make sense for the photos. In this example, the tracklog had two island landings where all of the photos were taken. When the time zone offset was set correctly, all of the images are tagged with locations on those two islands.
If my time zone offset was incorrect, the photos get tagged in a water location, which doesn’t make sense for the trip that I took.
A second method to ensure that your tracklog time zone offset is correct it to look at the start and end times on the tracklog to see if they make sense. For example, if you began your GPS track at the start of your hike at 8:00 AM and ended the hike at 6:00 PM, the start and end times under Map > Tracklog > Time Zone Offset should reflect that once you have made the correct offset.
If your location tags don’t look quite right, from the menu, select Edit > Undo Auto-Tag Photos using Tracklog will remove the locations that you just set.
Camera manufacturers need to support time zone in Exif data
Geocoding photos using GPS data would be much simpler if camera manufacturers stored time zone data in the Exif metadata of each photo. Until that happens, just make sure to match your GPS data with photo capture times using the correct time zone offset settings in Lightroom.