
Wildlife photographers often want to take photos of groups of animals. Long zoom lenses require changes in aperture to ensure that all animals in the group are in focus, as the focal plane of telephoto lenses can often be very shallow.
I often make this mistake during wildlife photoshoots, capturing a group of animals that all appear sharp on the small camera screen. Once home and viewing the image on a larger computer monitor, I am sometimes disappointed that the animals in the back of the group aren’t completely sharp. Understanding depth of field and aperture is the way to fix this.


Wide open aperture for wildlife photography
A typical setting for shooting wildlife is to take photos at wide-open apertures. This means using the widest aperture that your lens supports, often f/2.8, f/4, or f/5.6.
A wide aperture with a long zoom lens can have many advantages for wildlife. Wide apertures allow the subject to be isolated in the photo, blurring the background with nice bokeh and highlighting the photograph’s subject.

Since you can’t control the motion of animals, you are often left with busy or uninteresting backgrounds. Blurring out the background can make for a more compelling photo.

However, large animals or groups of animals can require smaller apertures to get the relevant part of the scene in sharp focus.

Understanding depth of field at various focal lengths and aperture settings
Depth of field (DoF) is the distance between the nearest and farthest points in an image that appears sharp. Depth of field is affected by a few factors: focal length of the lens, aperture, and distance to the subject.
As the lens’ focal length increases, the depth of field becomes shallower. Wider apertures also mean a shallower depth of field. The depth of field also becomes shallower as the distance to your subject decreases.
The ultimate sharpness of your photos is also determined by the sensor size, the final resolution of the image, and the viewing distance of the final photograph. A group of animals that looks sharp at 800 px wide on a computer monitor might appear soft and out-of-focus on a large 24″ x 36″ print, for example.
The math behind calculating depth-of-field can be complex and impractical in the field unless you have tools to help with the calculation.
One such tool is an app called PhotoPills. This app offers photographers a wide array of tools and can be a quick way to calculate complex things like depth of field and hyperfocal distance. Let’s use PhotoPills to calculate some depth of field examples.


I use a full-frame camera at various focal lengths, apertures, and subject distances in this example.
Focal length: 50 mm
| Aperture | Subject Distance | Depth of Field |
| f/4 | 10 meters (33 feet) | 12 m (39 ft) |
| 50 meters (164 feet) | infinite | |
| f/8 | 10 meters (33 feet) | 218 m (715 ft) |
| f/16 | 10 meters (33 feet) | infinite |
Focal length: 200 mm
| Aperture | Subject Distance | Depth of Field |
| f/2.8 | 10 meters (33 feet) | 0.4 m (16 in) |
| 50 meters (164 feet) | 10.7 m (35 ft) | |
| f/5.6 | 10 meters (33 feet) | 0.83 m (3 ft) |
| 50 meters (164 feet) | 22 m (73 ft) | |
| f/8 | 10 meters (33 feet) | 1.2 m (4 ft) |
| 50 meters (164 feet) | 33 m (108 ft) | |
| f/16 | 10 meters (33 feet) | 2.4 m (8 ft) |
| 50 meters (164 feet) | 93 m (305 ft) |
Focal length: 500 mm
| Aperture | Subject Distance | Depth of Field |
| f/4 | 20 meters (66 feet) | 0.4 m (4 in) |
| 50 meters (164 feet) | 2.4 m (8 ft) | |
| f/5.6 | 20 meters (66 feet) | 0.5 m (21 in) |
| 50 meters (164 feet) | 3.4 m (11 ft) | |
| f/8 | 20 meters (66 feet) | 0.8 m (30 in) |
| 50 meters (164 feet) | 5 m (16 ft) | |
| f/16 | 20 meters (66 feet) | 1.5 m (5 ft) |
| 50 meters (164 feet) | 10 m (31 ft) |
The combinations of subject distance, focal length, and aperture are limitless, and these tables are just a few samples to illustrate the key points. I encourage photographers to use an app like PhotoPills to explore the various depth of field for their own lenses at varying subject distances.
With long focal length zoom lenses, the depth of field when subjects are close can be quite shallow, measured in inches at wide apertures. This can be problematic for groups of animals and is also problematic for larger animals if the depth of their snout or head exceeds your depth of field.

Also, remember that the value for depth of field extends in front and behind the subject that you have focused on. For example, if you focus on an animal’s eyes with a depth of field of 1 m, the sharp area of your photo will extend 0.5 m in front and 0.5 m behind the eye.
To achieve a deeper depth of field to get a group of animals in focus, much smaller apertures will be required, as it is often impossible to change the distance between you and the subject when shooting wildlife.
Aperture for photographing large animals
When photographing single small animals, wide apertures will generally lead to the entire animal being in focus. This can also be true when shooting a side profile of larger animals.
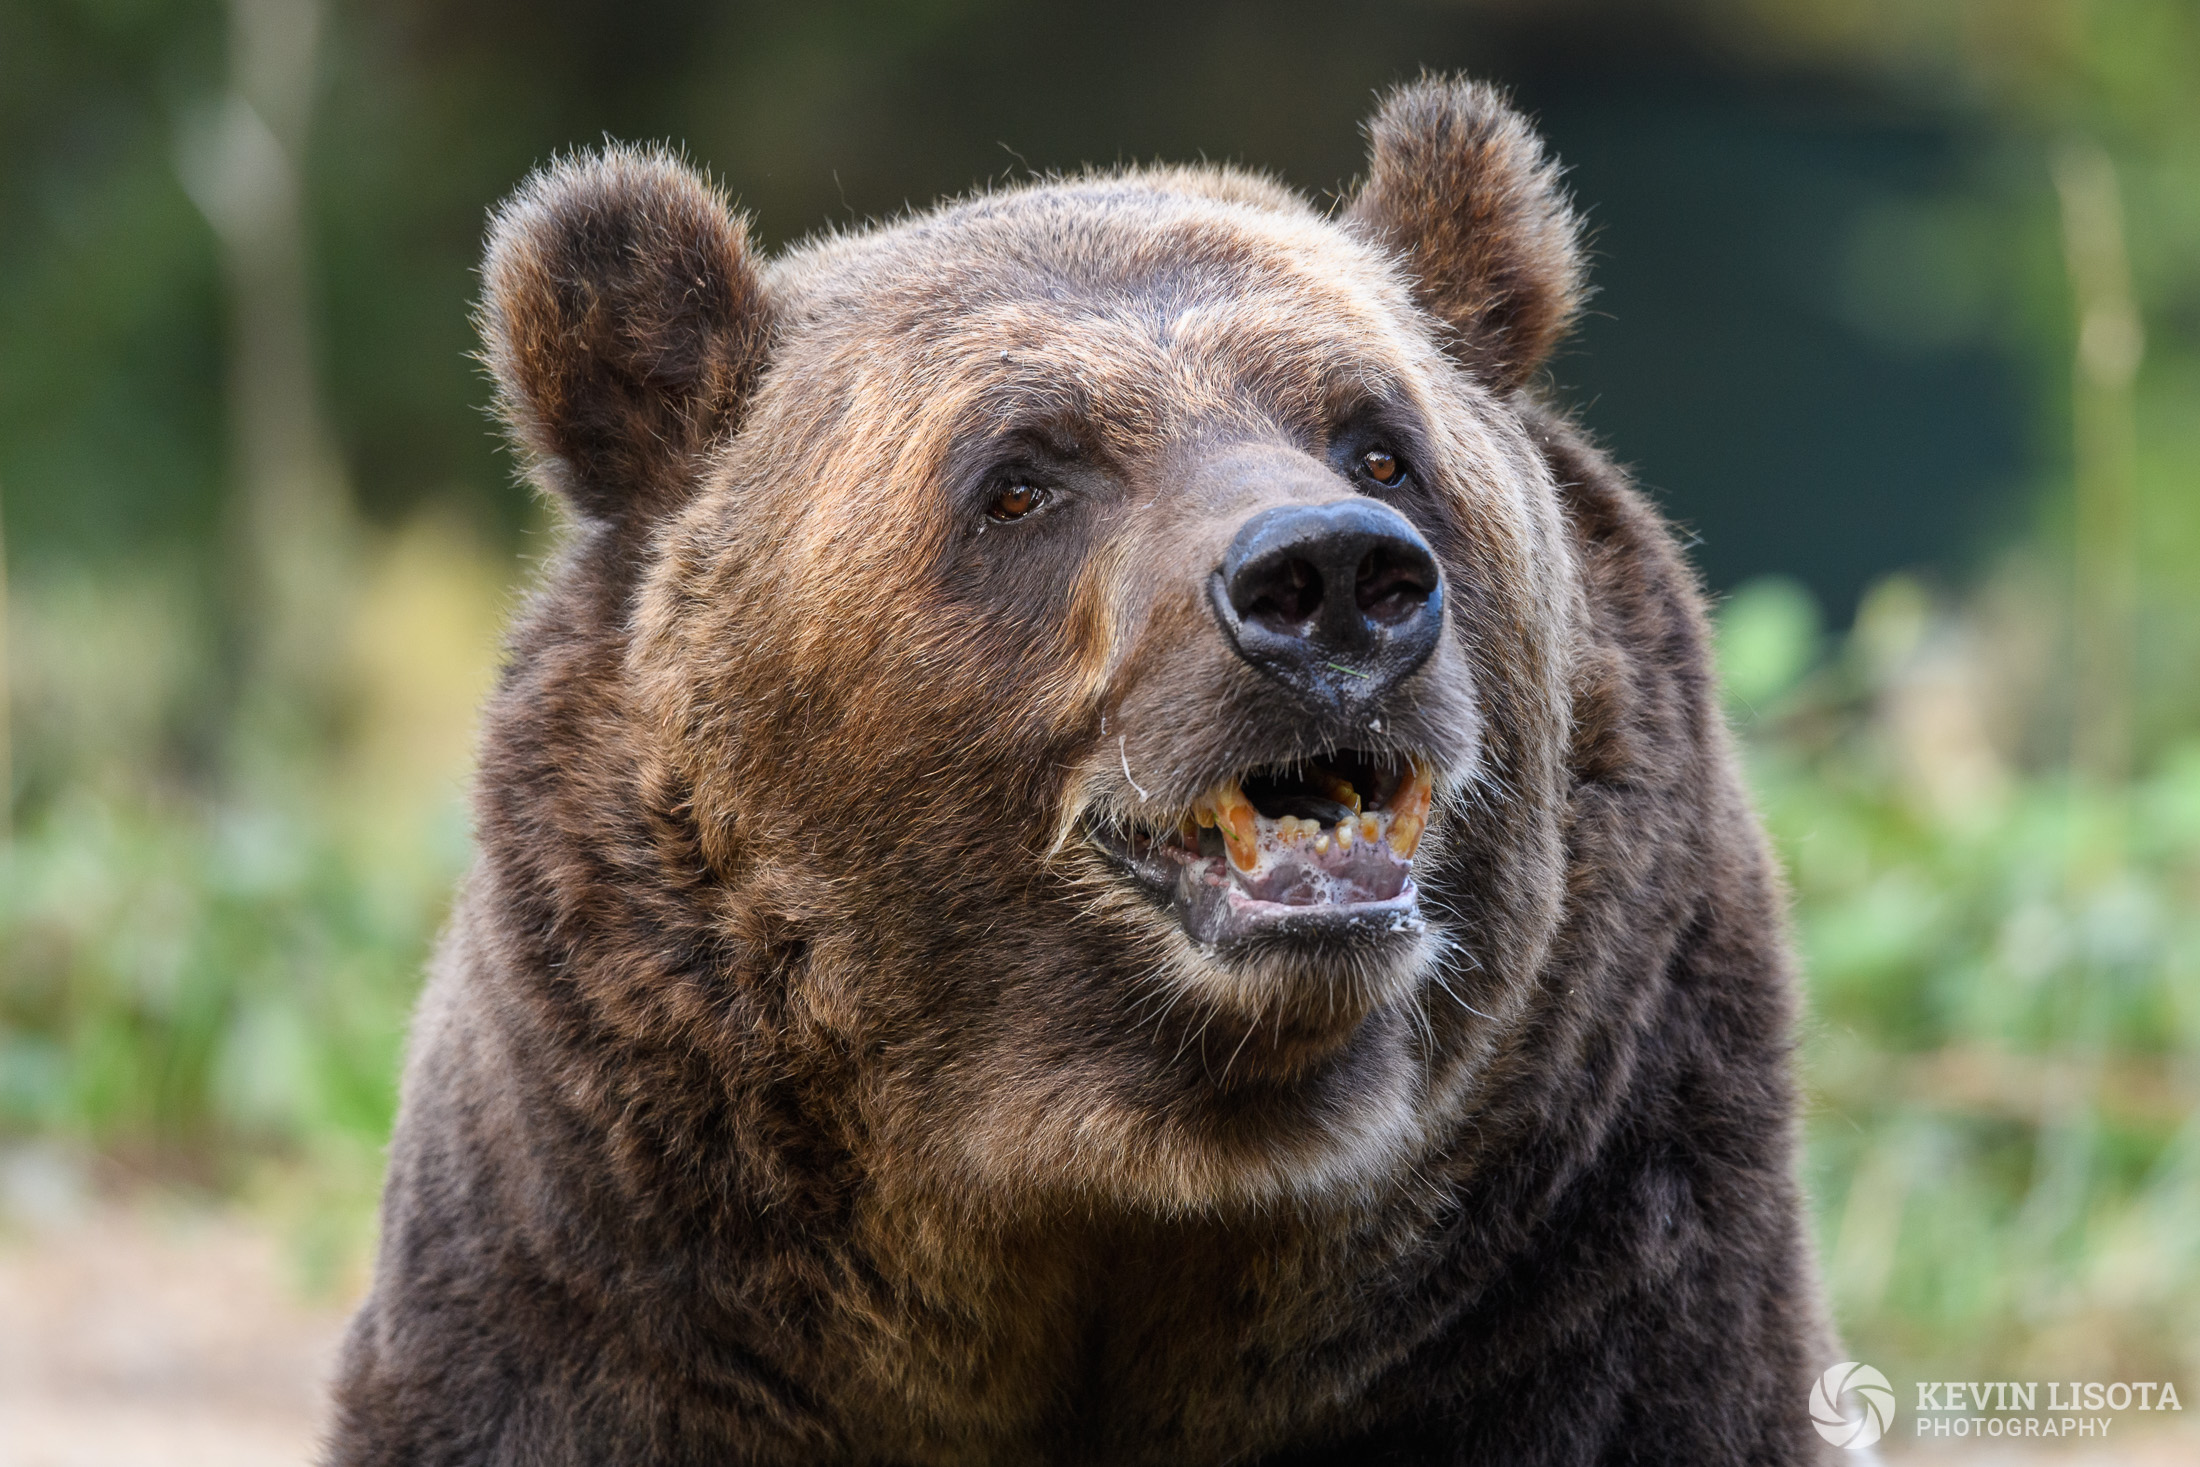
Large single animals like bears, rams, caribou, bison, lions, or hippos can require smaller apertures to achieve focus on the entire face of the animal. Even smaller apertures are needed if you are looking for the animal’s length to be in focus as it approaches directly toward you at a perpendicular angle.

For example, if you are photographing the face of a bear at 500mm that is 13 m away from you, an aperture of f/5.6 will result in a depth of field of only 22 cm. This won’t be enough to have both the eyes and snout in focus, so a smaller aperture will be required to get its entire face in focus.
Aperture for photographing groups of animals
Wildlife photos of groups of animals can be quite compelling. Showing a mother’s interaction with her cubs or highlighting group behaviors and interaction often makes for high-interest photos.
However, if you are trying to ensure the entire group of animals is in focus, you have to make the aperture small enough to achieve the proper depth of field that captures the whole group of animals.
Sometimes I make a creative decision that the animals in the back of the shot can be blurred, in which case I leave the aperture at or near its widest setting.

When I want to make a group of two or more animals in focus, I make my apertures smaller and smaller, going from f/4 up to f/7.1, f/8, f/11, or f/16 as needed.
Doing real-time calculations of depth of field is impossible when shooting wildlife action. It can also be challenging to gauge the depth of a group of animals from front to back. Are they 0.5 m apart? Or 2 m apart? There isn’t time to figure this out with any degree of certainty.

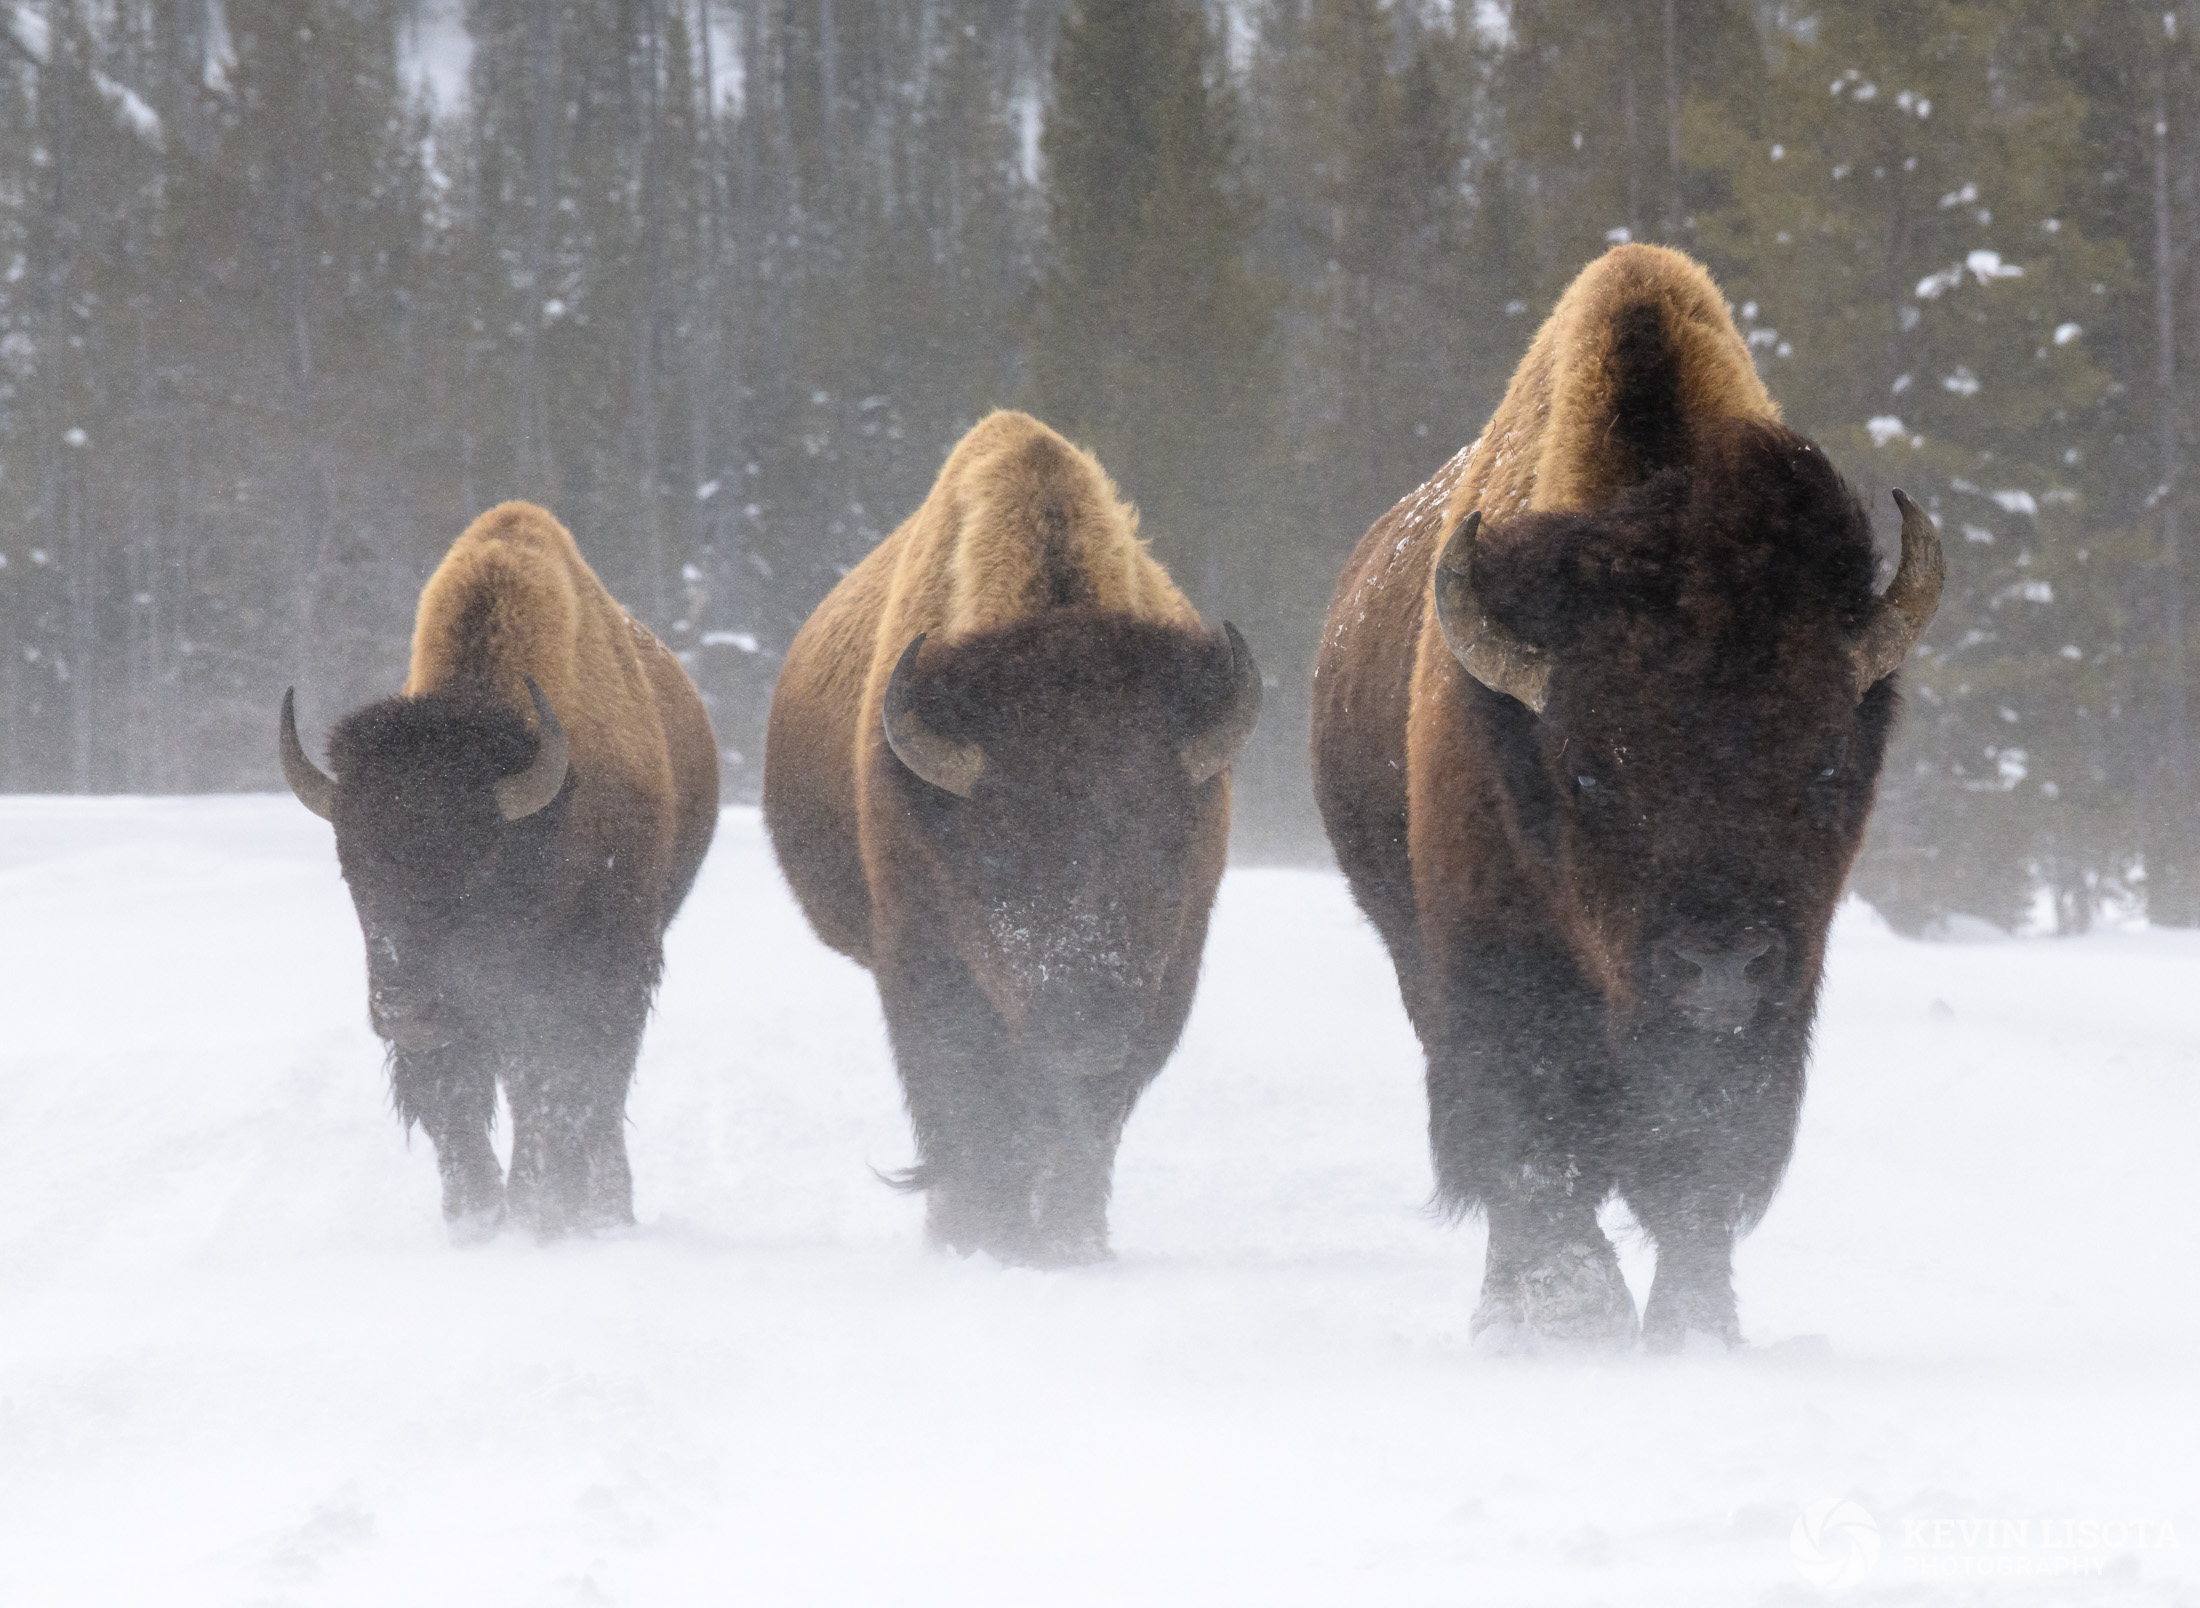
When shooting groups of animals, I adjust my aperture as I shoot using a few basic observations. First, how many animals are there in the group? More animals generally mean they are staggered at greater depth and will require smaller apertures.
Second, are the animals lined up in a straight line, or do I perceive them staggered at various depths? The deeper they are staggered, the smaller I set my aperture.
Third, how close are the animals, and how long of a zoom lens am I using? If I am shooting using a relatively wide-angle lens, say my 24-70 mm, depth of field is usually not an issue. But if I use a 500 mm lens and the animals are only 20 m away, I know I need relatively small apertures to get a group of animals in focus.
Based on these factors, I will change my aperture to smaller settings. f/7.1 or f/8 with a smaller group of a smaller amount of stagger in their positions. f/9, f/11 or f/13 when there are more animals and more stagger in their positions. I’ll go as high as f/16 or f/18 for a group that spans a significant depth or when they are particularly close when using a long zoom lens.
If a group of animals is stationary, I will often take a series of photos in quick succession using smaller and smaller apertures. Once I download the images to the computer, I can choose which setting has the optimal sharpness.
If I photograph an action shot of a group of animals, I do my best to make my aperture smaller if I want them all in focus.

Aperture is my primary creative decision when shooting wildlife
When shooting wildlife, I will have a shutter speed set based on the animals I am shooting and the speed of their action. That may be 1/320-1/500 sec for relatively stationary animals, 1/1000 – 1/1600 sec for faster-moving action, and 1/2000-1/3200 sec for swift action like birds in flight.
I usually let the camera decide on ISO using Auto ISO to remove the need for me to think about this setting.
My primary creative decision when shooting wildlife, apart from framing and composition, is choosing the aperture for the photo. Sometimes that will be wide open to isolate a single animal. Still, for groups of animals or large animals, I have to constantly remind myself to make my apertures smaller to maintain an adequate depth of field.